Introduction
This is not the first time that I have reviewed a Huion product. A few months ago, I looked at the Inspiroy Dial 2 and was impressed by it. In that article, I mentioned how Wacom had had its own way for many years. However, now there are a number of other companies competing in the same market, not only for graphics tablets but also for pen displays.
The Wacom Cintiq Pro range has been the de facto standard for a number of years. However, these displays are relatively expensive, and there is an increasing number of better-value options on the market. One such product is the Huion Kamvas Pro 13 (2.5K) pen display tablet. As with all Light Stalking reviews, although the product was supplied to us, we maintain full editorial control of our review, and Huion will not see this before it goes live.
HUION Kamvas Pro 13 2.5K QHD Graphics Monitor Drawing Tablet
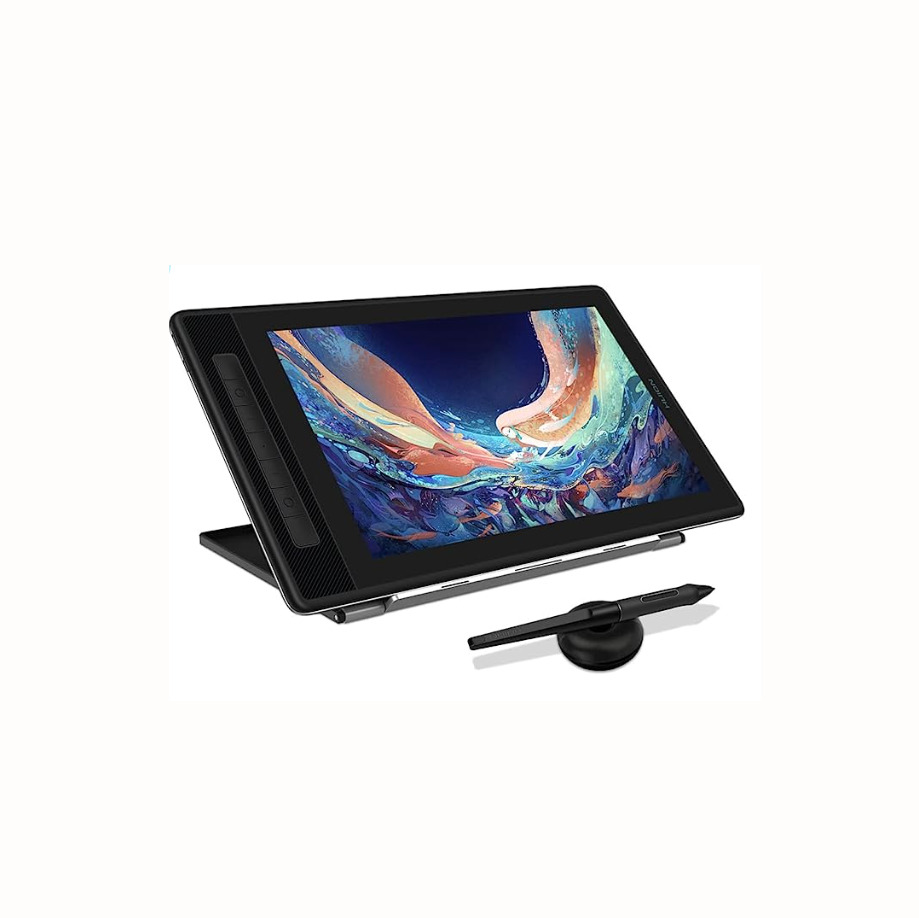
13.3inch Digital Drawing Tablet Pen Display
What Is A Pen Display?
Most of us are aware of or perhaps even own a graphics tablet. Pen displays take this to the next level by incorporating a monitor into the graphic’s tablet. Think iPad connected to your main computers and operated using a graphics pen.
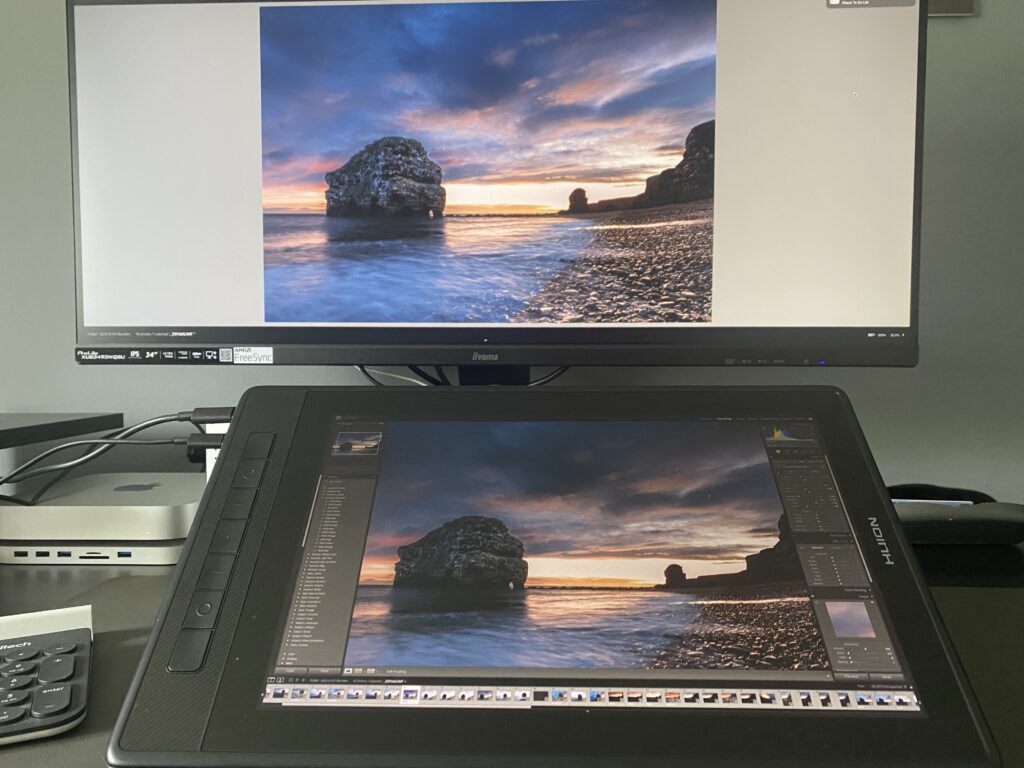
They are extremely useful tools as they allow the photographer/artist to draw directly onto the screen that they are viewing the image. This allows not only for very precise micro-adjustments but also greater efficiency as they do not have to keep referring to a bigger screen.
The Huion Kamvas Pro 13 (2.5K) is one such device. As its name suggests, it incorporates a 13-inch diagonal screen – this is the working area and does not include the bevels and buttons. The screen resolution is 2560 x 1600, with an impressive 145% of the sRGB gamut and a 1200:1 contrast ratio. So let’s look at it in a little more detail.
Unboxing And General Setting Up
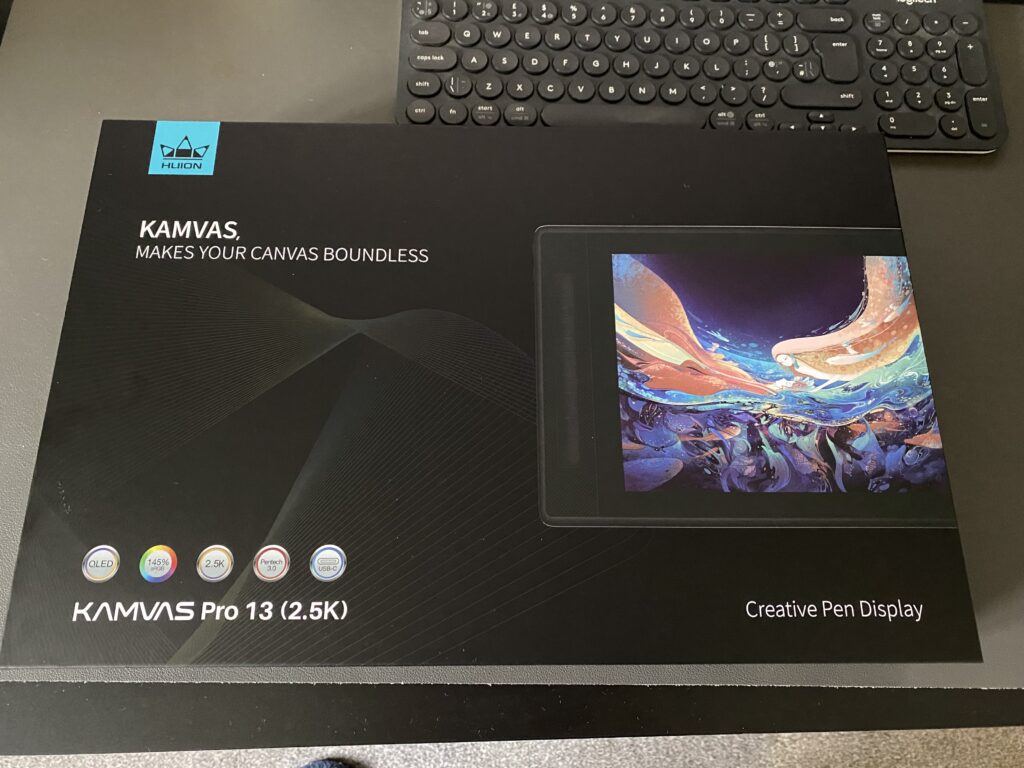
As with the previous Huion product I reviewed, the packaging is well-designed, almost Appleesque. The box contained the pen display, the pen with a pen base. The pen base, like with the Inspiroy, contained plenty of extra nibs.
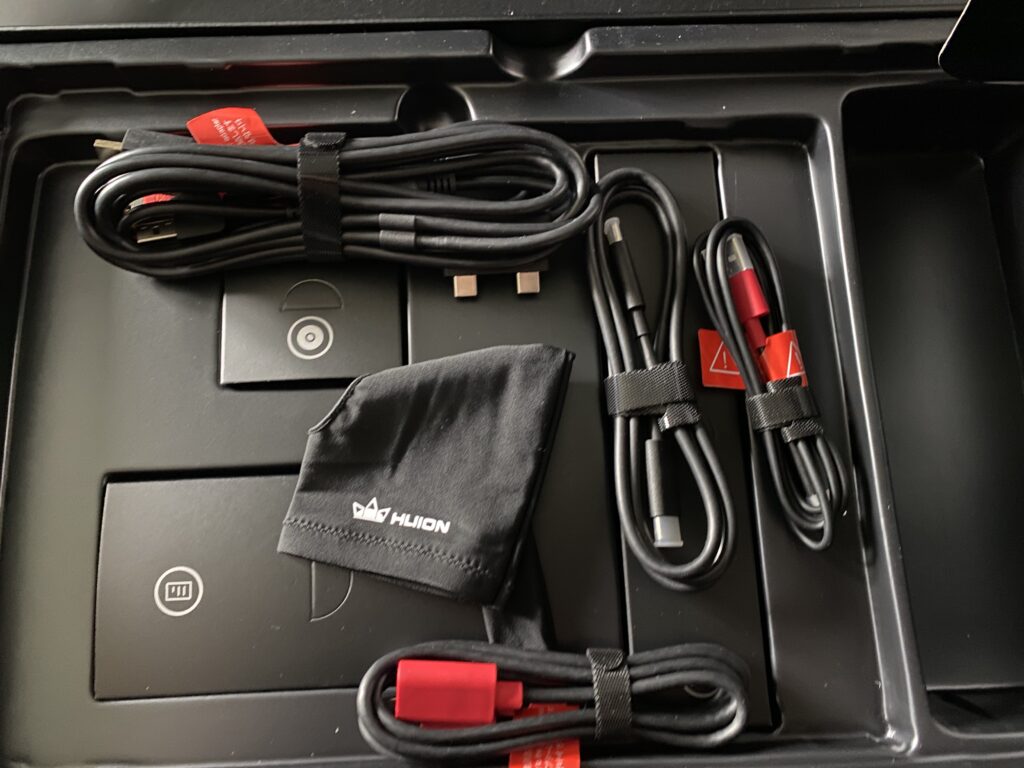
There is a foldable stand on which to place your display, this has a very good range of positions from completely flat to around 45 degrees. You will need to play around to find what angle is most comfortable for your own style. There are also a number of different cables for connecting to your device, we will come to them later. You can use these cables to connect to a laptop, desktop – Mac or PC, as well as any Android device with USB-C ports. iPads with USB-C ports, like the iPad Pro, are not listed as compatible. However, a search on Google does suggest this is possible.
There are two main ways to connect your Huion Kamvas Pro to your device. The first is using the supplied three-way cable. This connects to your computer via USB and HDMI (for the display output. The third cable is a USB power cable. This must be plugged into a USB power block – this is not supplied, but any block with an output over 5v/2A will work.
The other way to connect your Kamvas Pro is via direct USB-C. This involves plugging the upper socket of the display into a USB-C output on your device. The lower socket is then plugged via a USB-C cable into a charging block. Both of these methods are well described in the well-designed and clear online manual.
Connecting My Mac Mini M1
I did encounter some brief issues connecting my Mac Mini to the Kamvas Pro. M1 Minis have a strange bug with the display output. My Mac Mini is connected to an Iilyama ultra-wide via HDMI. This is the primary display, and when I plugged in the Kamvas Pro via the USB-C/Thunderbolt port, I had no signal error. I found the eventual solution was to boot the Mac Mini from the cold with the Kamvas Pro already switched on. Then the Mac recognized the Kamvas as an external display.
Installing The Kamvas Pro Drivers
This is done once the display tablet is connected. They can easily be downloaded via the online manual, and installation on MacOS was a simple affair. Once installed, the drivers give you access to the pen display setup screens using the Huion Tablet app.
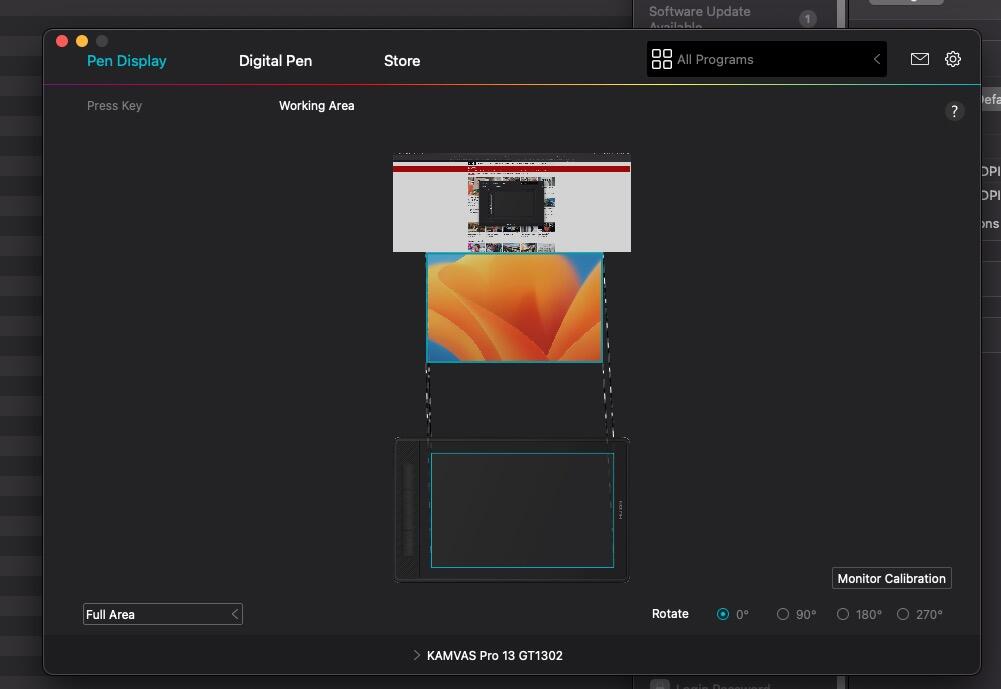
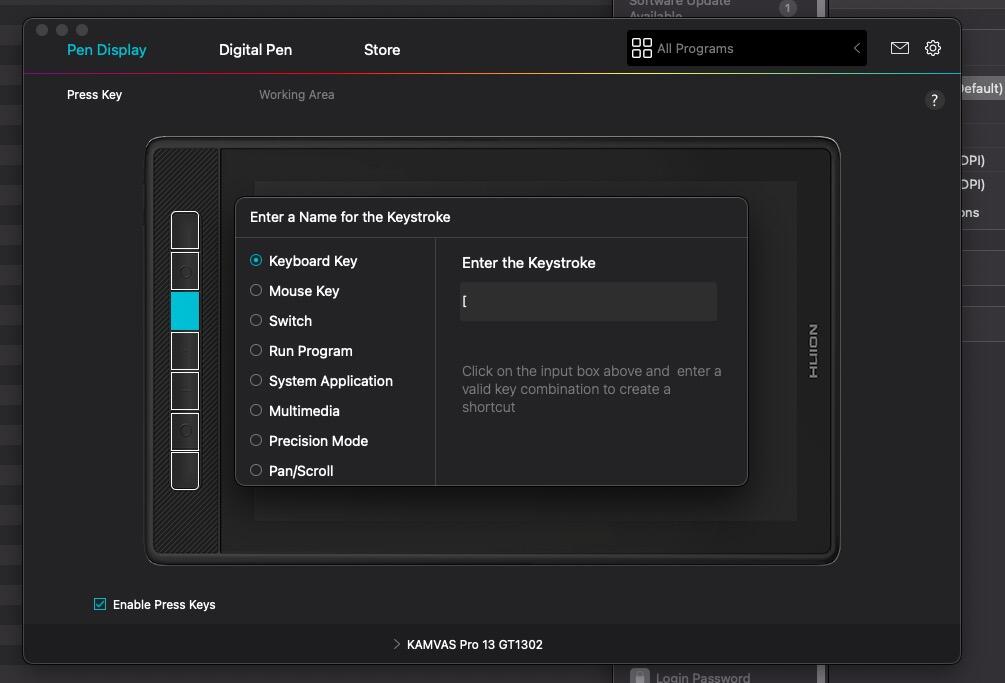
The app allows you to define a number of different parameters on both the display and the pen. These include the area in which the pen works, defining the buttons on the left side of the screen – these can be tied to multiple different options, and setting up the pen’s sensitivity.
You can also use the MacOS display preferences to define the position of the Kamvas Pro relative to the main display. It is best set as an extended display rather than a mirrored display.
A long press of the Kamvas Pro power button will reveal a hidden pen-enabled menu. This allows you to define the color setup of the pen display. You can change the degrees Kelvin, the color space as well as the aspect ratio of the display.
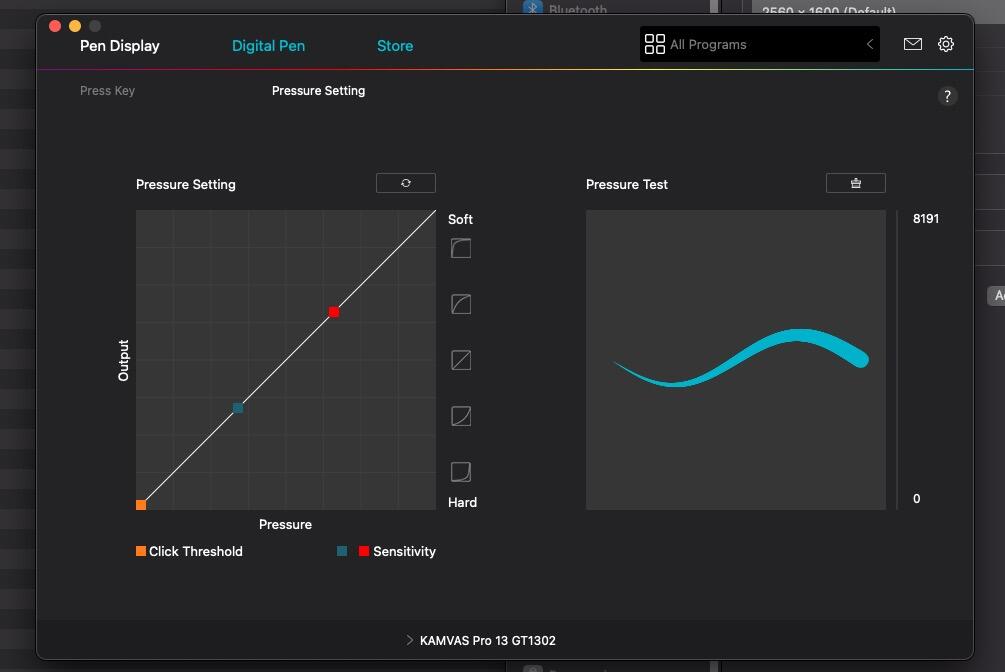
Setting Up With Lightroom And Photoshop
You may need to play around a little to get a Lightroom/Photoshop workflow that suits you. To use the pen display, you will need to define it as the main display in both Lightroom and Photoshop. You can then use your main monitor as an auxiliary display. I have my main display to show the full image while editing on the pen display.
In Use With Lightroom And Photoshop
Let’s get the negatives out of the way first. I am 55 years old, and my close-up eyesight is not what it used to be. Even then, a 2.5k resolution on a 13-inch screen is way too small for me, and I suspect others to use it easily.
The other negative, again, stems from the screen size. You have to make sure you fully calibrate your screen/pen before working. Being a 2.5k resolution in a small area, if the pen calibration is slightly off, it will be magnified on the screen. This makes working very difficult. However, with an accurate calibration, all is well.
If your eyesight is not what it used to be, Huion also has a 16in 2.5 display and a 24in 4k. Both of these would not require you to be so close to the screen.
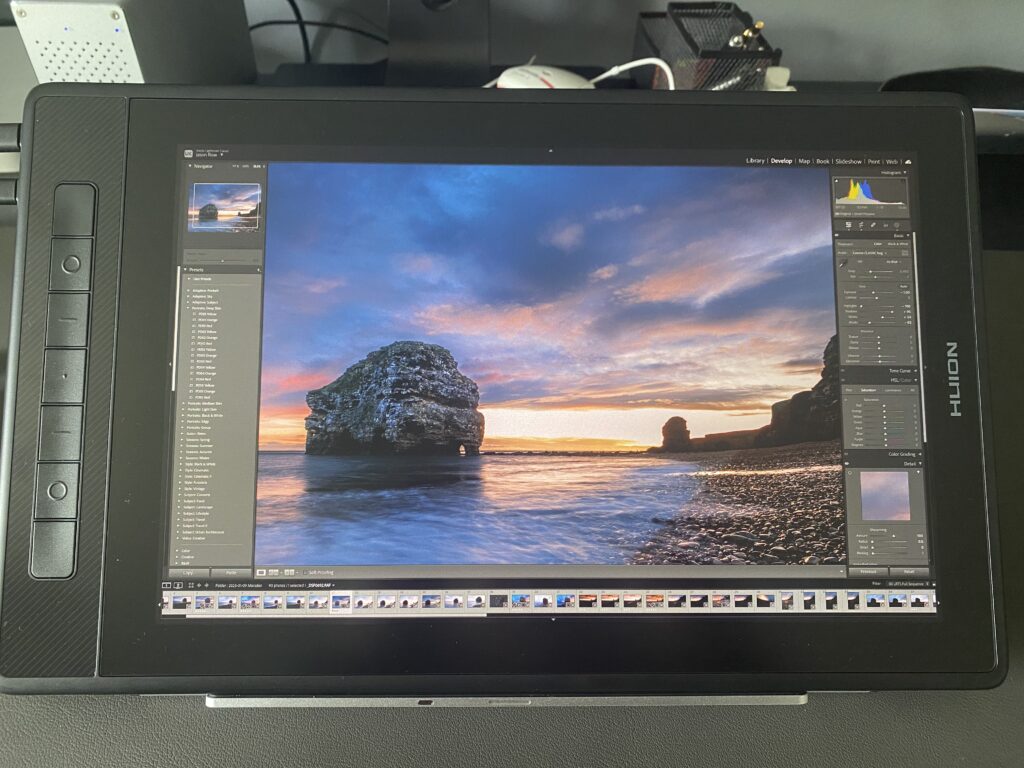
That said, once dialed in, the Huion Kamvas Pro 13 is a joy to use. The pen is responsive with plenty of subtlety in its sensitivity. There are no issues with your hands touching the screen when drawing, even without using the included glove.
The reaction time of the screen is fast and responsive, although there is a slight lag seeing adjustments appear on my main screen. That may well be down to my graphics card than the display tablet.
With a good amount of adjustment in the stand, it is very easy to find a comfortable drawing position. There is something very natural about drawing and directly seeing the image under your hand. It’s a back-to-basic way of creating art in a digital age. I enjoyed using the Kamvas Pro in both Lightroom and Photoshop.
There’s One More Thing
An interesting side use of the Kamvas Pro is as an external monitor for video editing. You can use the pen to help work in finessing an edit; however, because it’s a high-quality display with a wide color gamut, it is ideal for monitoring color grading. This makes it appealing to hybrid photographers who can not only use it for editing photos but also for videos.
HUION Kamvas Pro 13 2.5K QHD Graphics Monitor Drawing Tablet

13.3inch Digital Drawing Tablet Pen Display
In summary, I have found using the Huion Kamvas Pro a rewarding experience overall. If I were to purchase one for myself, I would probably go for the 16-inch screen as my eyes do struggle with 13”.
Regardless of the size, though, the natural feeling of editing directly to a screen takes a lot of beating. The wide color gamut, responsive pen, and comfort make this a powerful tool for photographers wanting to improve their editing workflow.

