You may have used prisms in your science labs, but did you know that they can serve as great accessories for creative photography? When light passes through a prism, the beautifully dispersed rainbow coloured light, light leaks can be used to create stunning effects in photographs. The resulting light depends on how the prism is held or used in front of the lens.
In this article, we will look at how to use a prism for creative photography. This method is also called “prisming” by some photographers.

What Is A Prism?
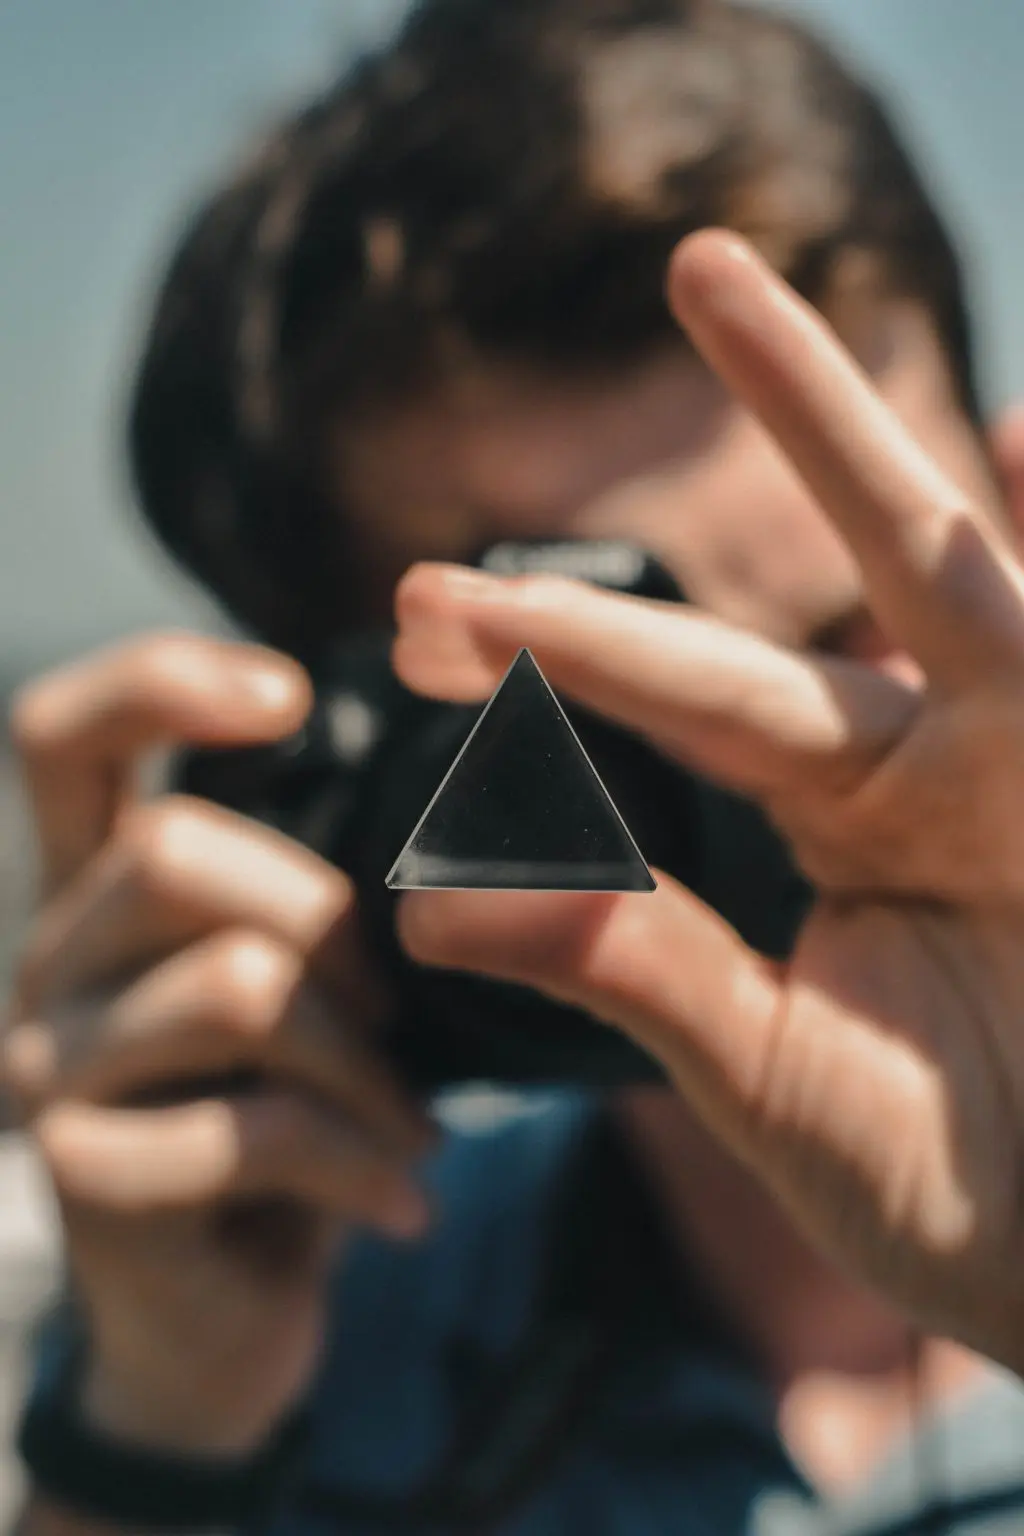
In optics, a prism is a transparent object made of glass or sometimes even plastic, that has polygonal bases parallel to each other and the other sides a parallelogram. The name given to the prism depends on the shape of its base – for example, a prism with a triangular base or an equilateral triangular base is called a triangular or equilateral prism which is the most common one used in basic lab experiments in high school and often in photography.

What Happens To Light When It Passes Through A Prism?
Before diving into using prisms for photography, let's briefly look at what quality of the prism makes it a useful piece of accessory for creative photography!
Let us consider for example a white beam of light. We all know that white light is a combination of different wavelengths of light and each wavelength represents a particular colour of light. We also know that light gets refracted due to change in speed when it passes from one medium to another – for example a rarer to a denser or a denser to a rarer. In our case, it is from air to glass (when falling on a glass prism).
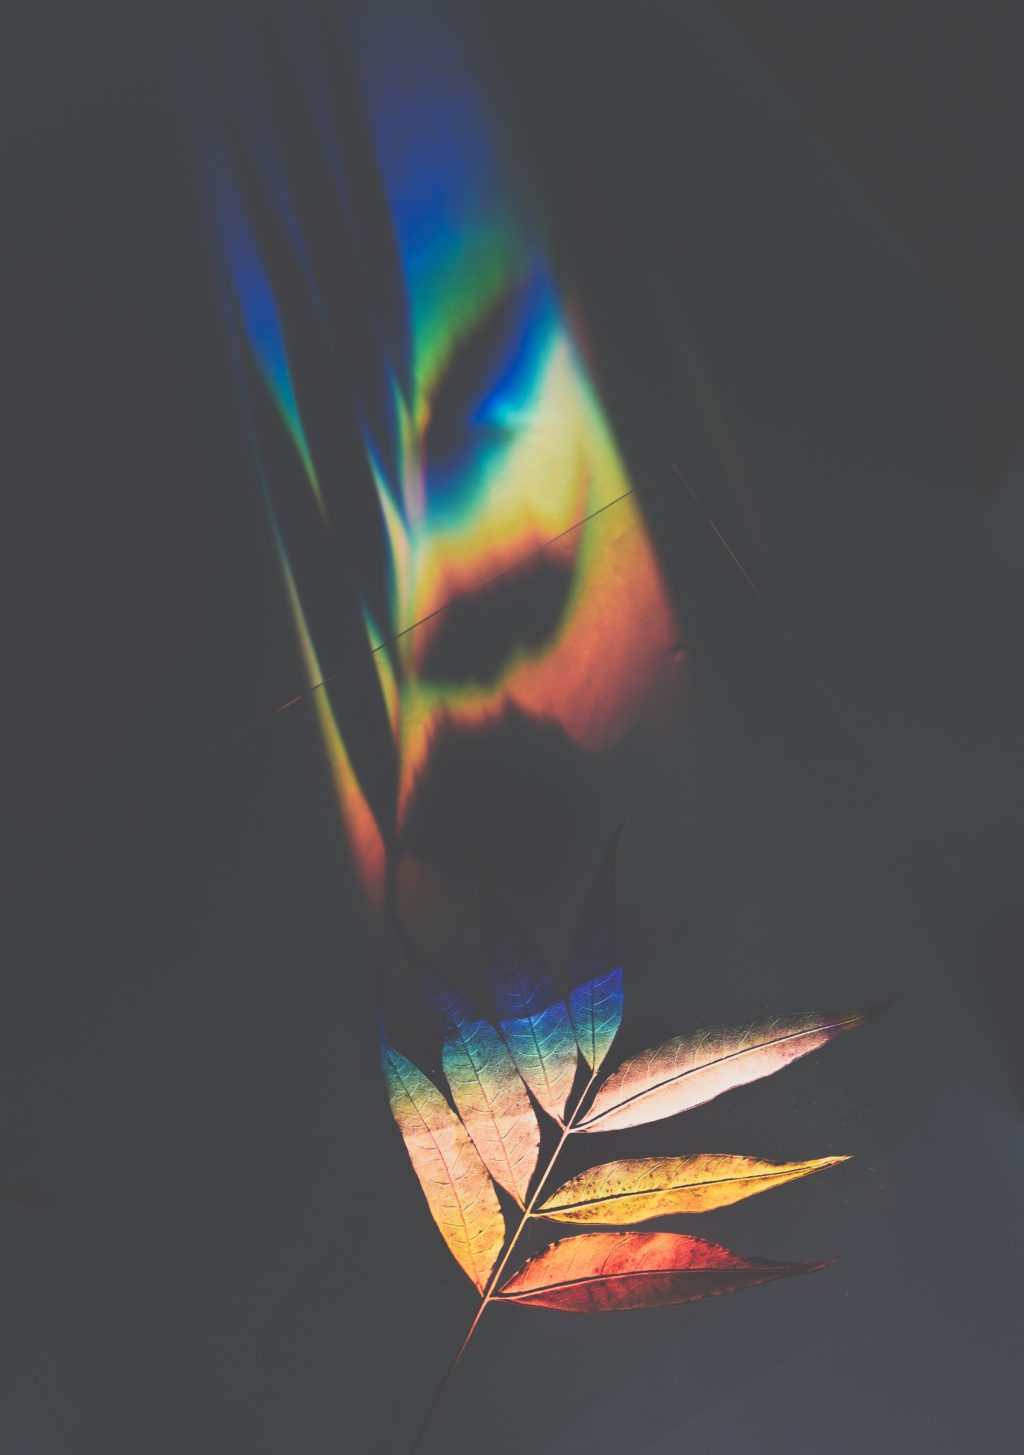
So when white light falls on a prism at an angle, it is refracted and different wavelengths of light are refracted at different angles depending on the medium and angle of incidence and this is called dispersion. This dispersion causes a rainbow effect which is called the spectrum. It is this effect and other physical properties of the prism itself that we can use to make creative photographs.
Since prisms are able to bend/refract, disperse light and cause beautiful reflections and light leaks, they can be used to create impressive images without the need to use photoshop or other photo manipulation software. As photographers, we are always looking to make use of light and its amazing properties to create beautiful photographs and one interesting phenomenon to explore is using a prism in front of the lens to manipulate light.
Gear Required For Prism Photography:
- Any camera, preferably a camera with an interchangeable lens that can be used in manual mode.
- A prism of your choice that you can easily hold and rotate when photographing. Usually, a 6-inch prism is the most desired size as it can cover the lens completely and can also easily fit into your camera bag. This can be bought off Amazon or eBay at a cheaper price, but make sure you go for good quality glass.
- Prime lenses are the best and focal lengths between 24 to 50mm should work perfectly fine, but focal length around 50mm up to 85mm or 135mm are the best as they help eliminate the prism being recorded in the image.
How Can A Prism Be Used For Creative Photography
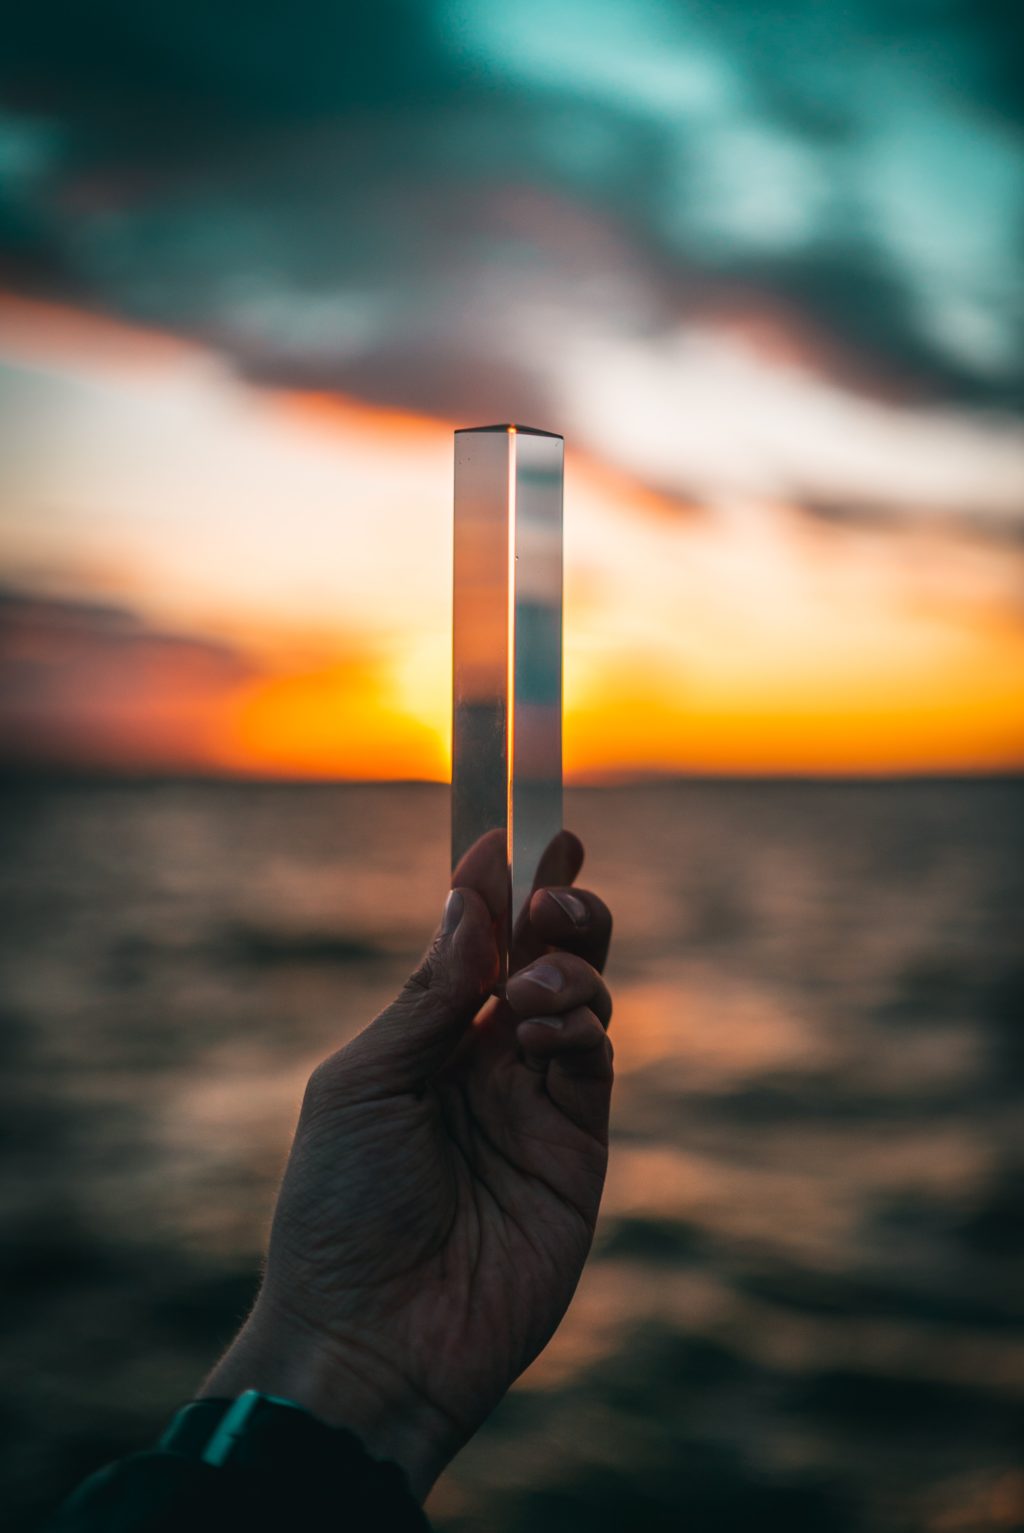
When photographing using a prism, just place the prism in front of the lens and turn it the way you wish till you see desired results in the frame. Light bends through the prism before entering the lens and the results this can produce are pretty amazing and unpredictable most of the time.

Using a prism in front of the lens can produce creative distortions, prism-shaped flares, rainbow effects, reflections, etc.

So, there are no rules on how you should be holding or placing the prism and hence use the available light and move/rotate the prism to create the look you want. Due to the refractive property of light, this can lead to creative photography and the possibilities are endless.
Once you see something interesting in the viewfinder or screen, just click, because you may not get the same effect another time. The effects that you see are real (because they are created as a natural optical phenomenon) and change with each frame as it is most of the time impossible to recreate most effects.
Here Is What You Should Do:
- Hold the prism in front of the lens. Placing it on the side or in the middle is dependent on what looks good for your final image.
- Rotate, move (right or left, up or down) the prism depending on what you are looking to create. You need to learn the effects through trial and error.
- Start by making small changes to the position, the orientation of the prism and look through the viewfinder to see how the light and other effects change in the scene due to reflections and refractions.
- Depending on the position of the prism, edges of the prism with respect to the lens, angle of light falling on the prism, available light and other factors, you will see various effects like reflections, double exposure effects, light leaks, rainbow effect, distortions in your image.

- When you play around with the prism and different lens combinations, you will know what effect you can achieve for different prism positions, prism angles with respect to the lens, type of light, amount/angle of incidence of light, etc.
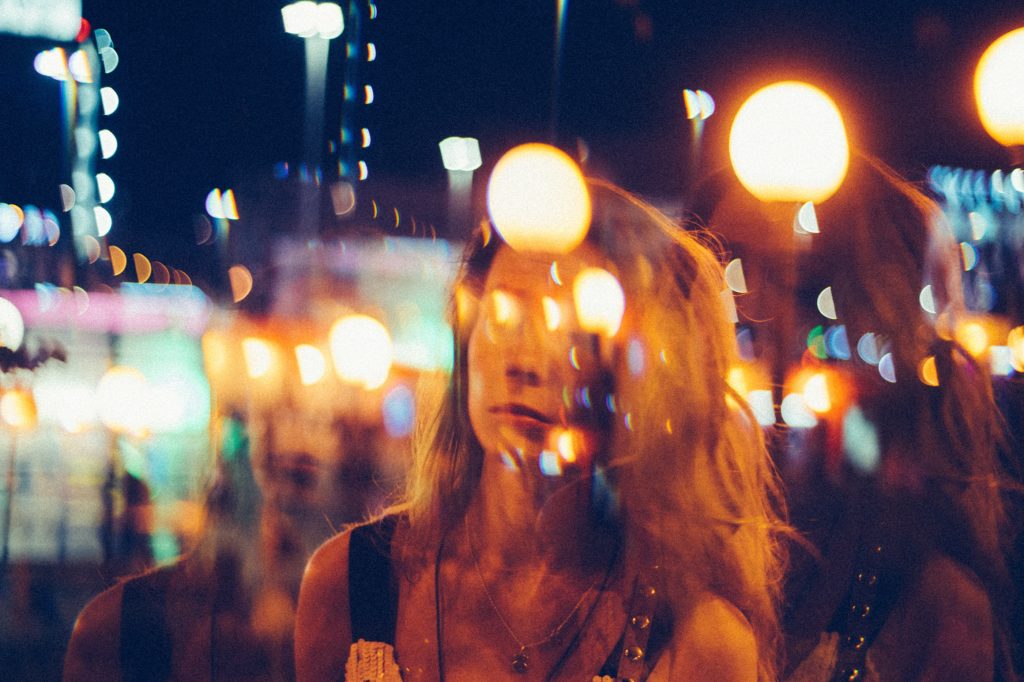
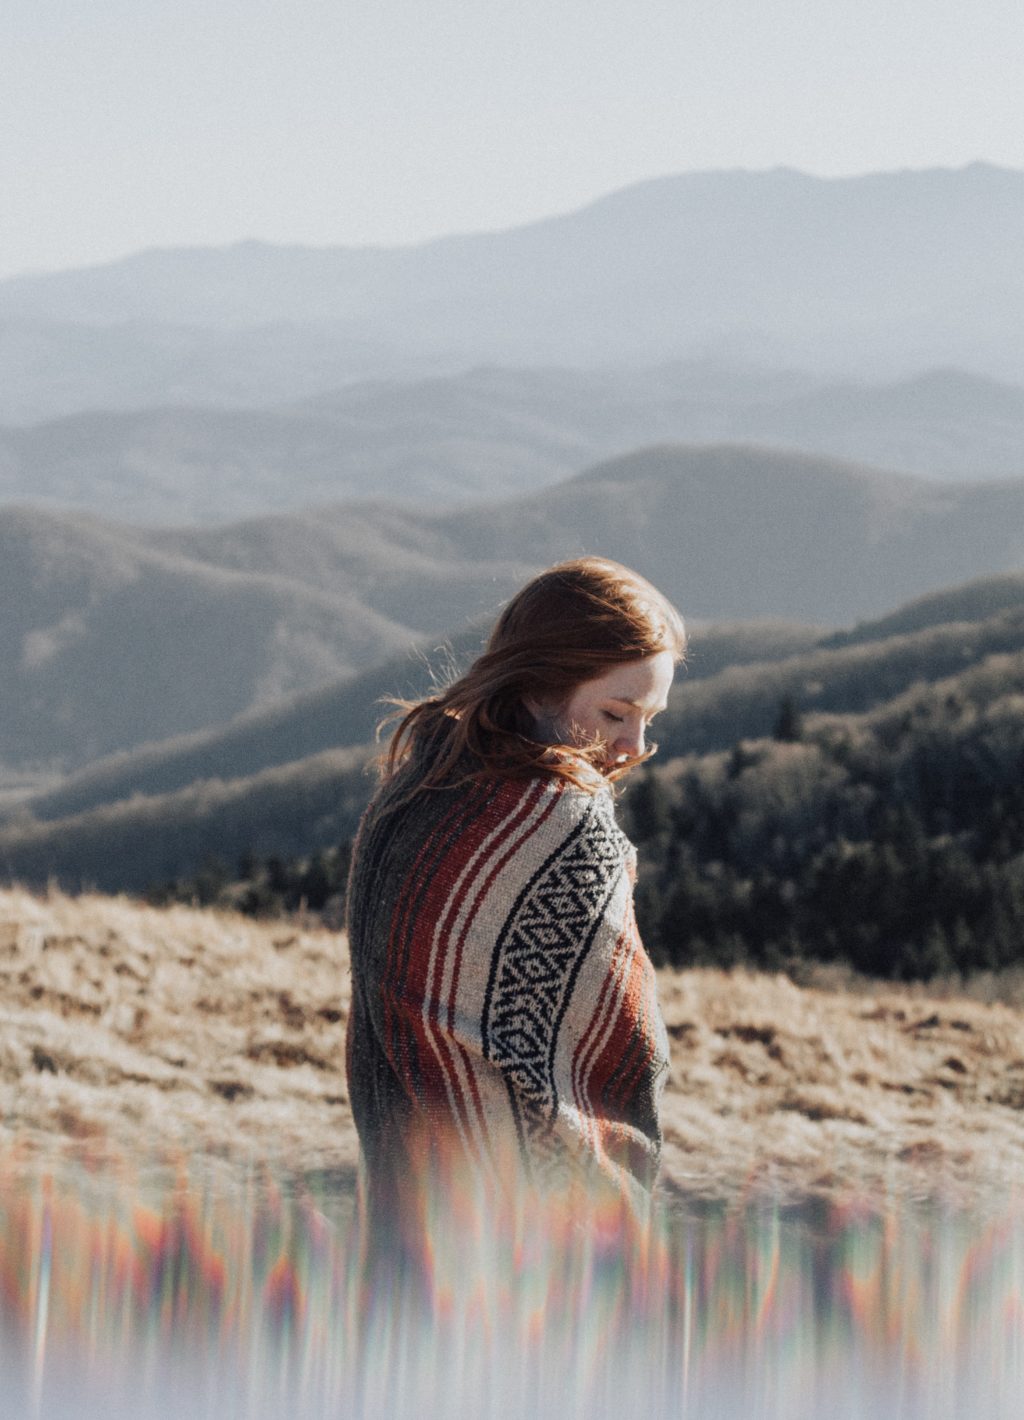
- Experiment outdoors when you have enough sunlight. Once you get into grips with the tricks and effects you can achieve, move indoors or shoot under city lights at night and try various effects.

Note: Most of the time, holding a prism in one hand and the camera on the other while focusing and creating effects with the prism can be quite a tedious task to accomplish while looking through the viewfinder. So when possible, try to use live view so you can easily adjust the prism positions to get results that you are satisfied with.
When shooting posed portraits, try to use a tripod so you can have the camera fixed and then freely move the prism in front of the lens to get the desired effects. If you have a Depth of field preview button, make use of it, so you can see a preview of what you will exactly be photographing.
Camera Settings To Shoot Using A Prism:
- Set your camera on Manual mode.
- Use a wide aperture so you have maximum light entering the camera and depending on what you are looking to achieve, open or close down the aperture further if required. Shooting at wider apertures will help eliminate seeing the prism or its edges in the actual image itself and help bring more focus to the main subject.
- Keep the prism close to the lens as possible to avoid focus issues. You will need to remove your lens hood if you have it on so you can put the prism as close to the lens as possible.
- When you introduce the prism in between the lens and your subject, your camera can struggle to focus. So it is best to use manual focus or back button focus to focus on the subject and then put the prism in front of the lens, to achieve the desired effect and then release the shutter button. Or, you can autofocus on your subject, then switch to manual focus and introduce the prism in front of the lens.

- If using autofocus, make sure you use single point autofocus because using multiple autofocus points will confuse your camera.
- Use the lowest ISO value possible to avoid noise in the images.
- Make sure you have a shutter speed fast enough to avoid any blur due to your subject moving within the frame. It is safe to stay faster than 1/250 of a second or (1/(2 x focal length)) taking into account crop factor for cameras with a crop sensor.
- If you are happy to get the image and not worried about a particular part being in focus, for example for abstract photography, then use release priority so the shutter releases even if the image or a particular element is not in focus.
Important Tips To Keep In Mind:
- Start with a triangular prism which is the most simple one and once you know how prisms work and what you can achieve with them, try various other prisms.
- Use prism for any type of photography that you will be doing, for example, portraits, lifestyle, still life, landscape, weddings, nature, architecture, cityscapes, etc.
- Experiment with other glasses, CDs, other lenses from scientific labs like concave lenses, different types and shaped crystals, etc. Each one will produce different results.

- If you are in a scene where you think the light isn’t in your favour and lacks that magic touch, just pull out the prism and use it to manipulate light in the scene. This way you can turn a boring scene into a very interesting one.
- Use prisms to create abstract images.
- Try prisms with artificial light as they can create interesting effects in your images besides the rainbow effect, natural light renders in the image.
- Do not use prism for outdoor photography on overcast days as it can make the image look flat and dull without any interesting effects.
- Adjust the distance between the lens and the prism to get different effects. You can also change your position relative to the source of light and look for different light effects.
- Make sure you wipe the prism when needed to remove fingerprints due to holding it as it can ruin the image and reduce the quality of light entering the lens.
- If you find it difficult to hold the camera in one hand and prism on the other hand when shooting images, depending on the situation, try and use a tripod or a monopod for help. If possible use live view to compose the images.
- Always go for quality glass or crystal prisms because, just like how you require good quality lens glasses for sharp and beautiful images, you need to use quality glass for anything you put in front of the lens. Low-quality glass or plastic will not give you the beautifully refracted light like good quality glass will.

Tip: Do not stop with just the prism. The above tips and techniques can be applied to glass crystals and other glass or crystal ornaments. So do not stop yourself from experimenting with these as these can be found around the house or amongst old stuff in the attic.
Some Tricks You Can Try:
- Since at a certain position the prism can divide the image into half rendering different effects on each half, make use of this feature creatively to create symmetric images where you have them in the scene you are photographing.
- Try different shaped prisms like the pyramid crystal prism, RGB Dispersion prism, suncatcher, crystals from chandeliers, wine glass, etc.

- Instead of putting the prism in front of the lens, try to use the prism to shine a rainbow light on the scene or your subject and then photograph your scene or subject.

- Use tricks with the prism to hide unwanted elements/objects in the scene. The flare or refraction/reflection effects the prism creates can be wisely used to remove distracting elements in the frame.
- Create a kaleidoscopic effect by photographing through the base of the prism. The base of the prism should be facing the lens.
Are you looking for some inspiration to try something new in photography?
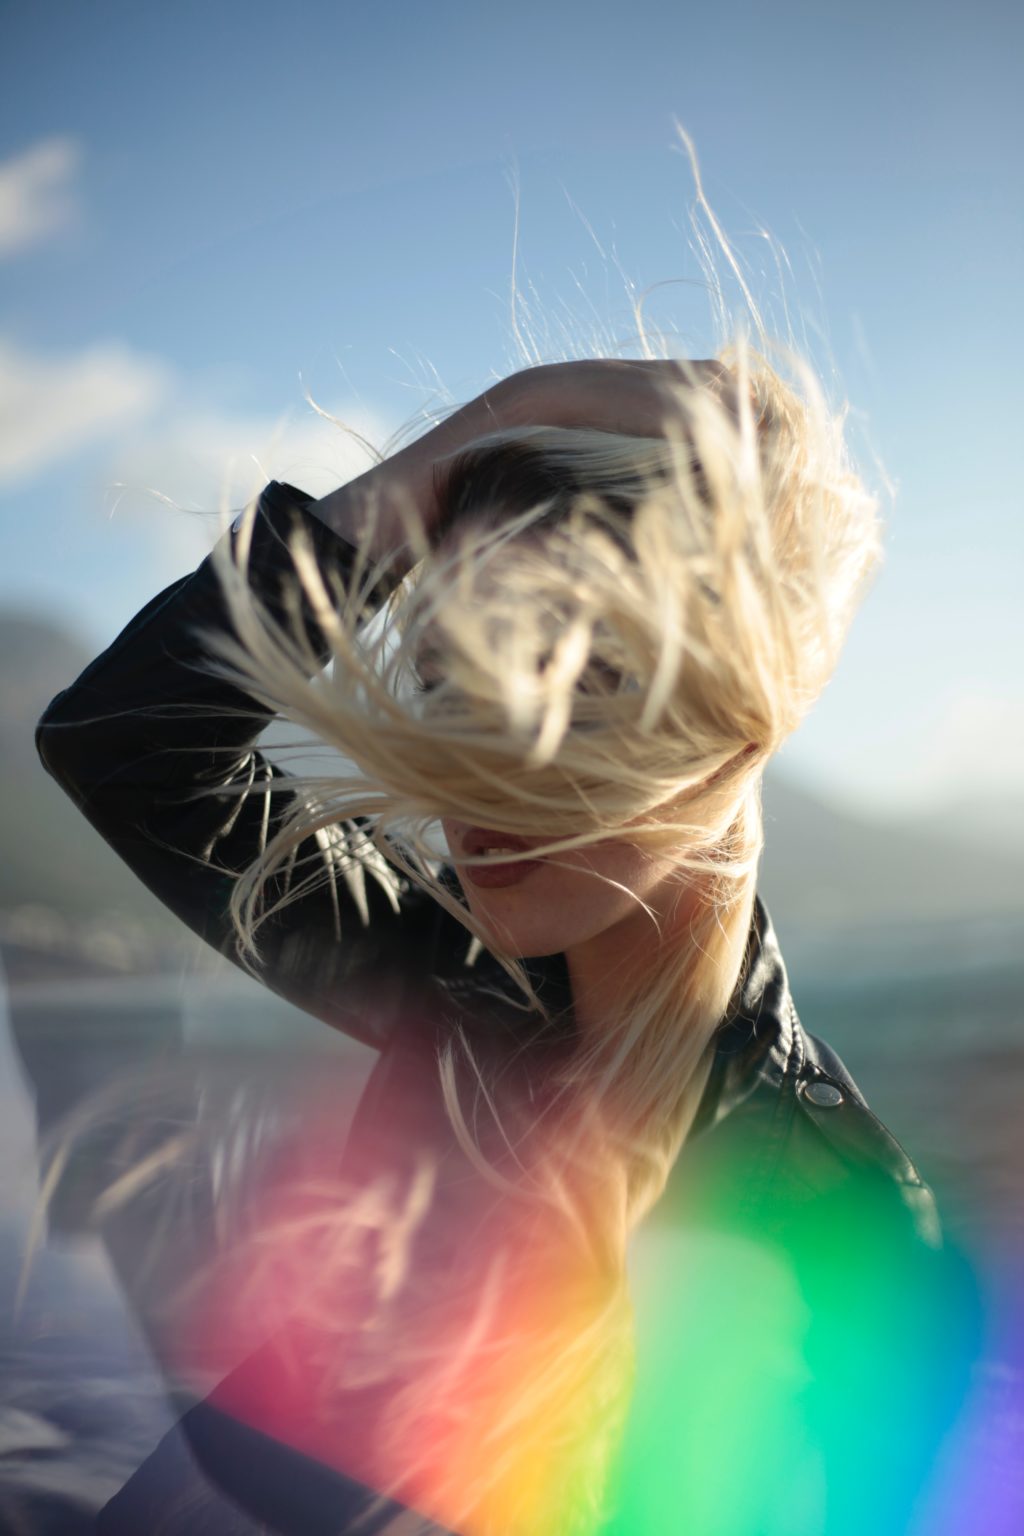
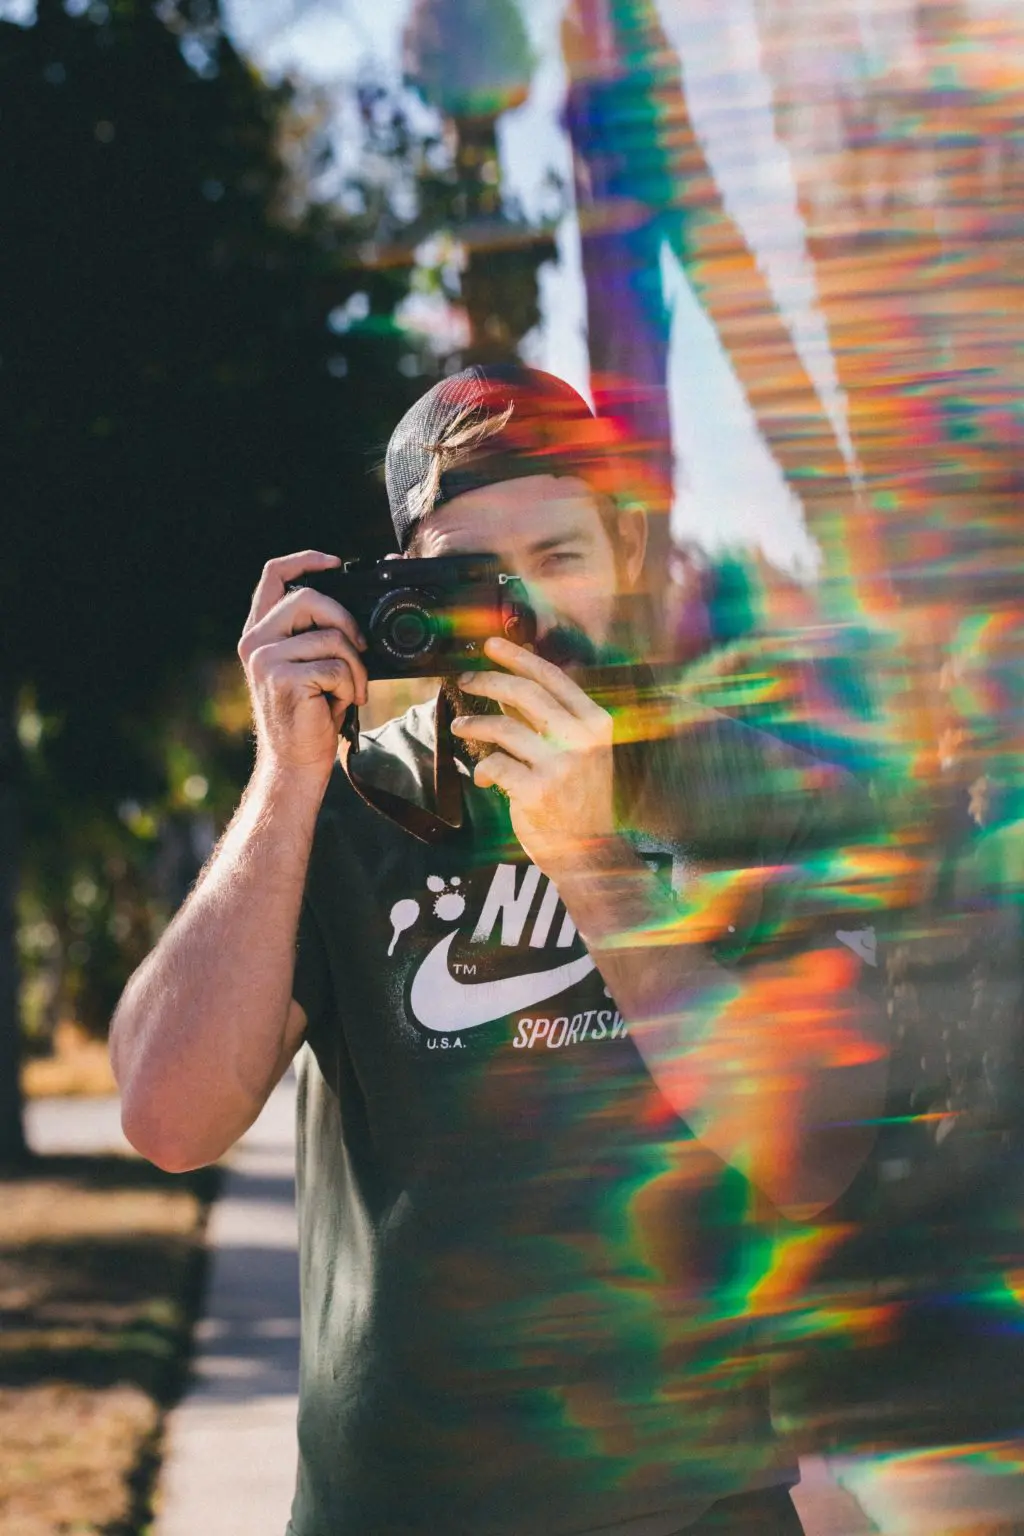
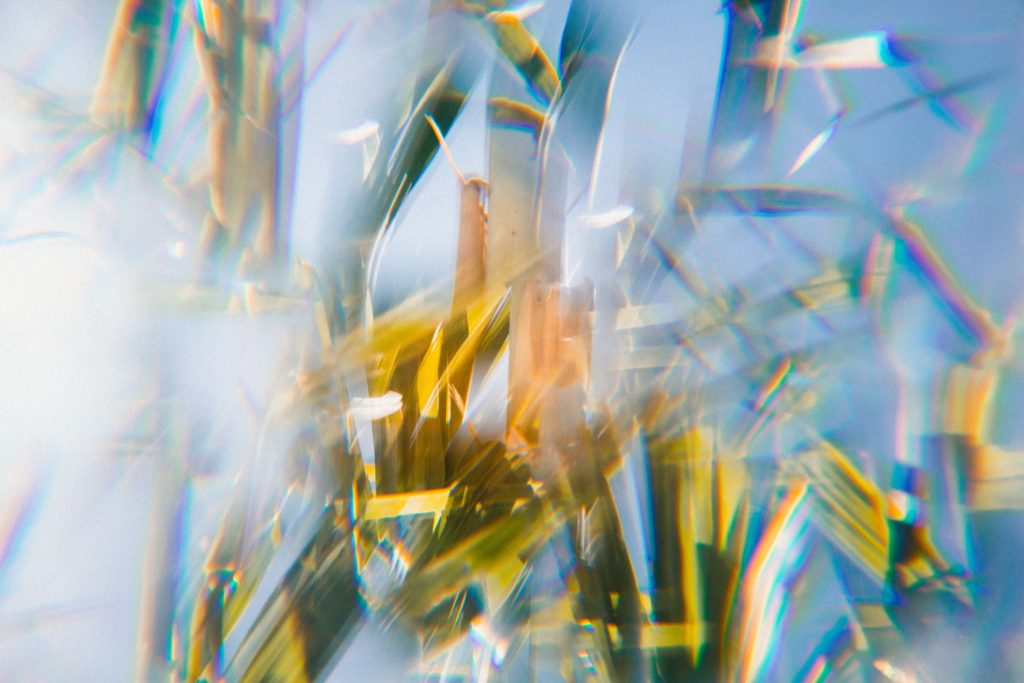
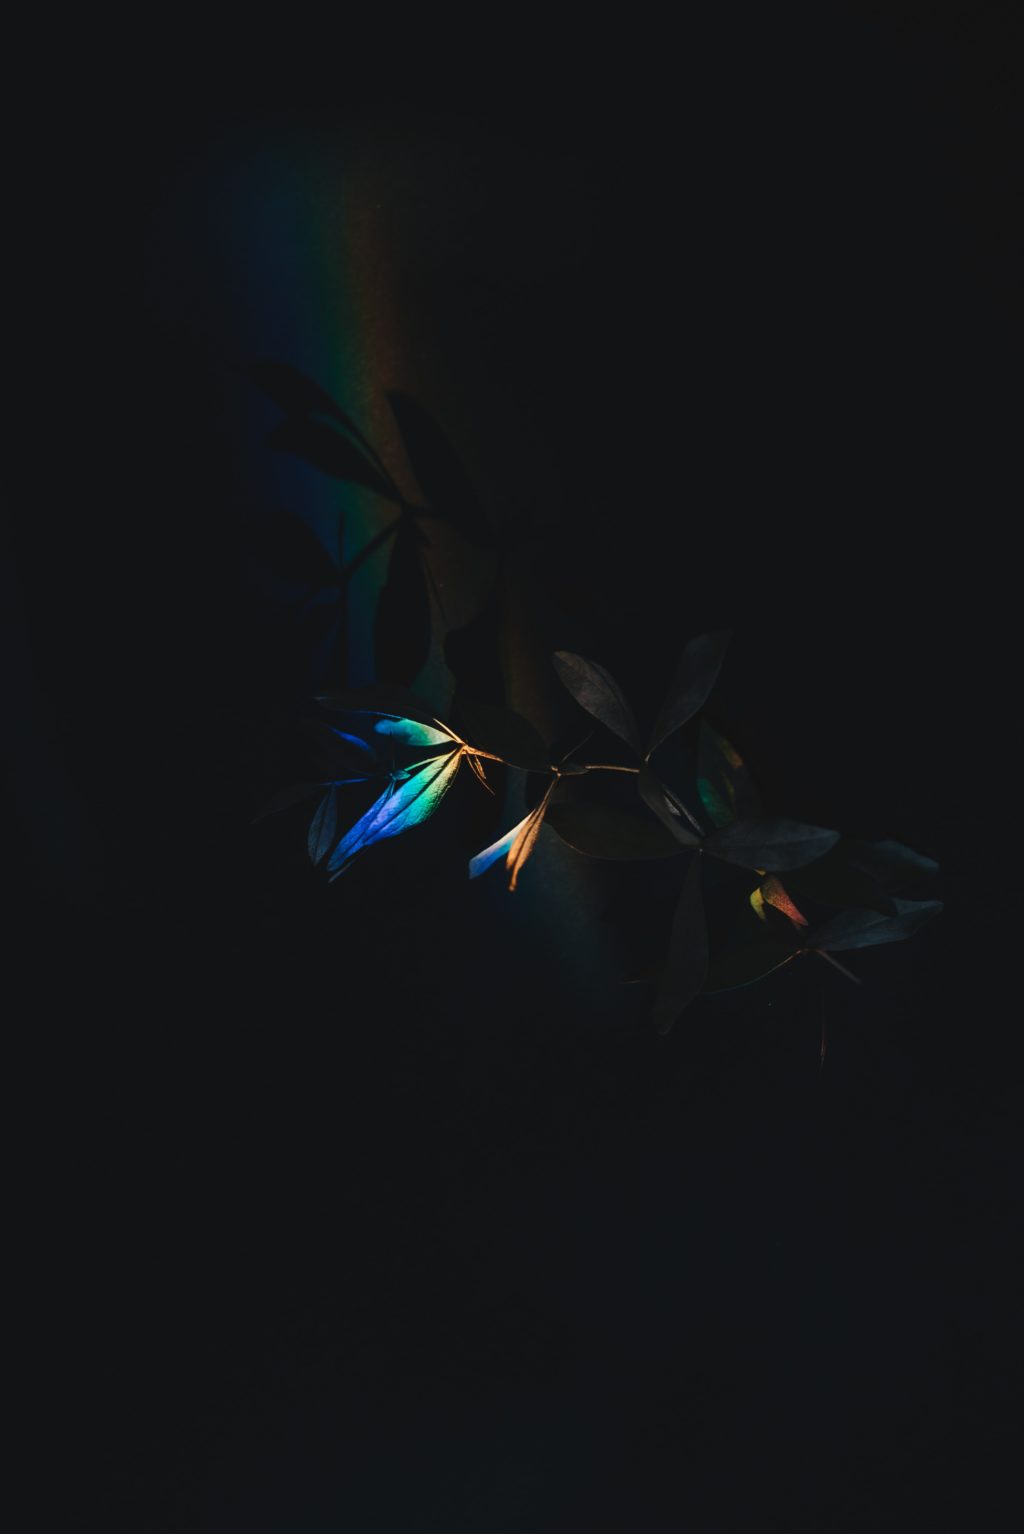
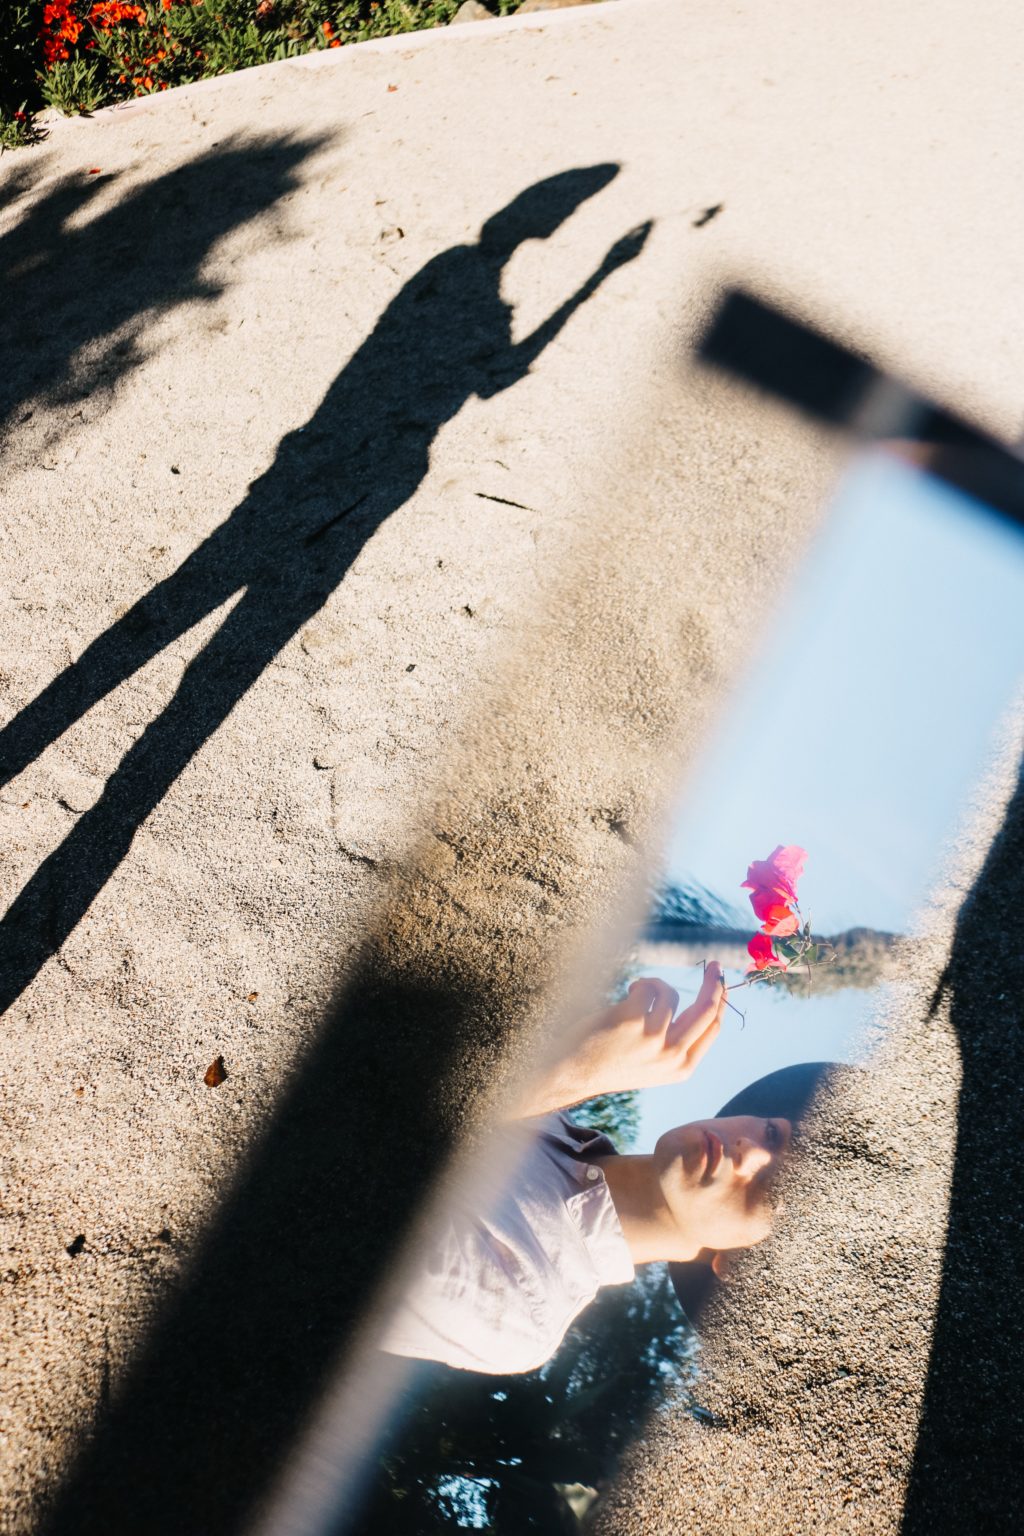
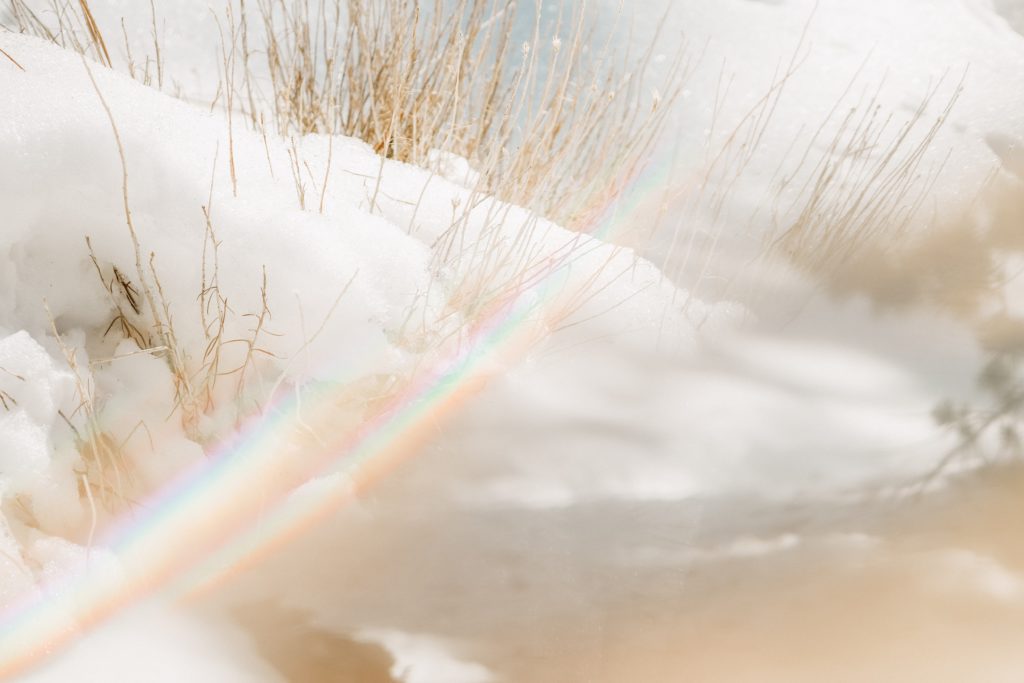
Here Are Some Images Created Using Prisms:
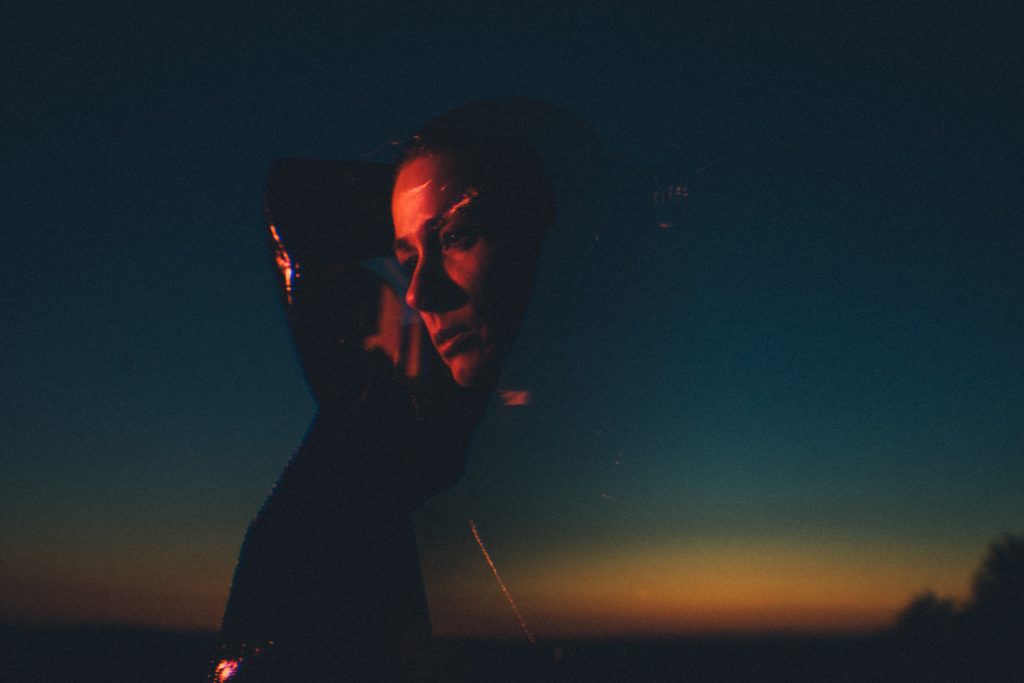


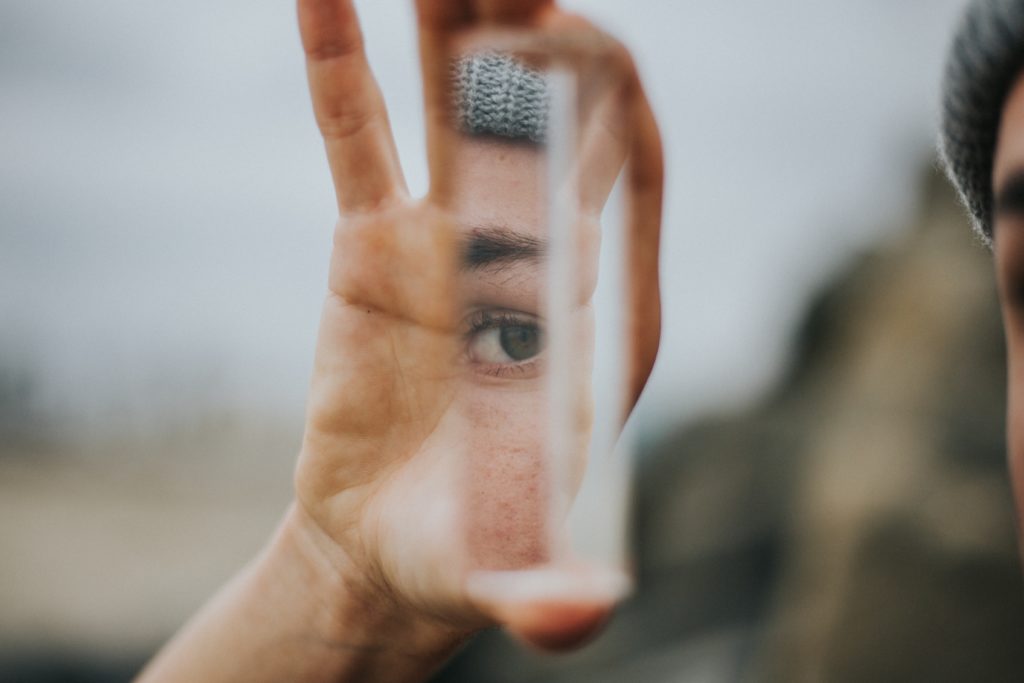
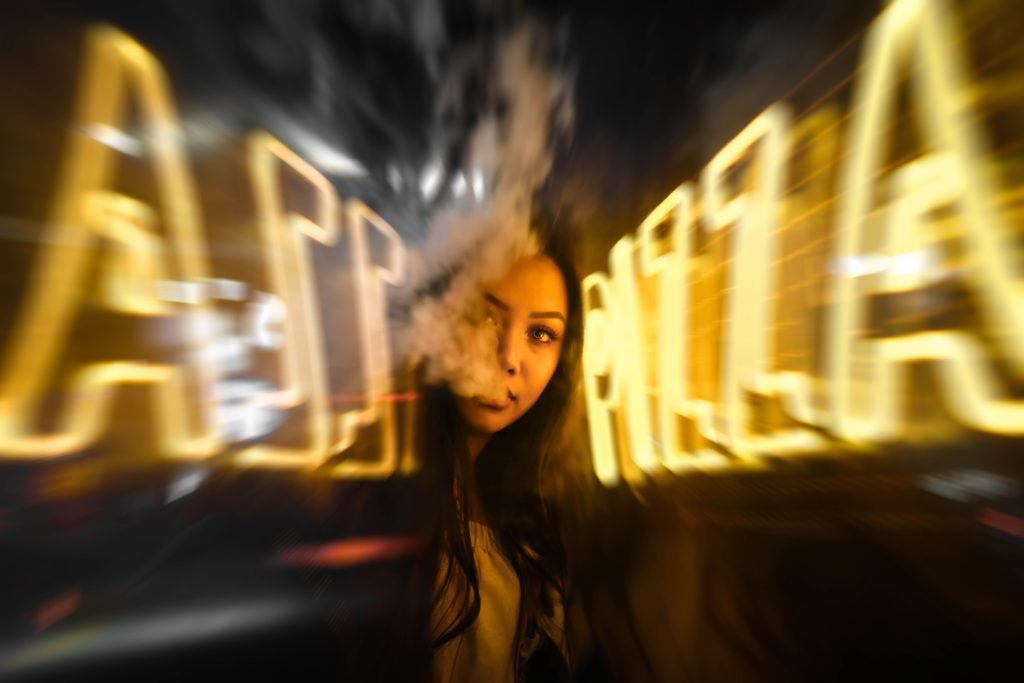
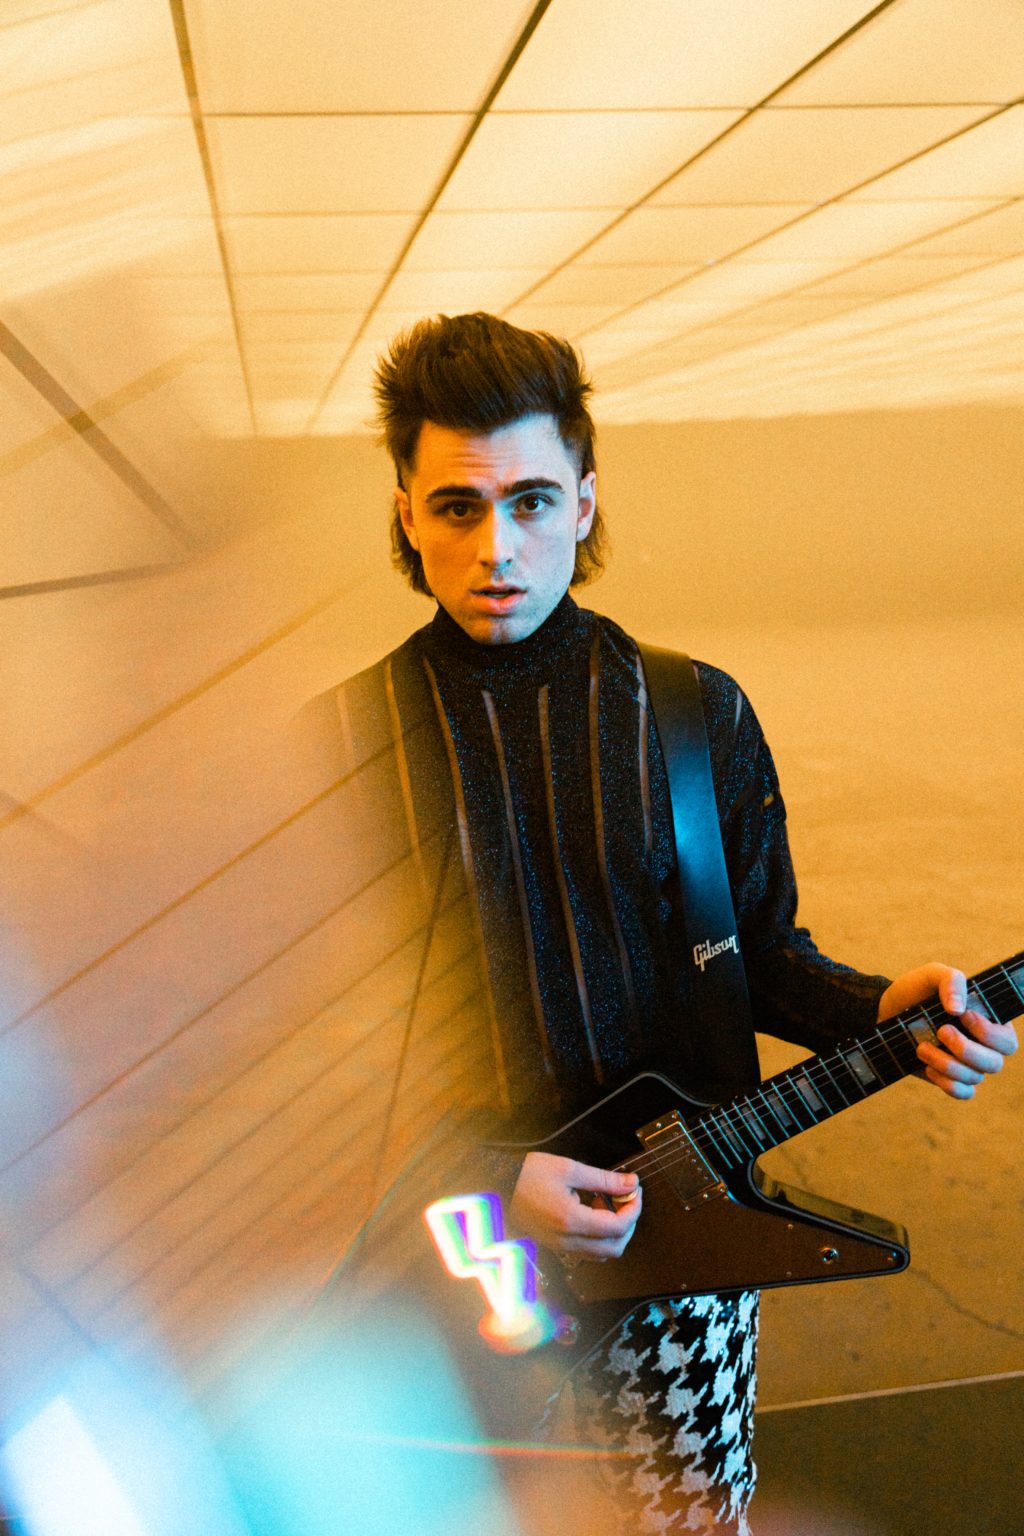
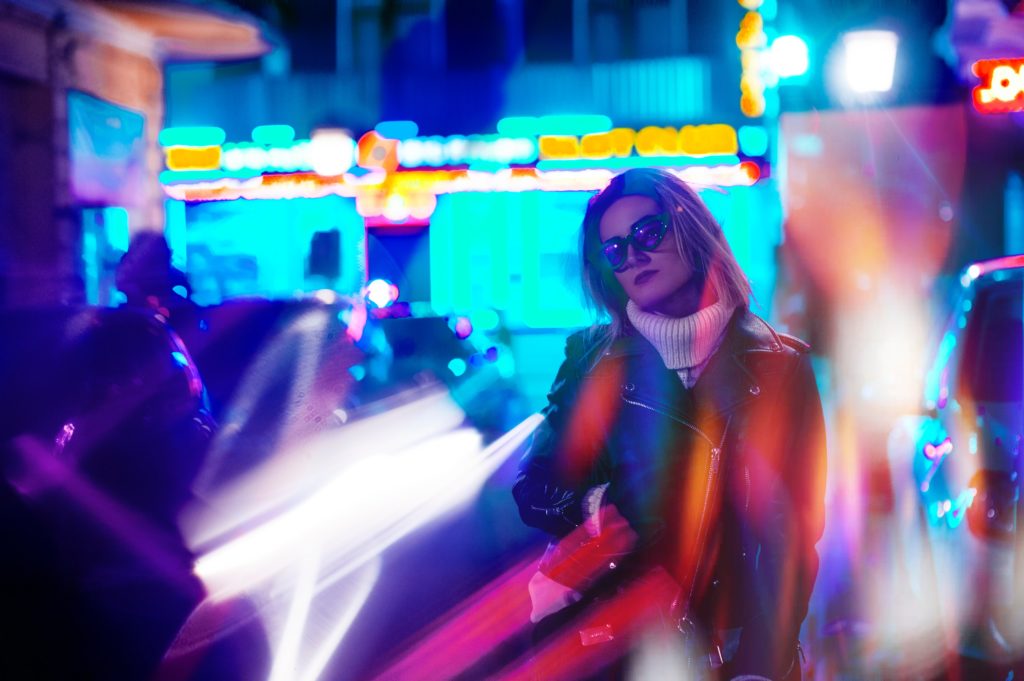
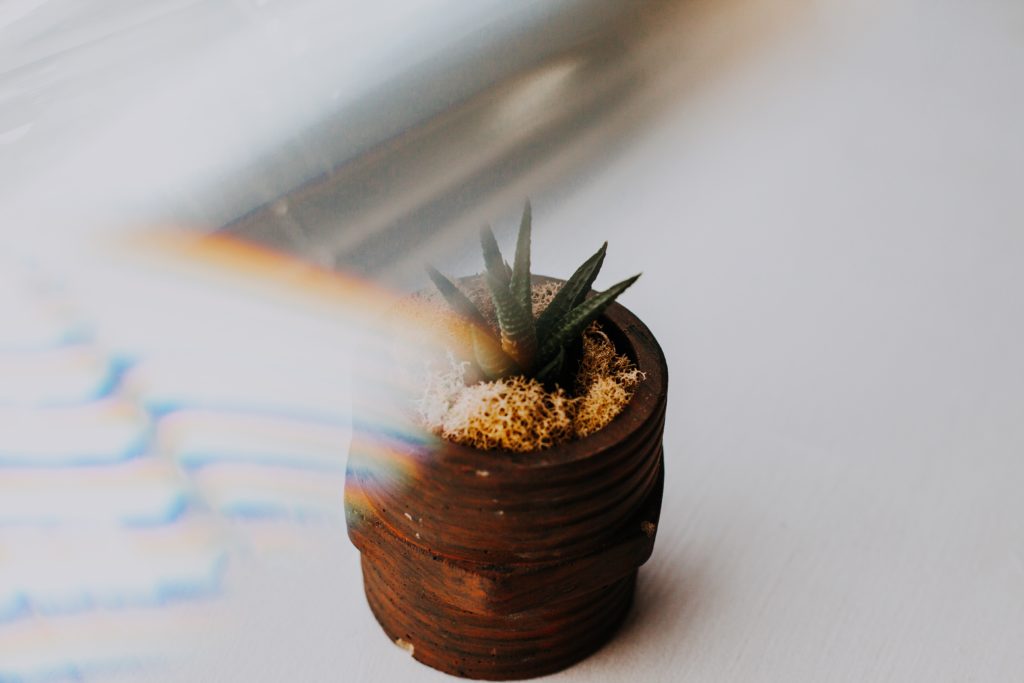
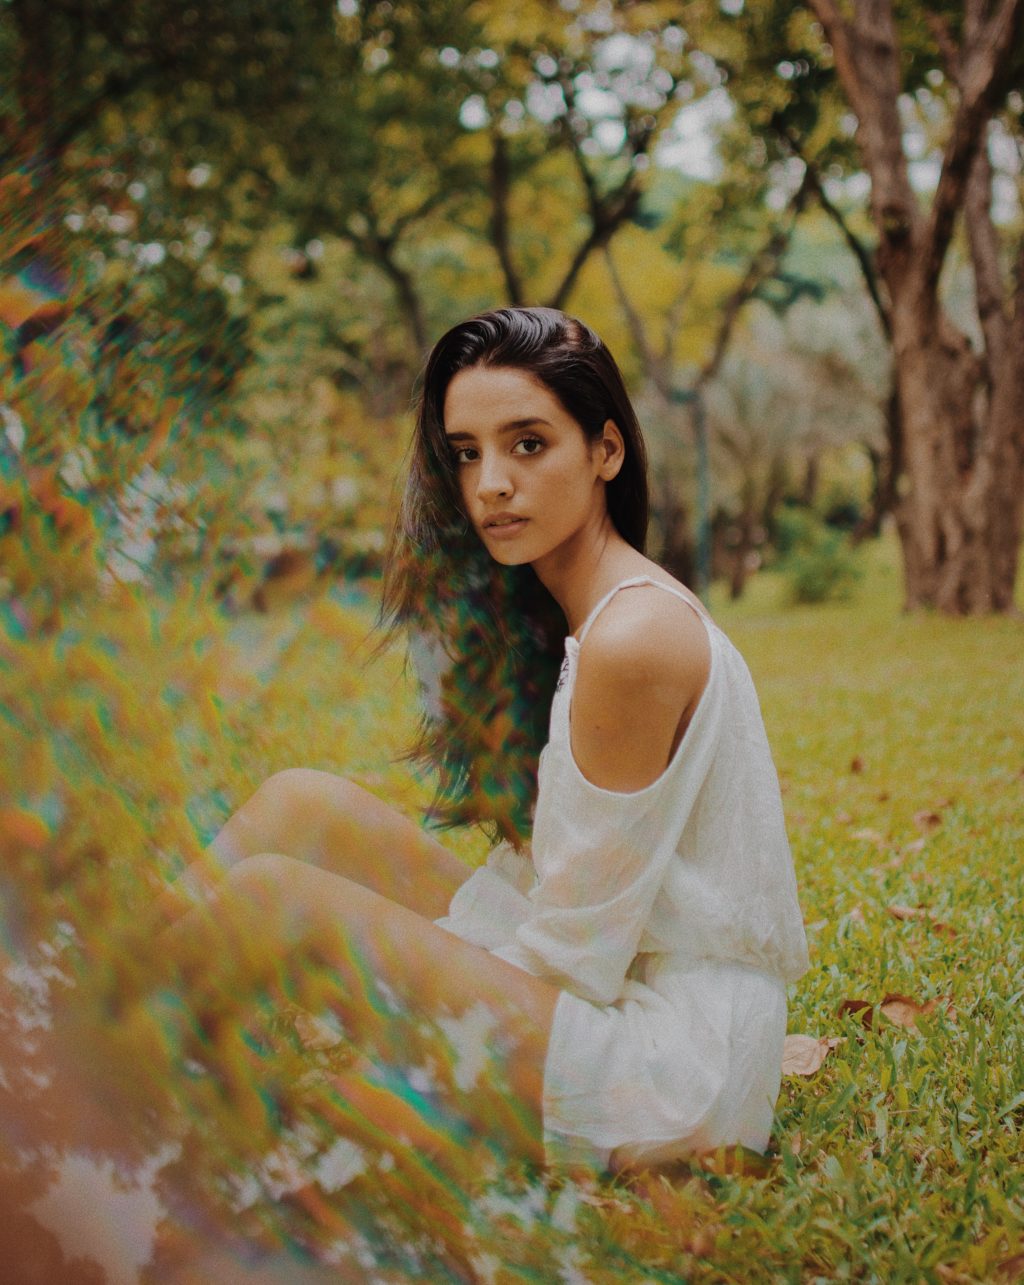

If you have photographed using prisms, please feel free to share your experience and tips in the comments section below. You can also share your images with the community here at Light Stalking


