As a newcomer to photography, the chances are that many of your first images will be outside. The beauty of the natural world or the dynamism of bustling cities are hard subjects to avoid with your new found enthusiasm for this wonderful pastime. As much as we enjoy shooting the great outdoors, there are also some very common problems with the end images. Today we are going to look at three such problems and how to solve them.
My Images Are Not Sharp
This is perhaps one of the more common problems with outdoor photos. There can be several reasons why an image is not sharp. First is that autofocus systems are not always able to correctly judge the subject of your shot. This is especially the case if you use the default autofocus mode which in most cases is area mode. This uses a large area of the image and tries to work out what it thinks should be in focus, sometimes unsuccessfully. The best option for getting a higher rate of sharper photos is point focus mode. This is where the camera uses a single small point in the viewfinder to acquire focus. As the photographer, you move the camera so that that point is over the subject, half press and hold the shutter button, then move the camera back to your desired composition and fully press the shutter.
Another common issue is camera shake. This occurs when you cannot hold the camera steady enough to get a sharp image. There are a couple of reason as to why this might occur. The first is using a telephoto lens with a too slow shutter speed. Because a telephoto is effectively magnifying your image, it also magnifies your movement, however slight you might think they are.
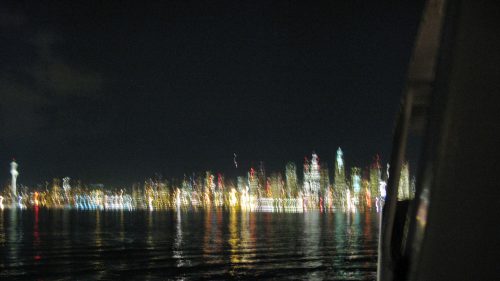
To counter this, use this rule of thumb. Your shutter speed should be equal or faster than your focal length. So if you are using a 200mm lens, make sure your shutter speed is more than 1/200th of a second. In real life, this would be 1/250th or faster.
The second part of this issue is low light. As the light fades, our shutter speeds get longer. The issue is similar to using telephoto lenses but can also be a problem with standard and wide angle lenses. The rule of thumb is also the same, however, as the light is fading you may not be able to achieve the correct shutter speed. In this case, your two options are to increase ISO which will incrementally decrease image quality or to use a tripod to stabilize the image.
Too Much Contrast
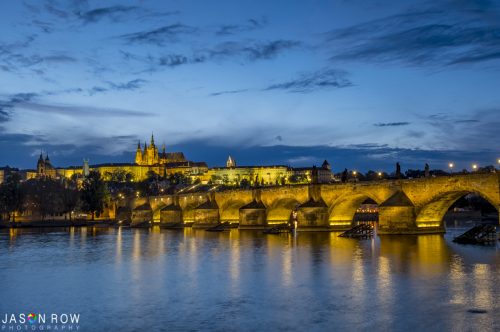
High contrast scenes can often lead to quite flat boring looking pictures. The reason for this is that the sensors in our cameras cannot deal with the difference between the darkest and lightest parts of our shot and so compromise. In outdoor photography, this can be seen as harsh shadows or flat uninspiring skies. Typically high contrast scenes occur in bright sunshine in the mid regions of the day. That’s why as photographers we tend to prefer the early and late parts of the day when the sun is lower and casts, softer light and shadows.

If you have to shoot in the midday sun, there are some techniques for reducing contrast and making the image look better. One is to use a polarising filter. This will reduce glare from things such as water, glass and foliage, and give a better contrast and saturation to your image.
Secondly, if the contrast is extreme, you could bracket your shots. This is where you shoot a series of images above and below the metered exposure. There are two reasons why you might do this. First is that one of the images may be better than the metered exposure. The other is that you can merge all the bracketed images together to increase the dynamic range of the shot, the HDR technique.
Lastly, if you are struggling with the contrast between the foreground and sky, then a set of graduated neutral density filters can be very useful. This allows you to “hold back” the sky whilst exposing for the foreground giving a more natural looking image.
Backlit Subjects
The silhouette is one of the cornerstones of photographic creativity. But not if you didn’t mean to shoot it. Then it simply becomes a backlit subject. Backlight is where the main light source is in the area behind the subject rather than in front of it. This means that we are not illuminating the front of our subject matter. So what can we do about this issue?
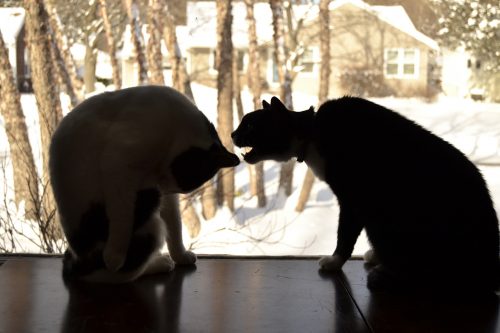
Firstly we can try to modify our exposure. By choosing a wider aperture or slower shutter speed we can make sure that the exposure is better on the subject. The downside of this, of course, is that the background will become lighter, an effect we may not want.
Secondly, we can use fill in flash. This is using a flash gun, either the camera’s own or an external one to balance the light between background and subject. Finding the right balance can be tricky for newcomers but most modern flash guns will allow you to automate that balance. A 1 to 1 ratio will mean the exposure on the subject is the same as the exposure on the background. The downside to this is that most flashguns can only synchronize up to a specific shutter speed. On exceptionally bright days you may not be able to use a slow enough shutter speed to utilize the flash.
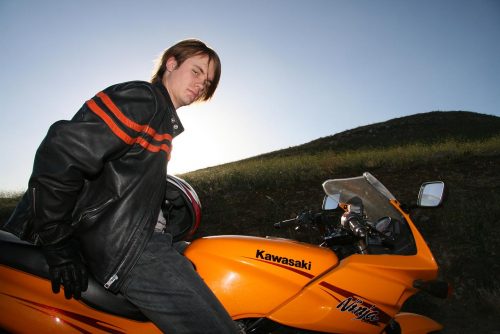
The last option is to use a reflector of some sort. This might be as simple as a piece of white card place strategically out of shot to reflect some of the sunlight back onto the subject.
Outdoor photography is a wonderful pursuit but being aware of these three common issues will mean that you can come home with a much higher percentage of good shots.


