When you think of digital asset management software for photographers, most will immediately think of Adobe’s Lightroom. However, there are a number of other options out there, all offering a similar management/editing workflow. One of those is ACDSee’s Photo Studio 9.
If you are relatively new to photography, you may not have heard of ACDSee. However, they have been providing photographic software since 1994. Today they create not only the Photo Studio series but also video editing and conversion software and mobile photography and video apps.
They reached out to Light Stalking and asked if we would like to review their Photo Studio 9 software, and today we will be looking at Photo Studio 9 for Mac. Its Windows equivalent in the ACDSee lineup would be Photo Studio Home 2023. As with all Light Stalking reviews, we have been supplied with the software for free but are not being paid to do this review and are free to express our own opinions of it.
Installation
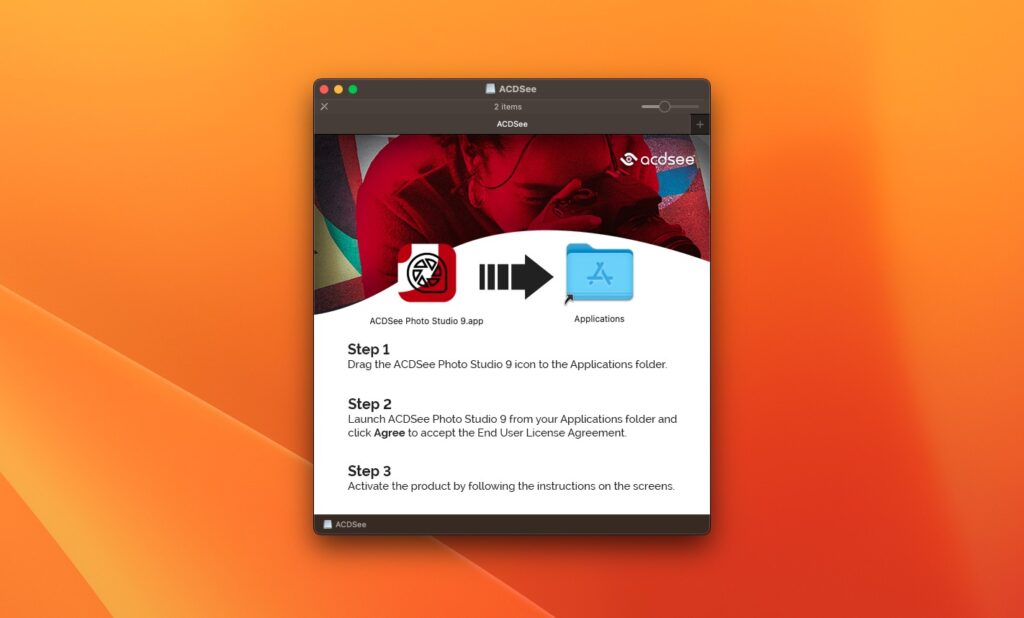
The installation on Mac is pretty standard. Open the DMG files, drag and drop the app to the Applications folder and run it. Upon opening, you will be required to give permission for Photo Studio to make changes and access certain folders. Note that by default, ACDSee will not access external drives. You will need to set that up in settings. Once you have agreed to the obligatory terms and conditions, you then need to set up an account with ACDSee. I did this quickly through Apple Login, although other options are available such as Facebook and standard email.
First Impressions – The Interface
Upon opening, the interface looks quite familiar. This is probably more to do with the fact that by default, most image management software will feature a large grid of images surrounded on the sides by catalog and metadata tools. The thumbnails are quite small by default, but even increasing their size does not make them large enough, in my opinion.
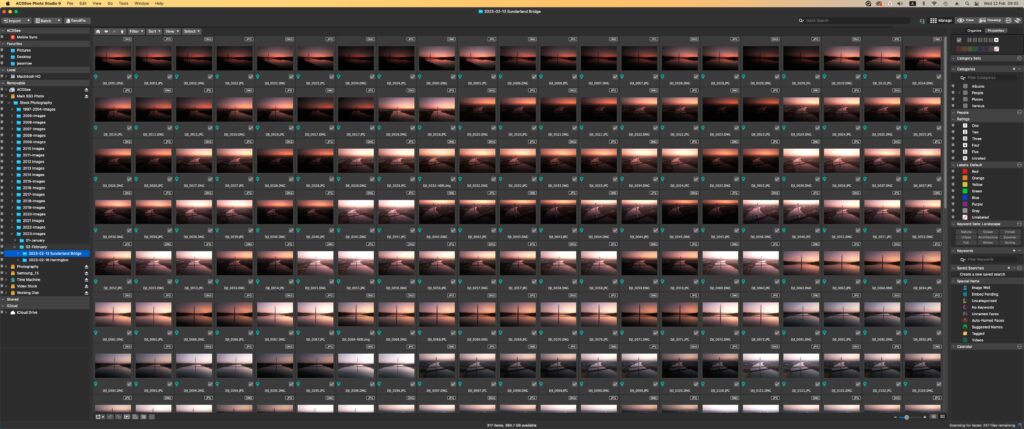
The interface will put you in mind of Lightroom, but to my eye, its aesthetic is not as easy on the eye as its Adobe counterpart. The font choices and colors seem harsher, and the overall feel is more cluttered.
To the left of the interface, we have the file hierarchy. This mirrors the MacOS folder hierarchy and does not require you to import the images into a specific catalog. As mentioned, you will need to add external drives through the settings to see them in the navigation tab.
At the top left, we have tabs that allow you to import images to a folder, make batch changes to images, such as changing time/date, resizing, and applying development settings. Next to that, there is the SendPix tab which is, in effect, ACDSee's file-sharing service. It requires a separate download and login.
To the top right, there are a series of Lightroom-style modules, including the Develop module, where you carry out the main edits.
Setting Up ACDSee Photo Studio 9
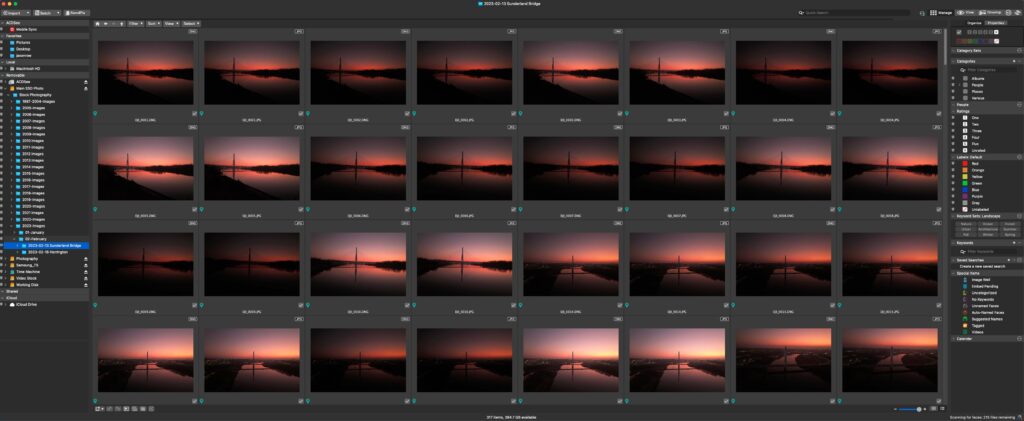
As with any modern software, it’s worth setting up the app to your preferences. This is done through the setting menu item. Here I set up various items that suit my workflow better. Amongst these were allowing Photo Studio to open the folder I was last using, making sure the Develop tools were on the right of the screen, and turning off face detection. This can be a resource hog on many computers. I also unchecked “exclude external drives” in the devices tab of the settings. Multiple settings can be changed under various tabs.
The Manage Module
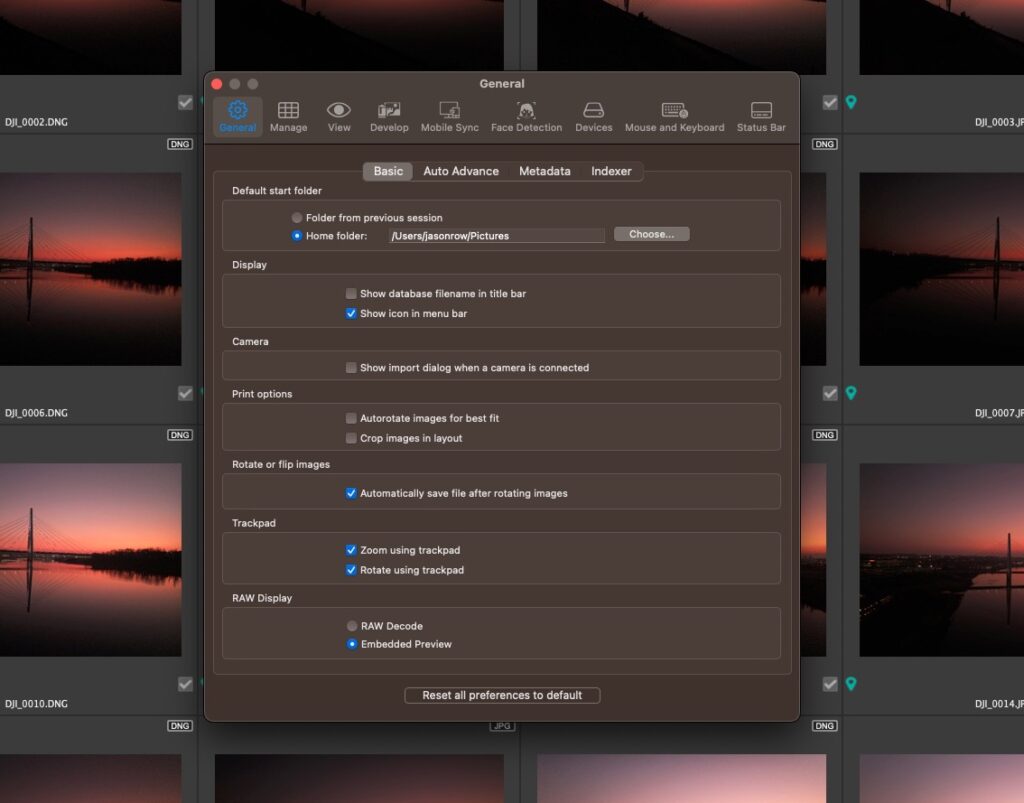
The Manage module is the default mode and is the equivalent of Lightroom’s Library module. It is here that you will import, sort, and rate your images. You have the folder hierarchy to the left with a histogram and EXIF data of any selected image at the bottom. To the right, you can organize your images into categories and give ratings between 1 and 5 or X to unrate them; you can color code your shots plus add captions, titles, and keywords.
At the top of the Manage module, you can filter and sort the images according to your own criteria. Overall it’s a well-laid-out, easy to use if a little cluttered interface.
The Develop Module
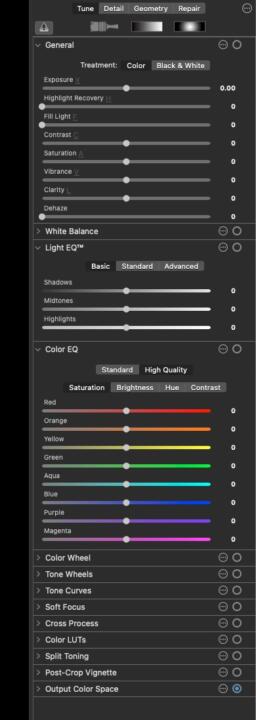
This is where the magic happens in Photo Studio 9. At the very top on the right, there are four tables, Tune, Detail, Geometry, and Repair. This is quite explanatory and allows you to separate the various parts of your editing workflow.
The Tune section is the most comprehensive, with a plethora of tools available, neatly organized into various sections and opened by clicking and triangle to the left of each.
The first section is treatment, and this is similar to Lightroom’s Basic tools. You can adjust exposure, contrast saturation, and clarity. You also can recover the blacks and highlights, but this works slightly differently than the highlight/shadow slider in Lightroom.
There is also a dehaze slider, but oddly it does not allow you to add negative dehaze. I sometimes use negative dehaze in Lightroom to lighten and add an ethereal light to images.
Below that, we have White Balance which does exactly as you would expect.
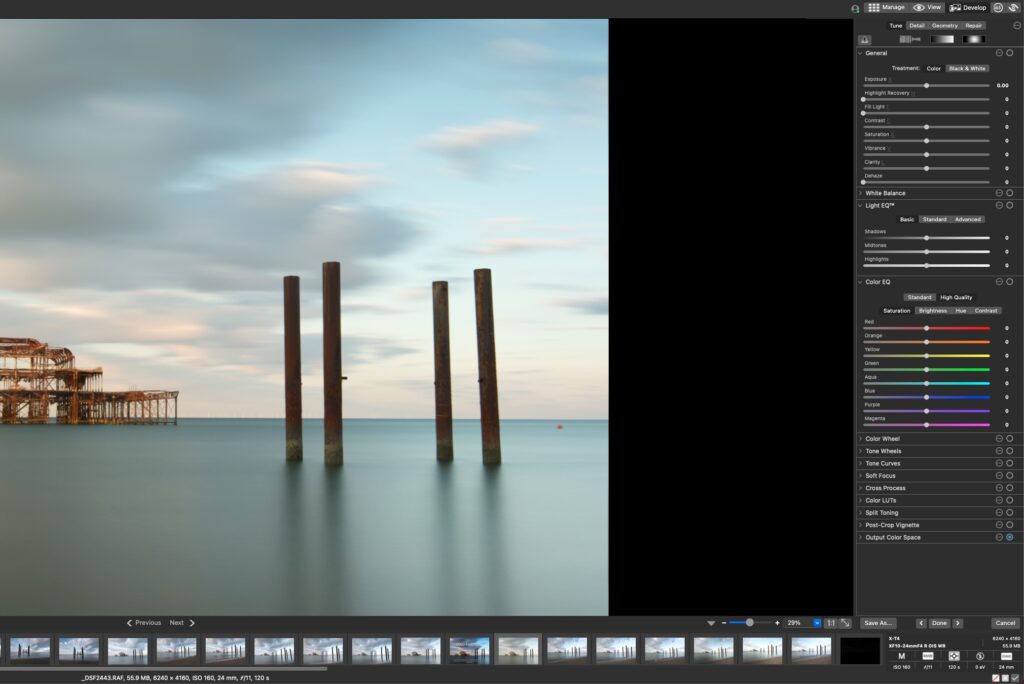
Then there are the Light EQ and Color EQ tabs. The LightEQ allows you to adjust highlights, shadows, and mid tones, whilst the Color EQ is very similar in function to the Lightroom HSL section. I have found you need to use a light touch with EQ, as it can cause banding in the image.
Below that, we have some wheels, similar to those found in video editing software, and towards the bottom, some less-used stylistic sections such as Split Toning and Cross Process.
Overall the editing tools are fast, powerful, and extensive. Playing around with my Fuji X-T4 files, I found there was little of the “worm” effect I might get in Lightroom. This might be because default sharpening and detail are set to zero.
However, as of the time of this review, ACDSee Photo Studio 9 did not support my Fujifilm X-H2 files, odd for a camera that has been out for several months.
Another thing I noticed is that you have to save files after editing. I don't know if this suggests that the editing procedure is a destructive process.
Masking is available, but it is quite basic, limited mainly to brushes and radial and linear gradients. There is no AI masking, such as Sky or subject detection, and you cannot intersect one mask with another as far as I can see.
Summary Of ACDSee Photo Studio 9
Priced at $99.99 for a one-off license rather than a subscription service ACDSee Photo Studio 9 is good value for those wanting to avoid a monthly payment. It has comprehensive image management tools, an excellent range of editing tools, and, most importantly, is fast.
The lack of advanced masking and the “busy” interface might put some off, but for those looking to avoid the Adobe ecosphere, it is an excellent piece of software and well worth the one-time purchase price.


1 Comment
Hello Jason.
Have just read you text about Photo Studio 9 for Mac, thanks for that.
Hope is possibly to send you a question even if I live on the other side of the big ocean, in Norway. I have a frient using this program for PC, and he is very satisfied. As far as I have experienced there is still a big difference between the version for PC and for Mac. It is many more features for PC as for Mac. Are you agree?
My questions:
– is it possibly to work with layers on Photo Studio 9 for Mac?
– is ti possibly to “get falling lines – as for buildings – right?
Best wishes from
Halvard Vik, by Oslo fjord. And enjoying photographing.
Mail: [email protected]