We all at some point are found in a situation where we have to restore an old photo and have a digital copy of it. My brother and I found some old photograph when our father passed away a couple of years ago. It was a treasure trove and many of the photographs were colour from the 1970s and 80s while there were also some very old black and white photos of my grandparents and great-grandparents dating back as far as the 1920s.
Although they had been stored in a dark old suitcase for decades, some had faded, some were torn, and some had even been folded. I spent a fair bit of time copying them to digital and restoring some of the most badly damaged ones to a much better digital copy.
To that end, I thought it would be useful to share some of the ways that you can copy and restore old prints to digital.
Why Do We Need To Restore Old Prints?
The fact is that printed photographs have a shelf life. Spending on the quality of the paper and freshness of the chemicals, that shelf time varies. Old black and white prints will probably be more durable than colour prints from the 70s and 80s. However, all will fade eventually, no matter how you store them. That leads us to the potential loss of our histories. However, we can preserve those histories simply by converting the images to digital and doing some basic restorations.
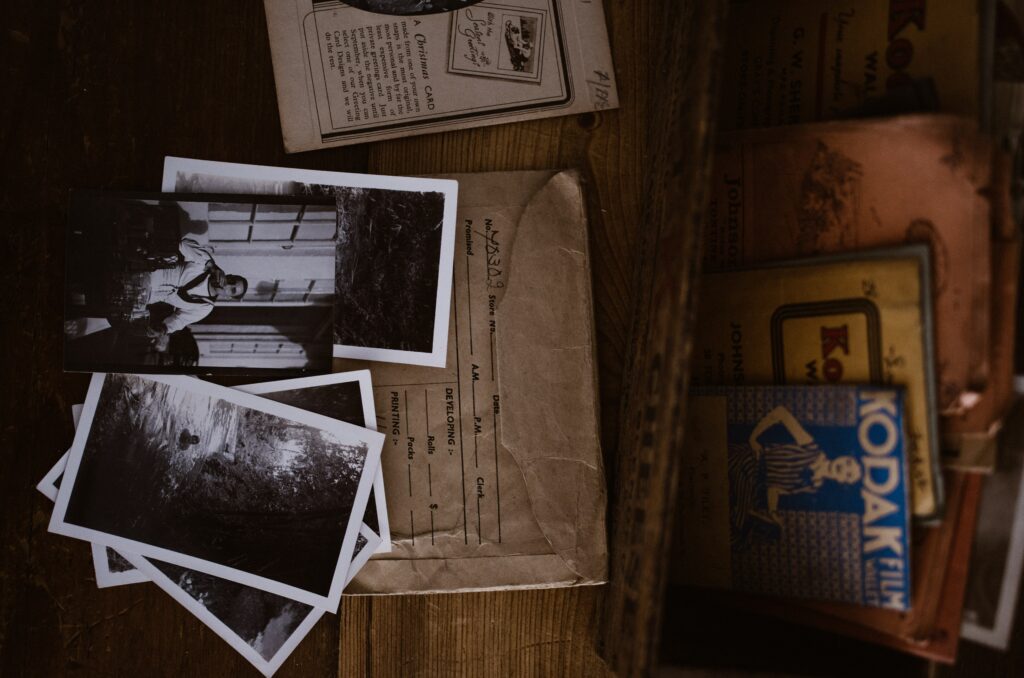
The Way I Restore Old Prints To Digital
Getting your old family prints into a digital format does not have to be a complex or even long-winded process. For my family prints, I used a mirrorless camera, a tripod that could extend out vertically, and some natural light.
I found a bay window with net curtains and chose a dull, overcast day to shoot. The overcast day will help maintain exact light levels and white balance. I placed a flat, thin piece of wood down for the prints to sit on. On the camera, I used a standard lens set to around 50mm to minimize any distortion. I then laid down the largest print that I was going to copy and raised the tripod so that the print sat just inside the image frame. Rather than constantly moving the tripod to fit each print, it’s much easier to crop in Lightroom. We have more than enough pixels to do this.
With the equipment all set up, I simply took a shot of each print using a two-second timer to minimize tripod shake. I also shot the images in RAW for maximum quality. The whole process was very quick and efficient.
Other Ways To Get Your Prints To Digital
While efficient, my technique may not yield the highest quality. Glossy prints might reflect back some light, some prints might have curled or even been folded, making them tricky to copy.
A slower but more accurate way to get your prints to digital would be to use a flatbed scanner. These are fairly inexpensive and offer high resolutions. They will be fairly slow, but that is compensated by the fact that they are less cumbersome. You can sit at your working desk with the prints on the side of the scanner ready to go. One useful tip when using either a camera or scanner is to give the print a very light clean with a lint-free cloth to remove any dust and hairs from the surface. Ensure the print is in good enough condition to withstand a clean first.
Lastly, you can use a professional service to scan your prints. Depending on the quality level that you are looking for and the number of prints you have, this can be quite expensive option.
Restoring The Digital Version Of Your Print
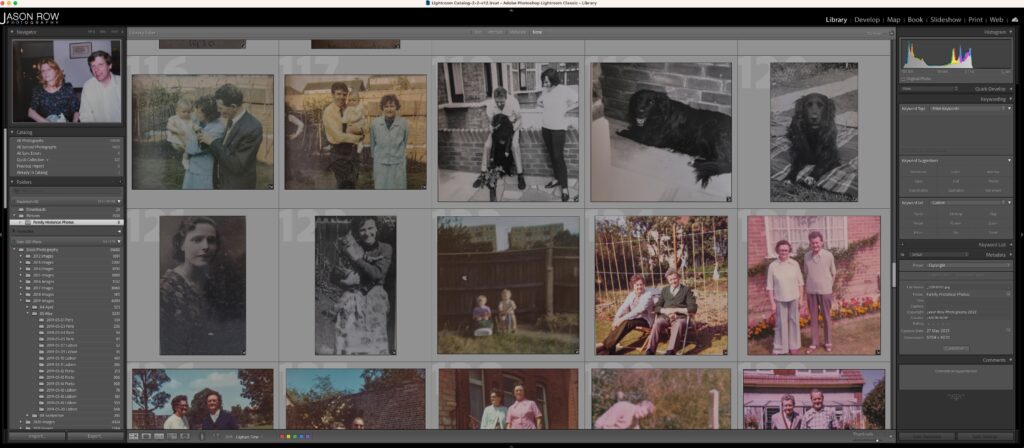
I have found that a good workflow is to use both Lightroom and Photoshop. I import the images to Lightroom and then give them a star rating. A five-star image is one that I want to spend some time on doing a full restoration. Three stars are images that I will do a simple restore to.
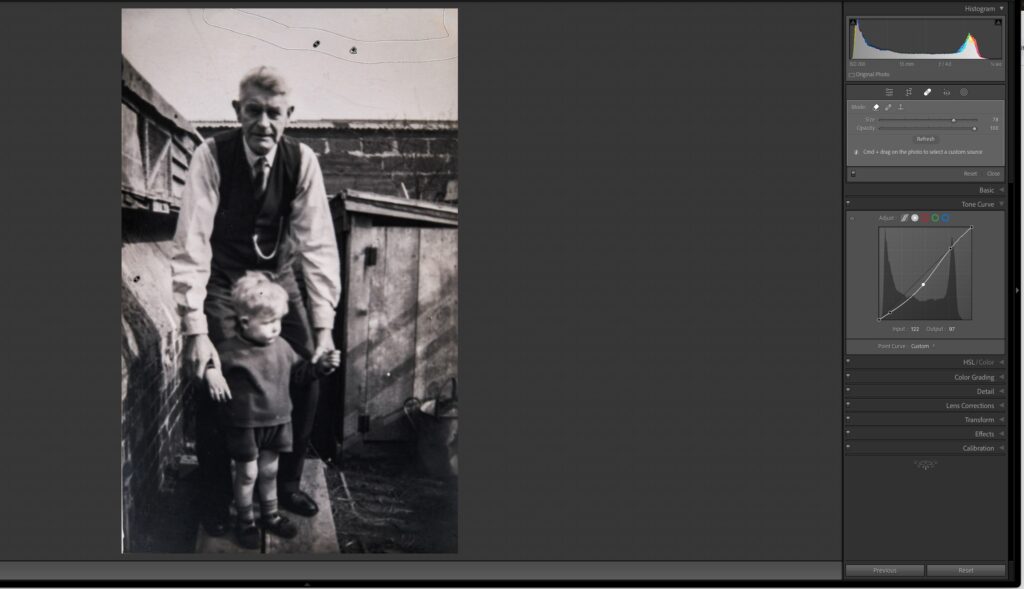
I then did a basic exposure and contrast tweak to all the images. For ones that are really faded, I might use the tone curve tool to boost up the contrast as best I can. The dehaze tool can also come in useful if used sparingly.
Restoring The Five-Star Images In Photoshop
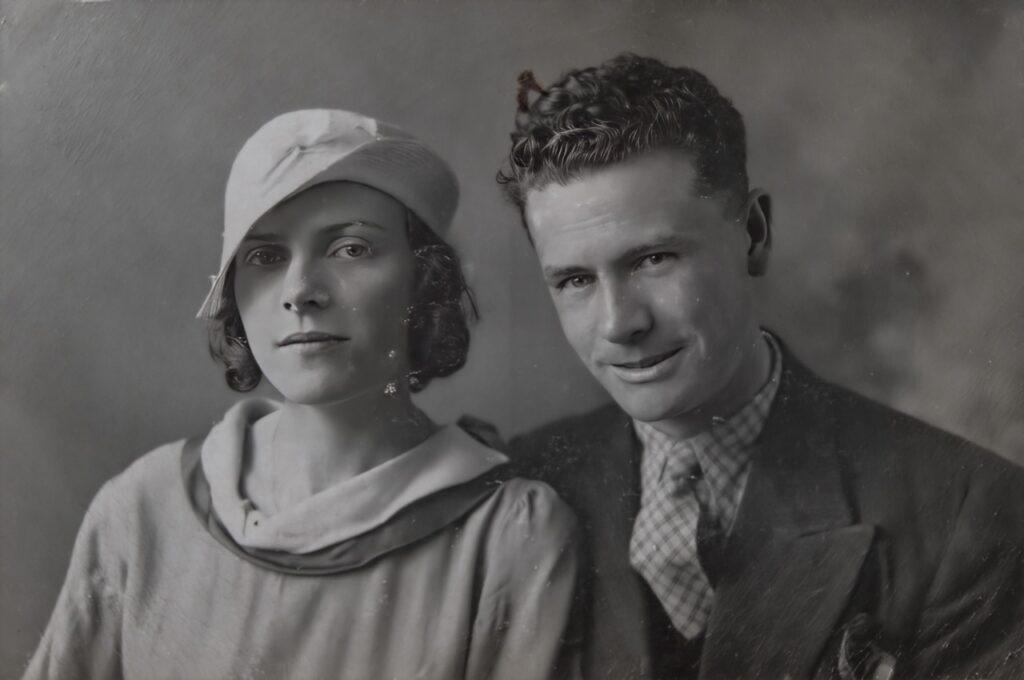
For the real special images, I round-trip them over to Photoshop from Lightroom as a PSD file. There I create a new layer to avoid denigrating the original. I use the Spot Healing Brush in Content-Aware mode to remove any tears, folds, or other blemishes. I use a graphics tablet to do this as it gives you much more control and zooms in nicely into the area where I wish to work.
I also use the clone stamp tool to remove regular blemishes. Make sure you select both the new working layer and the original background layer when you are cloning.
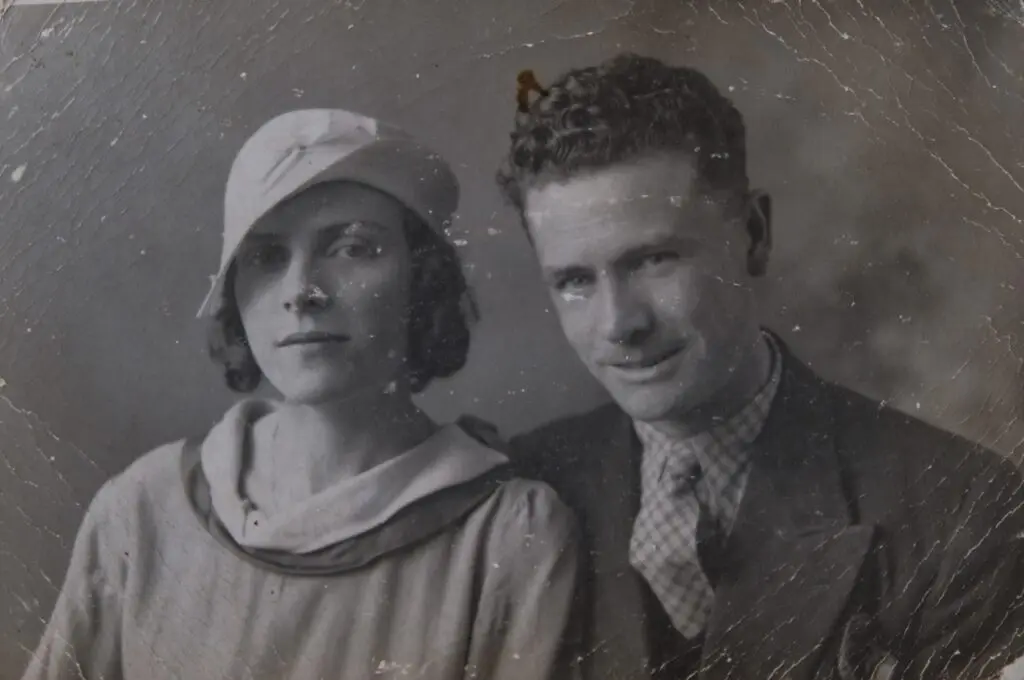
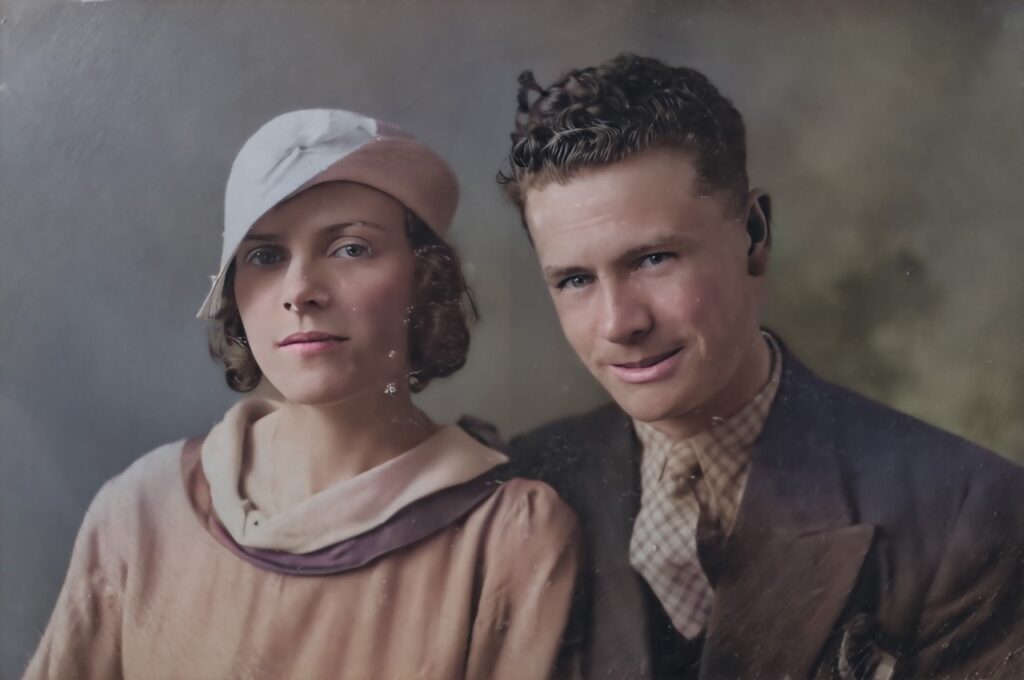
Lastly, I sometimes use the amazing new colorizing filter in Photoshop. This is found in the menu under Filter – Neural Filter – Colorize. It will automatically determine what is in the image and apply suitable colors to them. It’s a little hit-and-miss. However, I have found that well-exposed images under controlled lighting work best, for example, studio portraits. Simply saving the images in Photoshop, once finished, will bring them back into Lightroom.
After The Restoration
So what do we do with them after the restoration? The first thing would be to back them up in multiple ways. Archival DVDs, hard drives, and cloud. After all, the point of the exercise was to preserve these images. You can, of course, print out new versions of them on high-quality paper. This will preserve them for at least two or three generations if kept well in low-light conditions.
Personally, I created a private gallery on my website, protected by a password. Only family and friends have the password and can access the images wherever they are located. They can also leave comments on individual shots and download them and print them for themselves.
Restoring your old prints to digital is a great way to preserve the past. Prints will fade with time in the same way as our own memories. Converting these prints to digital formats, restoring them, and then uploading them not only preserves them but allows so many people to access them in a non-destructive way, allowing us to maintain our personal histories.





4 Comments
Thanks for sharing this Jason
Very nicely composed and helpful.
Thank you.
Very informative. I suspect most of us have family photos we should digitise (if we can find the time)! Some useful tips there. Thank you.
Kodachrome slides have lasted decades longer than any digital storage. The only way to keep digital memories is to keep copying to new media as storage becomes obsolete and Operating System change. You can do this in the Cloud, at a cost of course.