Those of you that have been around since the early days of digital, may well recall the name ACDSee. In fact, the company was one of the first to produce image management software, long before the advent of Adobe's Lightroom and Apple's Aperture.
Although these days they might not be as well known as Adobe, they are still in the business of producing professional software for photographers. One of their most recent releases is Photo Studio Ultimate 2020. They have provided us with a copy for review, however, our impressions of this software are entirely our own thoughts.

What Is Photo Studio Ultimate 2020?
In short it's a professional-level image management and photo editing app. The Ultimate version is the top end of a tier of similar products aimed at home users through to working professionals.
It has a vast array of features that you would expect from this level of product. These include raw editing, layers, advanced image management and support for techniques such as HDR and Focus Stacking.
Installation and Interface
Installing Photo Studio Ultimate 2020 itself was fairly straight forward, a simple download and opening an .exe file. The activation, however I found a little convoluted and confusing.
To activate you first need to register an account with ACDSee. I did this through Facebook. To activate the product however, you also need to register an account with their ACDID, this is not linked to your Facebook login and requires seperate log in details. It took me about 15 minutes to work this out.
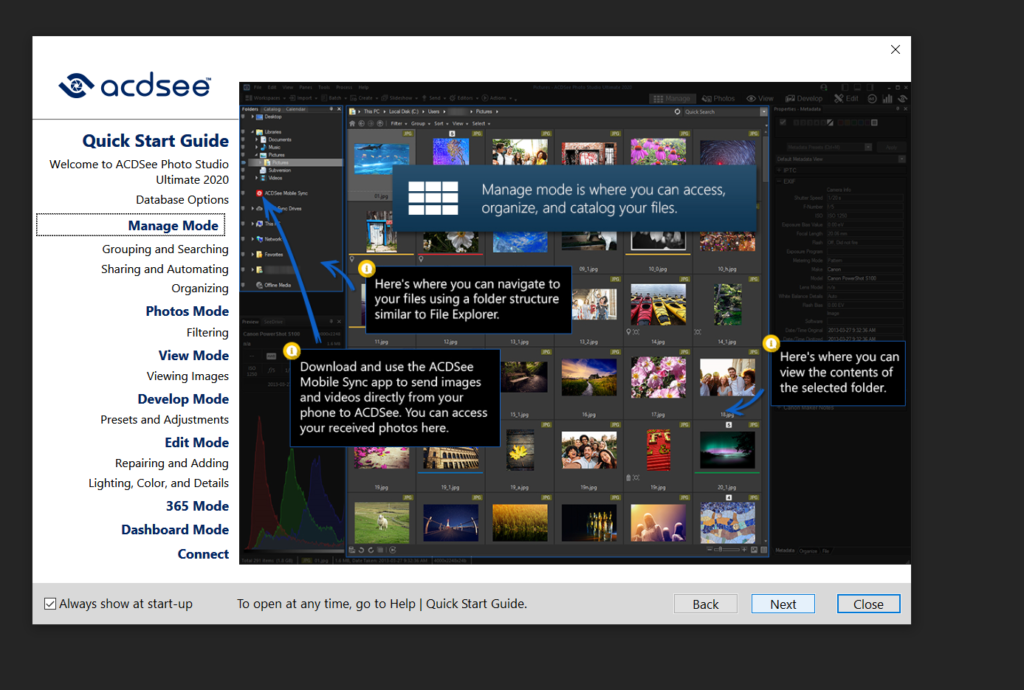
On opening you will find a useful walk through and online manual that can help you get started quickly. This can be switched off if you are already comfortable with the software.
The intitial interface opens in the Manage tab. To the left of screen you can see a navigation panel similar to Windows Explorer. Here you can see all the disks attatched to your computer, internal, external and network drives. Clicking through the navigation you can open folders that contain images and these will be opened in a thumbnail grid. The thumbnails loaded very quickly, certainly faster than my experience with Lightroom using the same computer.
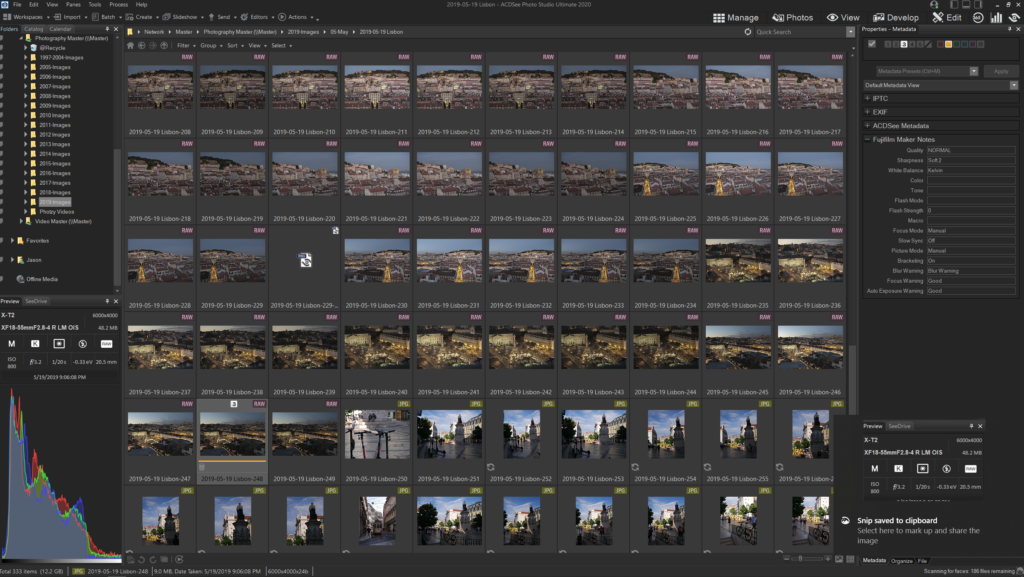
Talking of Lightroom, users of Adobe's product are going to find some striking similarities between it and Photo Studio Ultimate. From the navigation on the left to the tabbed modules at the top right, the whole interface seems designed to attract Lightroom users. This continues down to their tools for integrating with Lightroom databases.
The interface can be quite daunting and to me it lacks the polish and usability of it's Adobe equivalent. It is however faster and scrolling though hundreds of image thumbnails, is instant as opposed to Lightroom which can be somewhat laggy. One nice touch is the camera exif panel on the left. This shows the settings that each image was taken with using familiar icons.
The Module Tabs
As mentioned, at the top right is a series of modules. The first and default is manage and as you would expect this is the image cataloguing module.
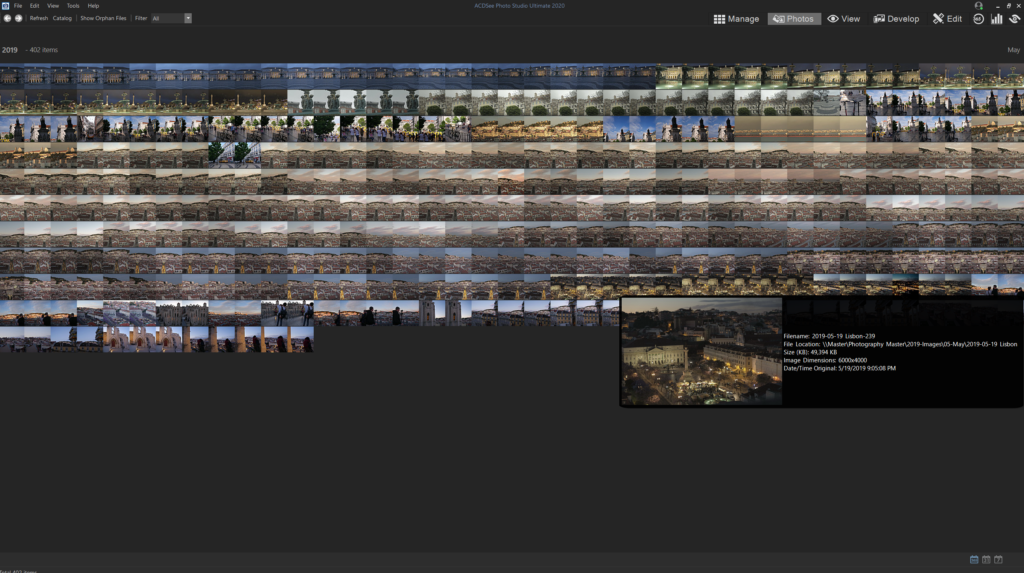
The next tab is Photos. Anyone familair with Apple Photos on their IOS devices will be familair with this concpet. It displays a a continuous timeline of all the photos in your catalogue in chronological order. This can be switched between year, month ad day views.
Double clicking on any of the images will open it in View mode, the next of the module tabs.
In view mode you can do some very basic adjustments such as rotate images and apply aut exposure to them.
For your main editing you need to go to the Develop Module.
Editing in the Develop Module
This is the most impressive module and features a vast array of editing tools. Again many of them will be very familiar to Lightroom users. The tools are shown on the left side of screen and are arranged into four tabs, Tune, Detail, Geometry and Repair.
The tune tab features all the primary editing tools to make your initial corrections. Here you can adjust exposure using highlight and fill lights, modify contras and add clarity, vibrance dehaze and satuaration
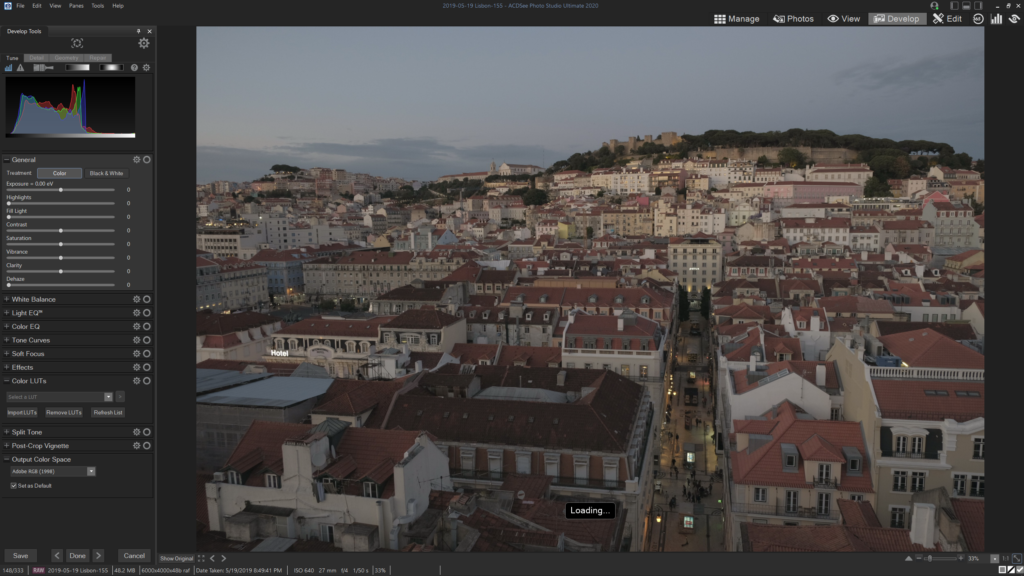
Next you have the white balance controls then beneath that the Light EQ controls. This is an interesting take on the familar levels control however it gives you more control over several areas in the midtones.
The Color EQ is another tool that will be familar to Lightroom converts, it is very similar to the HSL tab with the addition of color contrast.
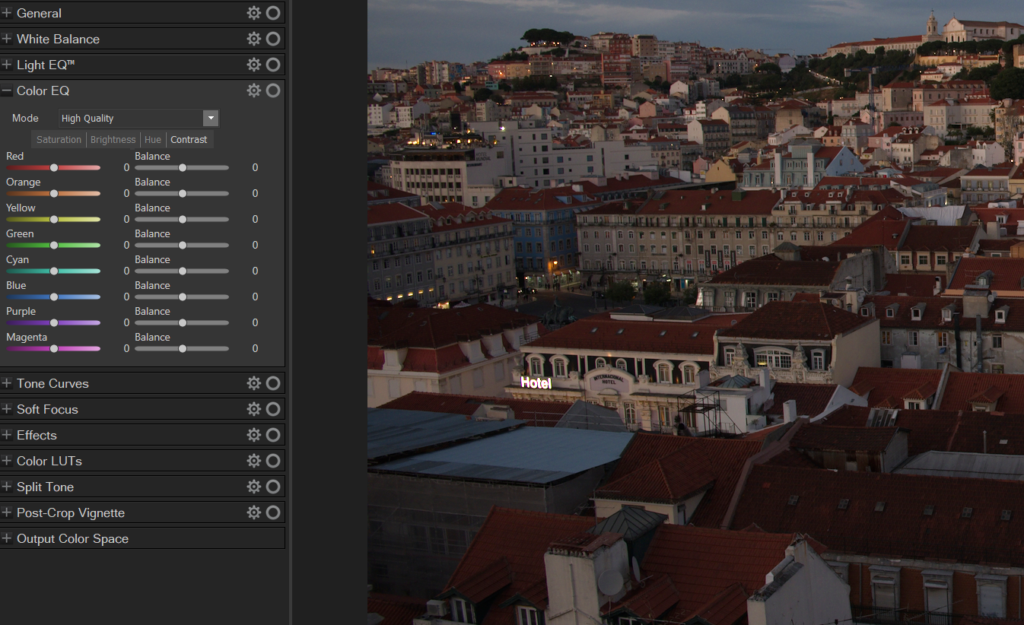
The remainder of the Tune section contains curves, soft focus, effects – a series of filter syles, LUT's. This is very useful if you are looking to cinematically grade your images, split tone and vignetting.
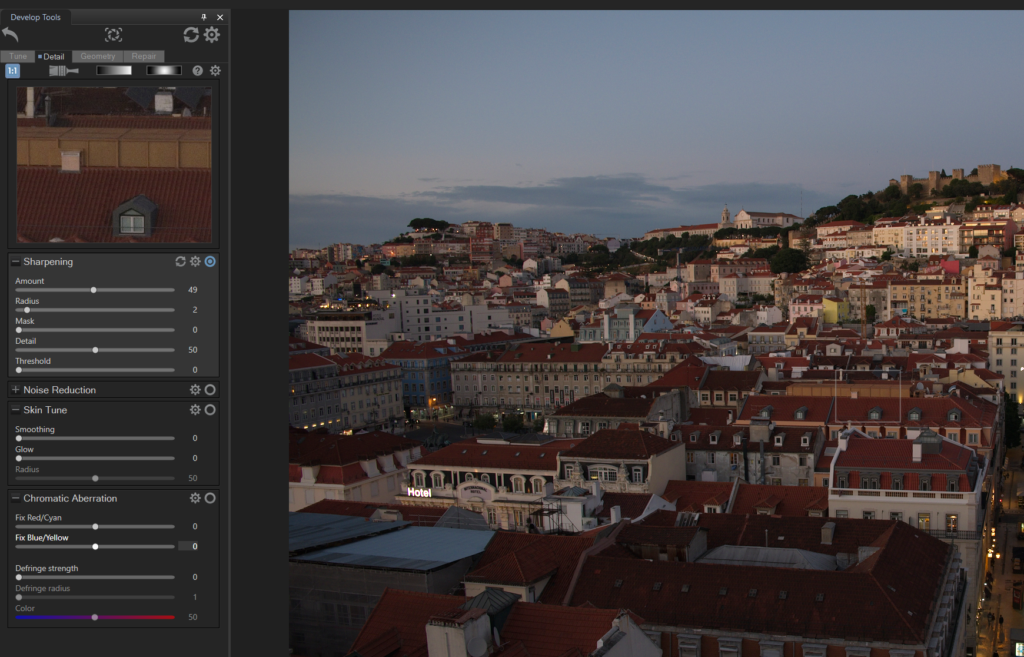
The detail tab contains the sharpening and noise reduction tools. I was impressed with both but in particualr the shapening which seem to give a very nice look without degrading the image with halos even at higher amounts.
The Geotetry tab allow you to make corrections to perspective, rotatation and vignetting. It features included lens profiles and I was impressed to see my Fuji and it's lenses being recognised.
The repair tab features a heal tool and two variants of the clone tool. All three seemed to work well and were intuitive to use.
The Edit Module
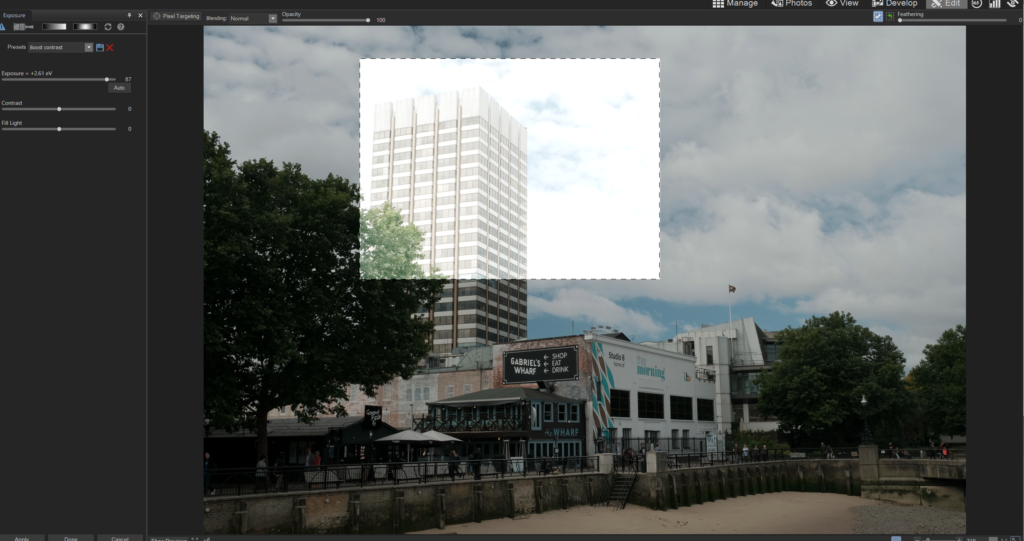
This is a seperate and powerful module that also features a vast array of tools. If the Develop module is similar to Lightroom's Develop, then the Edit module brings Photoshop level editing to your images. It's primary purpose is selective editing of parts of an image. To this end it features a number of ways to select parts of your image such as lasso and magic wand.
It is also where you can add and work on layers, add text and make very specific edits to selections within your shot. Again those familiar with Adobe's Photoshop will be instantly at home with many of the tools available in the Edit module.
Conclusions
The sheer amount of tools available in Photo Studio Ultimate is mind boggling. As you may have gleaned from my impressions in this article, it would seem that ACDsee are making a concerted effort to woo Adobe users. From the Lightroom integration to the familairity of the tools, the ethos seems to be to make Adobe users feel at home.
In most parts I think they are sucessful in this. I feel the interface lacks the polish and intuitiveness of Adobe's products but the sheer range of tools more than make up for that lack of polish. Newcomers to photography may well be daunted by the interface but those with more experience will soon find their way around the app.
The Ultimate version is available on a subscription basis for $8.90 a month or $89 a year. This includes up to 5 users and 50GB of cloud storage. Alternatively you can get a lifetime licesne for $149.99 which provides free upgrades and technical support for one year.
There is no doubt ACDSee Photo Studio Ultimate is a very powerful editing and management tool. Will it pull people away from Adobe? Well you can try it yourself by downloading their free trial.


