Dynamic range can be a confusing term especially if you are a beginner in photography and one that is also not greatly understood by many photographers. In simple terms, it is the huge contrast between the lights and darks in a scene, for example a sunset shot where there is a huge contrast between the bright sky and the dark foreground that lies in shadows, or, a midday scene where there is a huge contrast between the sunny and shady area of the scene. In overcast or low light situations, this range is usually small.
When capturing photos under these situations, chances are that you may have lost details in the highlights or shadows or both. You may have adjusted exposure for a certain area of the scene but the limitations in the camera's dynamic range usually causes this problem. A quick look at the histogram will help you judge the dynamic range of the scene. In this article, we have put together some resources that will help you to understand dynamic range and improve your photography.
Dynamic Range: A Layman’s Guide For Photographers

We are usually aware of the term HDR, which stands for High Dynamic Range and it is a tool used to improve the dynamic range in high contrast images. Dynamic range can be improved in certain ways, for example bracketing shots and blending them when post-processing. This article will teach you the basics of dynamic range – what it is, how to see it and how to control it.
What You Need to Know About Dynamic Range (And How It Can Improve Your Images)

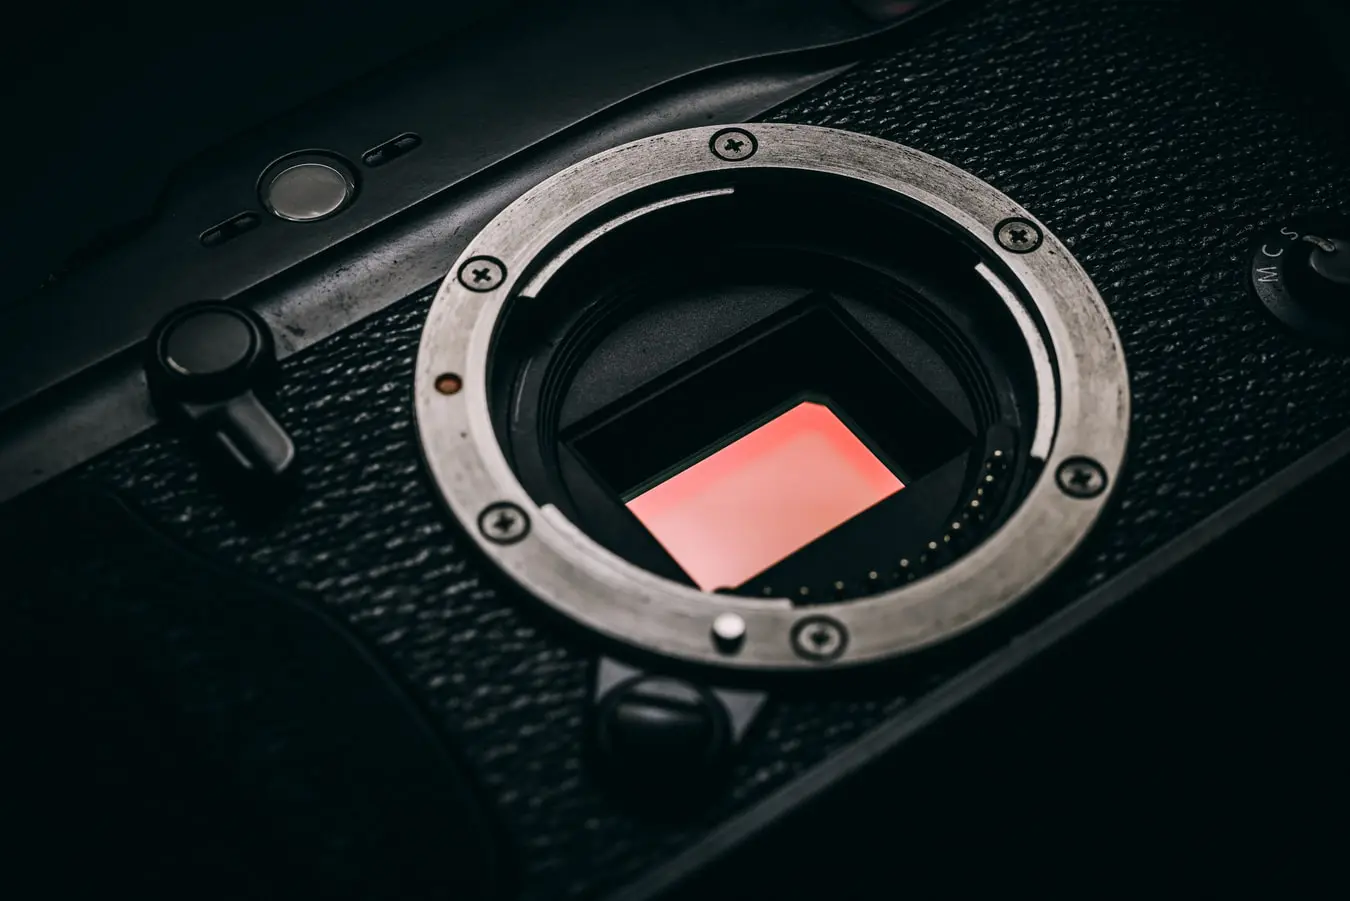
When talking about dynamic range, there are two types of dynamic range to take into account. One is the dynamic range or the contrast between lights and darks in the scene itself and the other is the dynamic range of the camera and this is how well the camera can capture the details in the brightest and darkest areas of the scene without losing details. This article discusses what dynamic range is and how you can effectively photograph scenes for better results.
6 Simple Ways To Achieve The Extended Dynamic Range In Your Photos
When the scene that you are shooting has a huge dynamic range and/or your camera sensor has limited dynamic range capability, there are ways in which it can be extended in order to get better results. This could be through bracketing exposures, shooting raw, using a graduated filter and so on. This article discusses six ways in which you can extend the dynamic range of your images.
8 Tips On Photographing Landscapes With A High Dynamic Range

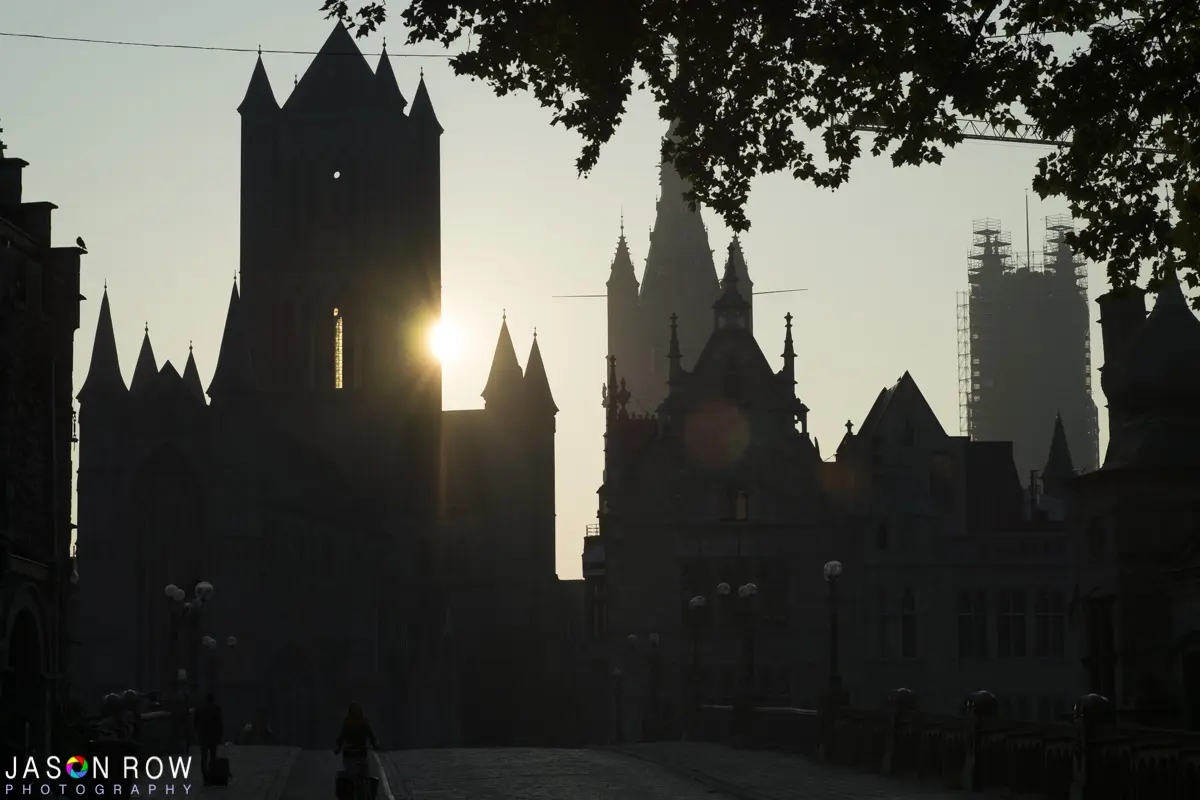
High dynamic range can be a challenge for landscape photographers. Landscape photography is done usually during the golden hour when the dynamic range is usually the highest – there is a huge contrast between the bright sky and the shadow areas of the foreground. There are a few ways in which this situation can be overcome and those are discussed in this article.
How To Boost Dynamic Range Using A Single RAW File
Shooting raw is the best way to recover details from slightly blown out areas in a photo. Bracketing exposures is a great way to recover or capture the dynamic range in photos, but there are times when we forget or simply do not bracket exposures but want to recover details from bright or shadow areas and this can be possible from a single raw file. This article discusses that process in detail.
A Beginner’s Guide to Dynamic Range (Plus Useful HDR Photography Tips)

When capturing a scene, most of the time we are not able to capture what our eyes see and this depends on various factors including dynamic range. The dynamic range of our eyes are different from a camera sensor's dynamic range. A good example is watching a sunset where our eyes are able to see details in the bright and dark areas of the scene whereas the camera struggles to capture those details. This article provides a beginner's guide to dynamic range along with some HDR photography tips.
How to Create an HDR Image From a Single Raw File in Photoshop

This is very similar to the article discussed above – how to extend the dynamic range from a single raw file. Using a single raw file a few exposures are created and then blended to get the final HDR image that has a good dynamic range. Read the article to find more details on how this can be done using Photoshop.
Is Exposing To The Right Still Relevant?

Exposing to the right is a technique used by many photographers because shifting the exposure to the right can help to improve the dynamic range in images and also decrease the noise in shadow areas. This technique is usually applied to high contrast scenes. This article talks about exposing to the right and post-processing those images.


