As photographers, we need an understanding of light in order to make better images and if you understand light, you will also be aware of the fact that different types of lighting whether natural or artificial will create different colour casts in a photograph. In multiple lighting conditions, most of the time, our eyes do not sense the different colour casts always, but the cameras are not good at producing good colours in multiple lighting conditions.
In this article, we will look at a few ways on how to fix colour casts when shooting under multiple lighting conditions. We will look at what can be done to fix the colour casts while shooting and while post-processing.
Shooting under multiple lighting conditions can be unavoidable at times, and when shooting in these conditions, unwanted colour casts are produced in the photograph and it is quite unlikely to fully bring the image back to normal colours.
Why These Colour Casts?
If you know about colour temperature, then you will know that each source of light has a different colour and hence will cast a different colour on your subject based on the temperature of that particular light source. Lighting is very important in making a good photograph and changing light or using multiple types/colours of light sources will kick the white balance greatly off from your images.
Working with white balance when there is a single light source or multiple light sources of the same colour temperature is quite simple, but when photographing using multiple light sources of varying colour temperature, setting the white balance can be quite complicated.
When photographing certain shows, concerts, etc., it is not a problem as the coloured lights are part of the scene. In these cases, use auto white balance or simply use the preset for daylight and shoot, then make adjustments if necessary while post-processing.
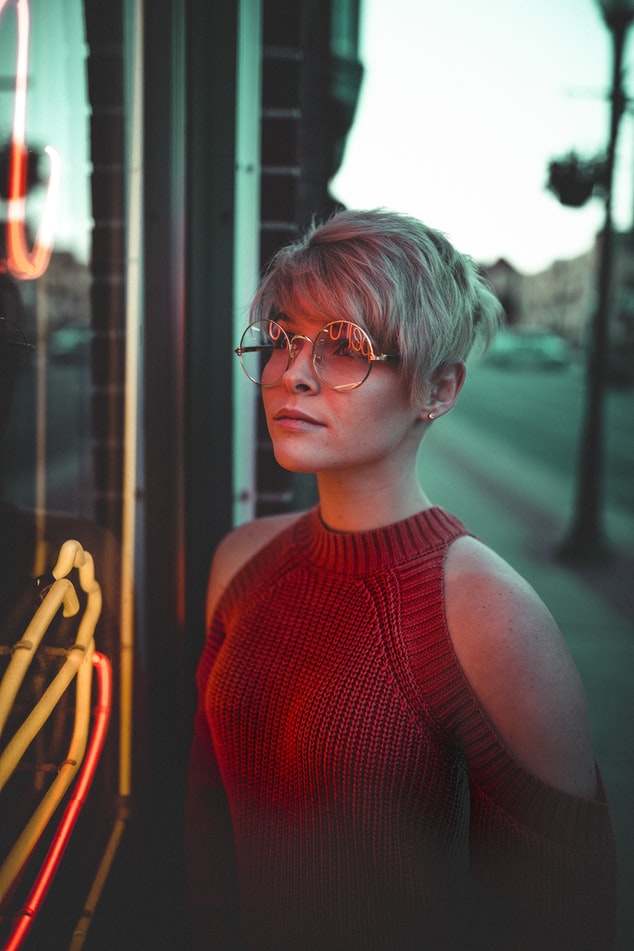
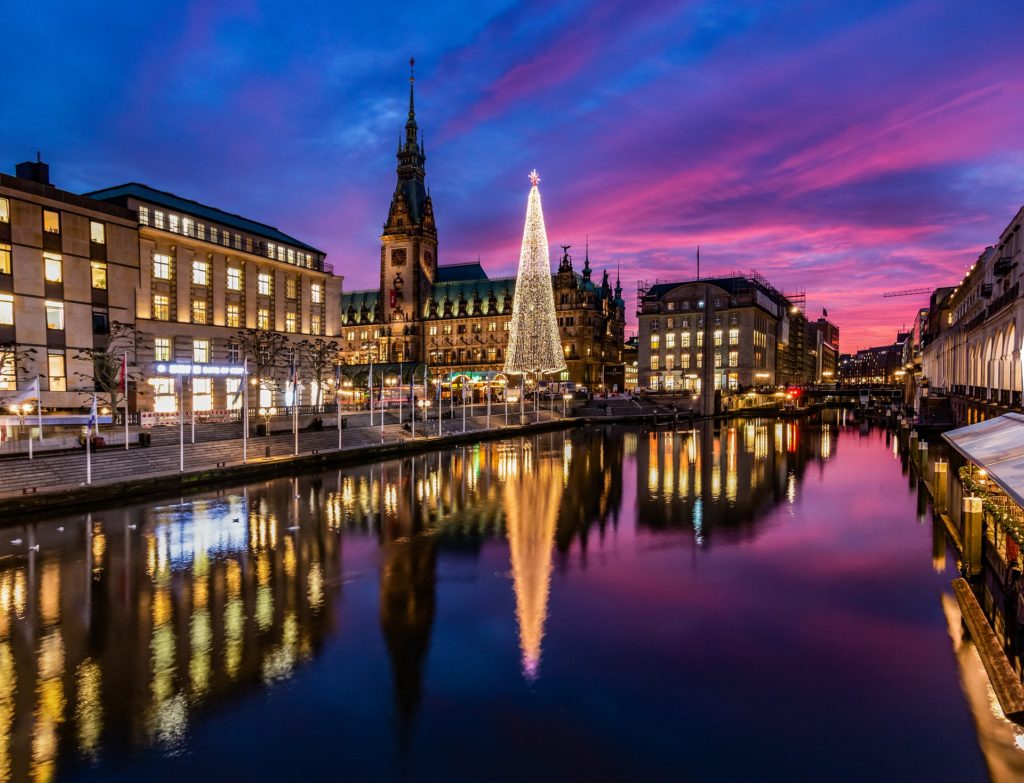
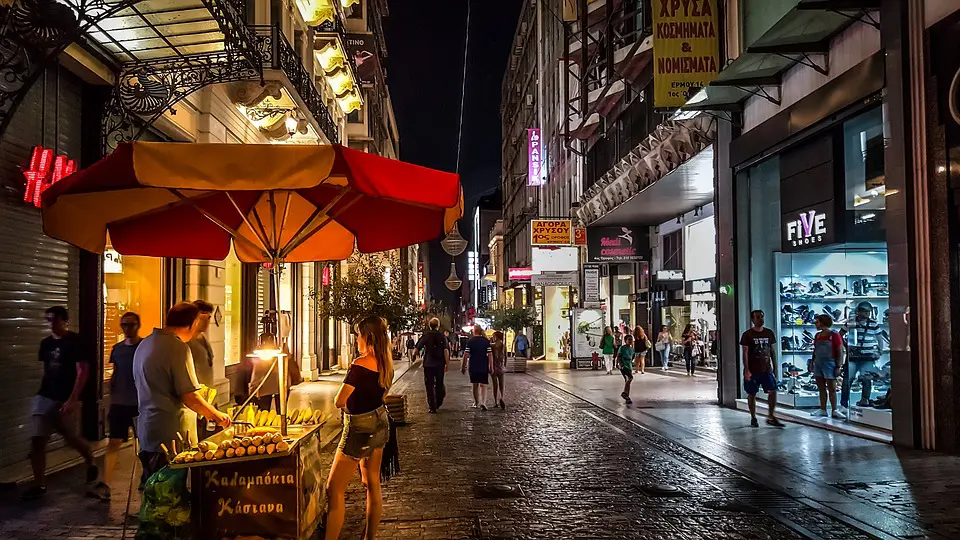
Problems occur when you shoot scenes where there may be a mixture of daylight coming through the window and fluorescent lights in the room or, when you have multiple types of indoor lights in the shooting space, for example indoor events, weddings, shooting at night in streets where different light sources including street lights, neon boards, lights from shop windows, etc. can be a reason for colour casts. In situations like these, you need to balance for two or more sources, and this will not always be possible to achieve in camera.
However, there are some ways you can try to avoid colour casts while shooting or fix these colour casts while post-processing. These can be manually done by making a few adjustments to light sources, shooting techniques and post-processing techniques. Make sure you shoot raw so you can make fine tweaks to your white balance when post-processing.
Note:
- Different light sources produce light of different colour temperature and hence cast different colours on your image
- Same light sources from different manufacturers can have slightly different colour temperature and as a result can create colour casts.
1. Try To Create Balance In Colours:
Balance for the most important area or part of your image by using your creative mind to judge the scene and find out which area is of more importance in the scene. You can first try auto white balance or try a variety of white balance settings to see if anything works. If nothing works, set white balance for the area that is of significant importance (mostly your subject) in your image and shoot.
2. Avoid Surfaces That Reflect Light:
As far as possible, try to avoid surfaces that may be reflecting off these multiple sources of light thereby making the colour casts even worse. You could use dark material to cover these surfaces to minimise the effect of reflections.
3. Remove Objects That Reflect Light:
If you find any colourful objects in the scene they may also reflect colours on to your subject or into the scene, try and remove them before the shoot in order to avoid unwanted colour casts. Some bright colours like red, orange, dark pink, yellow, etc. are the ones to watch out for.
4. Shoot Your Subject With Grey Card:
If you shoot in multiple lighting conditions, at the end of each shoot make sure you take a shot with a grey card as close to your subject as possible. This will help you use this image as a reference to set the white balance and bring colours as close to real as possible in your images.
5. Switch Off Certain Light Sources:
Often the problem of multiple lighting can be overcome by just switching off the unwanted or competing light sources and using just one light to illuminate the shooting space. For example, if you are in a location indoors where you have fluorescent or incandescent lights along with sunlight that is coming in through the window, you can just switch off these artificial fluorescent and incandescent lamps and use window lighting to shoot. In order to fill shadows and dark regions, use reflectors.
6. Overpower Existing Ambient Light:
If you think that the above method of turning off the competing light sources is not possible, then use a more powerful light source that can overpower all of the other multiple light sources so that they become insignificant and have the least effect in the images. Best to use studio strobes as they are powerful and help produce nice colours in your image as well.
7. Use Gels To Match Colour Temperatures:
Another way to reduce colour casts in images is to use gels to match the colour temperatures of the different light sources used. It is important to gel the unwanted light, for example, fluorescent or incandescent lights, where the gel is applied between the light source and the subject so that its colour is altered to match the other light source which most of the time is daylight through the windows. This may not always be practical, but do it if possible.
8. Adjust White Balance For The Main Subject:
Use a grey card to adjust the white balance and you need to set this again if the light changes. These shots with the grey card are used as a reference for setting the white balance in your camera. If you are shooting people, adjusting white balance for the subject will at least get the skin tones right although the other elements or areas in the image may have colours that look off.
9. Try Auto White Balance:
Sometimes none of the strategies or techniques might work and in those situations, it is best to shoot using auto white balance and then try to recover colours or remove colour casts while post-processing.
10. Try White Balance Bracketing:
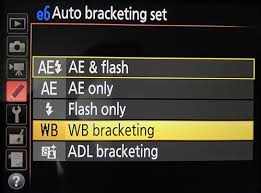
White Balance Bracketing feature is available in some cameras and this method can sometimes (if lucky) help you get the colours you are looking for in the image. What this feature does is, takes three shots – one based on the set white balance, one at a cooler white balance and another at a warmer white balance. You can later check to see if one of the three images has the colours acceptable enough to use the picture and this is most beneficial for anyone shooting jpegs because if you shoot raw, white balance can be adjusted while post-processing.
11. Shoot At A Varied Angle:
Sometimes colour casts can be avoided by just shooting from different angles. For example, do not shoot in the direction of the light that you are trying to eliminate. Try shooting from different angles or directions or maybe even do a few test shots to figure out the best direction to shoot. This will not always be possible and is situation dependent.
12. Try Adjusting The White Balance While Post Processing:
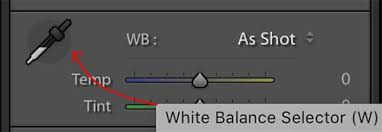
Try to set the white balance using the “White Balance Selector” tool for example in Lightroom, where you can pick grey colours in your image or a neutral point in your image to set the white balance. Alternatively, you could also play around with the temperature and tint sliders to get a more realistic colour and mood in your image. Here is an article that will show you how to set white balance while post-processing in Lightroom.
13. Use Levels Tool In Photoshop:
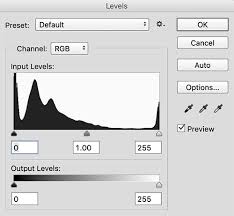
Another way to remove the colour cast is by using the Levels tool in Photoshop. Choose the RGB channels individually and work with the shadow and highlights slider in each to remove the colour casts. Here is an article that goes into details of how you can use curves in Photoshop to remove colour casts.
14. Work With Hue And Saturation Sliders:
The hue and saturation panels can be powerful tools to control colours in your images. These tools can be used to make changes to specific colours in your image. Depending on which colour you want to desaturate or increase saturation, drag that particular slider to the left or right to make adjustments.
15. Try Split Toning:
Split toning can sometimes add character to your images. For a more creative look, you can try and see if split toning works for that particular image because some dramatic results can be achieved through this method.
16. Convert To Black And White:
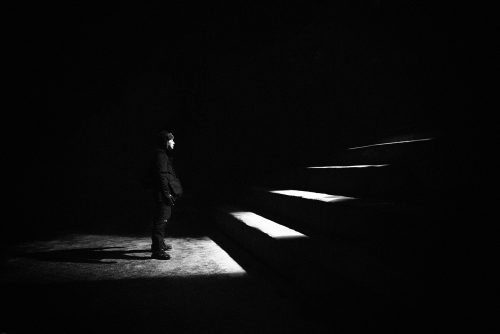
If you were not able to do anything to eliminate colour casts including while post processing, then the last option would be to convert the image to black and white in order to remove the colour casts. This can be used as a strategy to save important images.
Have you been in a situation where you have had to shoot under multiple lighting conditions? What strategies or techniques did you use to fix colour casts? Please share your experiences or tips with us in the comments section below!
