You may have noticed that most studio portraits or minimal images usually shot against a dark or black background are visually pleasing. They look very neat, professional and make the subject and colours stand out. Almost all genre of photography can benefit from this technique, for example, portraits, wildlife, nature, still life, food, products, etc.
Did you know that you do not even need a black backdrop to create images with black backgrounds? Yes, that’s true – you can create a pure black background in images irrespective of the color of the backdrop and it is not that difficult to master.
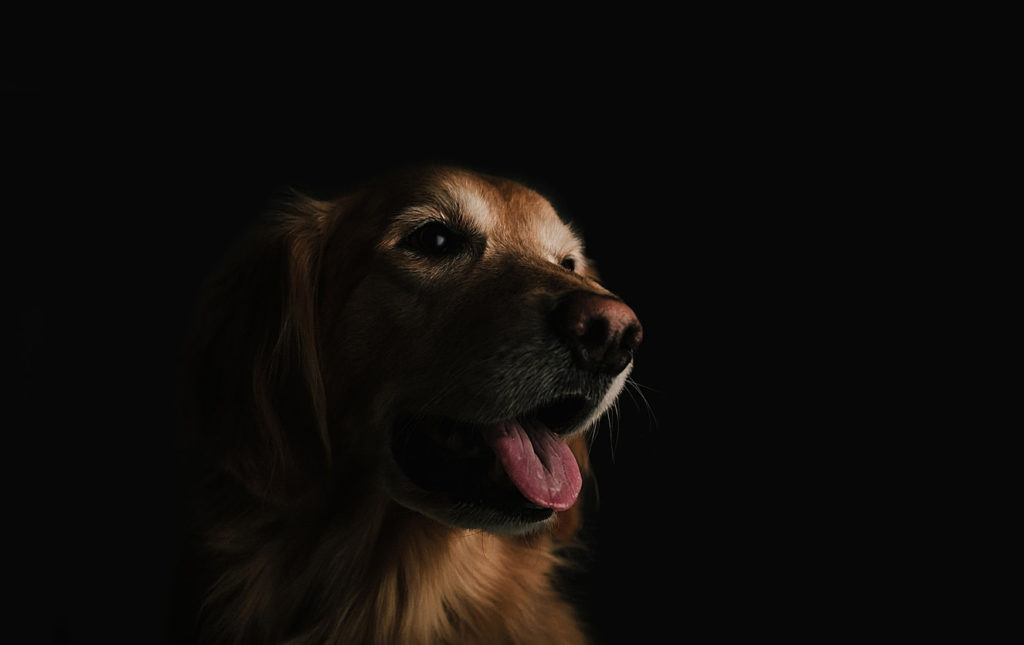
If you have a good understanding of light, know how to control light, and have a good knowledge of using your camera, then you will be able to make brilliant black background images that stand out, even if you have not used a black background.
In this article, we will look at the different ways on how to get a black background in photographs. You can use one of the techniques or a combination of them to get the desired results.
The first and most important step towards a photograph with a black background is controlling the lighting situation or the amount of light in the scene (on subject and background). With cameras, the interesting fact is, sometimes they record light in a different way compared to what we see with our eyes. This is because of the limited dynamic range in cameras compared to our eyes.
Here Are Some Important Considerations For Black Background In A Photo:
- The most important requirement for creating a pure black background under natural lighting conditions is high contrast in light in the scene – think about scenes that have dark shadows and very bright light.
- When the light on the subject is very bright compared to the light in the background, when you meter for the subject, it throws the background into complete darkness. So look for scenes or situations like these.
- Besides this, the light should fall on the subject at an angle and not directly on the front which means there is a high chance it can illuminate the background. The light should also have a particular intensity level in order to get a black background. Using this light, you will be creating a good contrast between the subject and the background.
- You will need to work with the exposure settings in your camera to get the desired results. This can be a bit different compared to the settings you use on a day-to-day basis for other types of lightings and backgrounds.
- Settings are not universal for all situations and cameras because every camera and its dynamic range are different. So use the settings here as a reference to start with and find what works best for you once you get a good idea of how this technique works.
- More light on your subject compared to the background will help with getting a black background easier than in other situations.
- Having the background further away from your subject also helps in some situations.
So, how do you create a black background in a photograph? There are several ways in which this can be achieved and the simplest answer is, using a black backdrop.
Use A Black Backdrop
One of the easiest ways to get a dark or black background in the images is by using a dark or black backdrop. This way, you do not need to worry much about the distracting backgrounds and controlling light too much to get rid of the distractions. Just adjust the light source and how it falls on your subject.
You can use any dark sheets of fabric, but the most recommended is a black velvet background or another fabric that is not reflective. Use matte material. Bear in mind that, even when using a black backdrop, if the backdrop is close to the subject or you let the light fall on the backdrop, you will not get a perfectly black background.

The most important factor is how you control light to get a black background. This is even more important with recent cameras that come with a huge dynamic range.
Let us look at the various situations and ways in which light can be controlled to get a perfectly black background in photographs.
Creating A Black Background Through Lighting
Did you know you could even have a black background in your photographs if the background is white? Well, we will talk about it here and also be looking at how many other types of backgrounds can be made to look black in a photograph using various techniques. One of these may work for the situation you are shooting or when post-processing.
How To Make A White Background Black In Your Photographs?
This may sound impossible, but in a controlled lighting situation, like many of the above-discussed methods and techniques, you can make use of just one light to make even a white background look black in your photographs.
In normal lighting setups, you may be illuminating your subject from an angle and in that process, you will also be illuminating the background. This leads to the background color and/or light being recorded in your images.
You now need the background dark. So think about what needs to be done in order for the light to not fall on the white background. Here are some tips:
- You should not illuminate the background and if you do, it will be captured as a white background in the image.
- Move the light around to one side, so that it does not fall on the background.
- You may need to use a flash for better results.
- Meter the light for the subject and capture the shot.
- Now you should have a brilliant image with a black background in your photograph although the background used is white.
The reason why we are able to achieve a black background in camera is the limited dynamic range of cameras that we discussed earlier. Our eyes can see more tonal or light intensity variations compared to what a camera can capture. Take a look at various lighting situations both natural and artificial and how they can be used or controlled for black backgrounds in photography.
Natural Light
You can create perfect photographs with a black background using just natural light in an indoor, studio, or outdoor environment. All you need to do is place your subject in the brightest area of the scene and try to have the light intensity in surrounding areas low. For example, if you are shooting near a window using natural light, place your subject close to the window where the light is bright and close all other doors and windows in the room and background to avoid stray light from illuminating the background. Also, switch off any other lights in the room so you have a dark surrounding compared to the light on your subject.
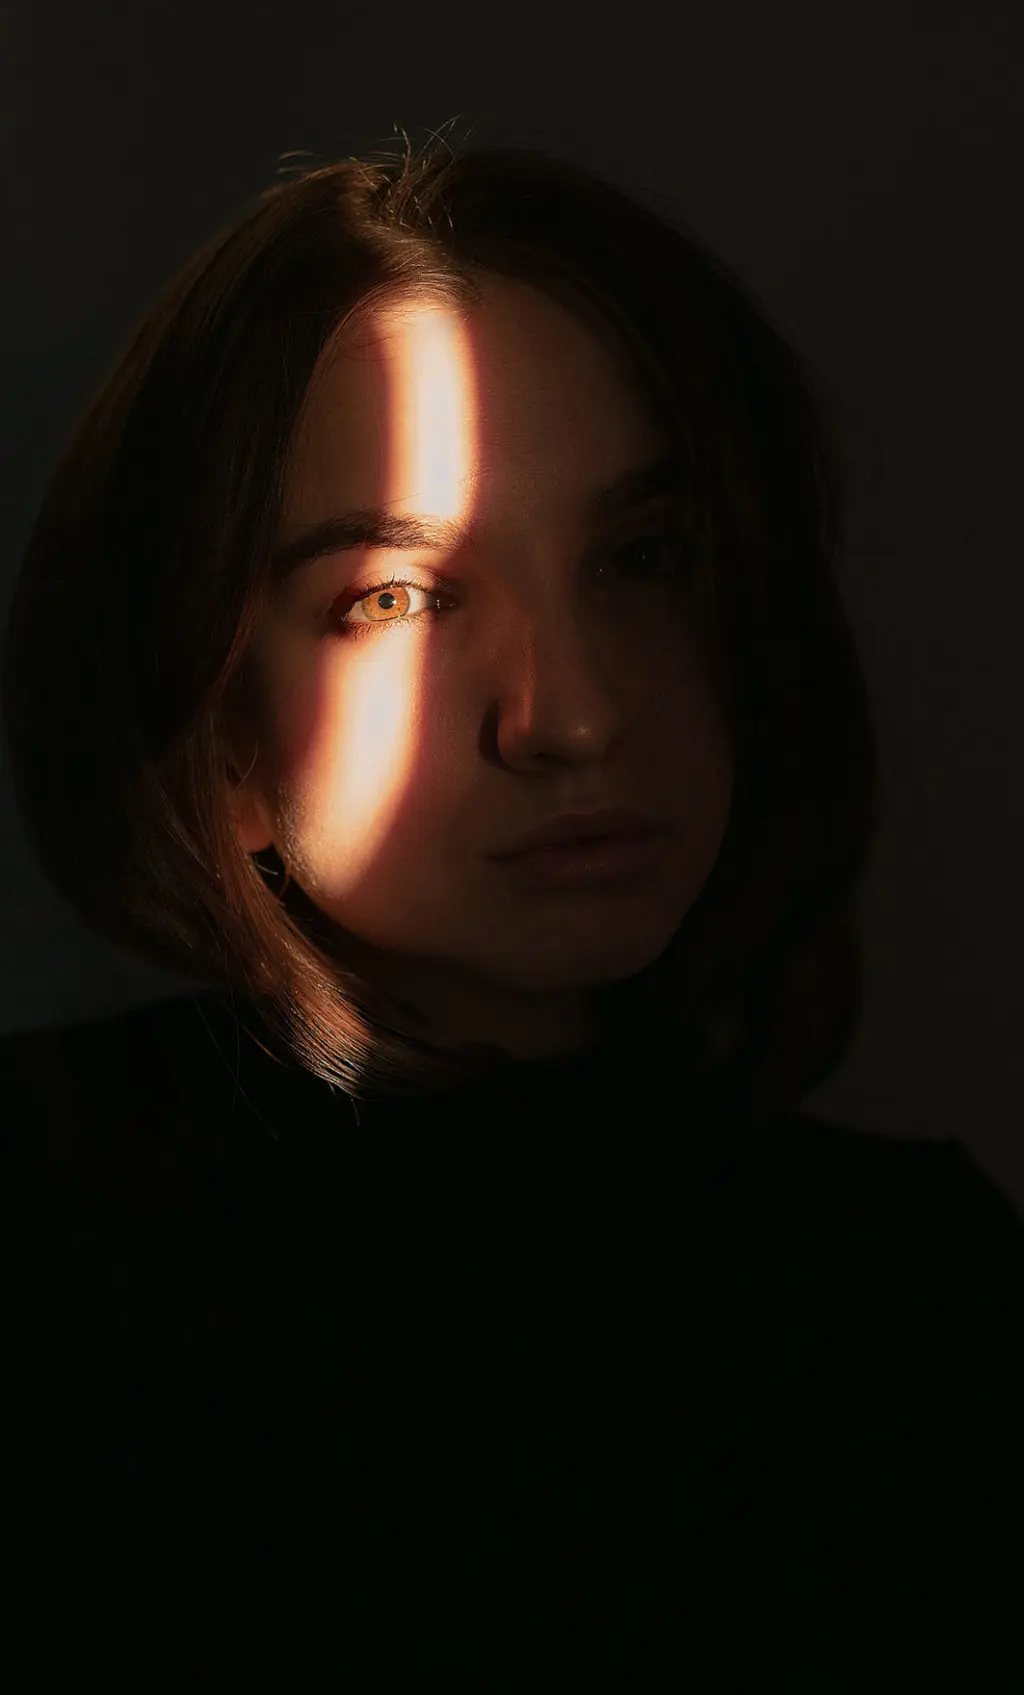
Look through the viewfinder and adjust the position of your subject and the camera till you get the subject in the right exposure and the background dark. If you think that the light is too bright, the surrounding areas are bright in the room, or there is uncontrollable ambient light, then you can make use of a black or dark-colored blanket or spread to get a black background.
Controlling The Light On Location
If you are outdoors and you want to get black background for the subject, look for a location where there is a good contrast between the light on the subject and the background. Although you cannot control natural light, which is the sunlight in our case, you can look for contrasty places where you can make this technique work.
Look for a place with good sunlight and a shady area right next to it. You could find this in shadows of architectural structures and trees, near bushes, dark tree trunks in the shade, dark doorways, etc. Place your subject in the light, just in front of the shaded space – this is right about the border between the light and the shaded area. Meter for the subject and you should get the background dark.
If the background is not dark enough, you can add more light to your subject by bouncing back some light with the help of a reflector.
Light Only The Subject (Not Background)
In the previous section, we saw how you need to place the subject to get a black background, but besides that, you also need to make sure that the light used to illuminate your subject, does not illuminate the background as well, because we do not want to capture the background details in this type of photography.
Lighting is very important whether you use a black background or not for this type of photography. You should be illuminating just the subject and not the background, as otherwise, it will reveal the background details in the resulting image.
Studio Lights
Artificial lights give more flexibility and control over how you use light to illuminate your subject in the studio. If you do not have a dark background or if the background is not dark enough, try one of the following tips.
- You will need to adjust the intensity of light falling on the subject just right by adjusting the intensity of light itself or by changing the distance between the light source and the subject. Increase the intensity of flash if you are using that to illuminate your subject.
- You will also need to maintain a specific distance between the subject and the background so light does not hit the background and illuminate it. Moving the background further away can make the background look darker comparatively.
- You may need to add a little backlight at an angle to give some definition and detail to your subject so that it does not blend with the background. This is required in situations where there are dark elements in the frame that need separation from the background.
Using Camera Flash
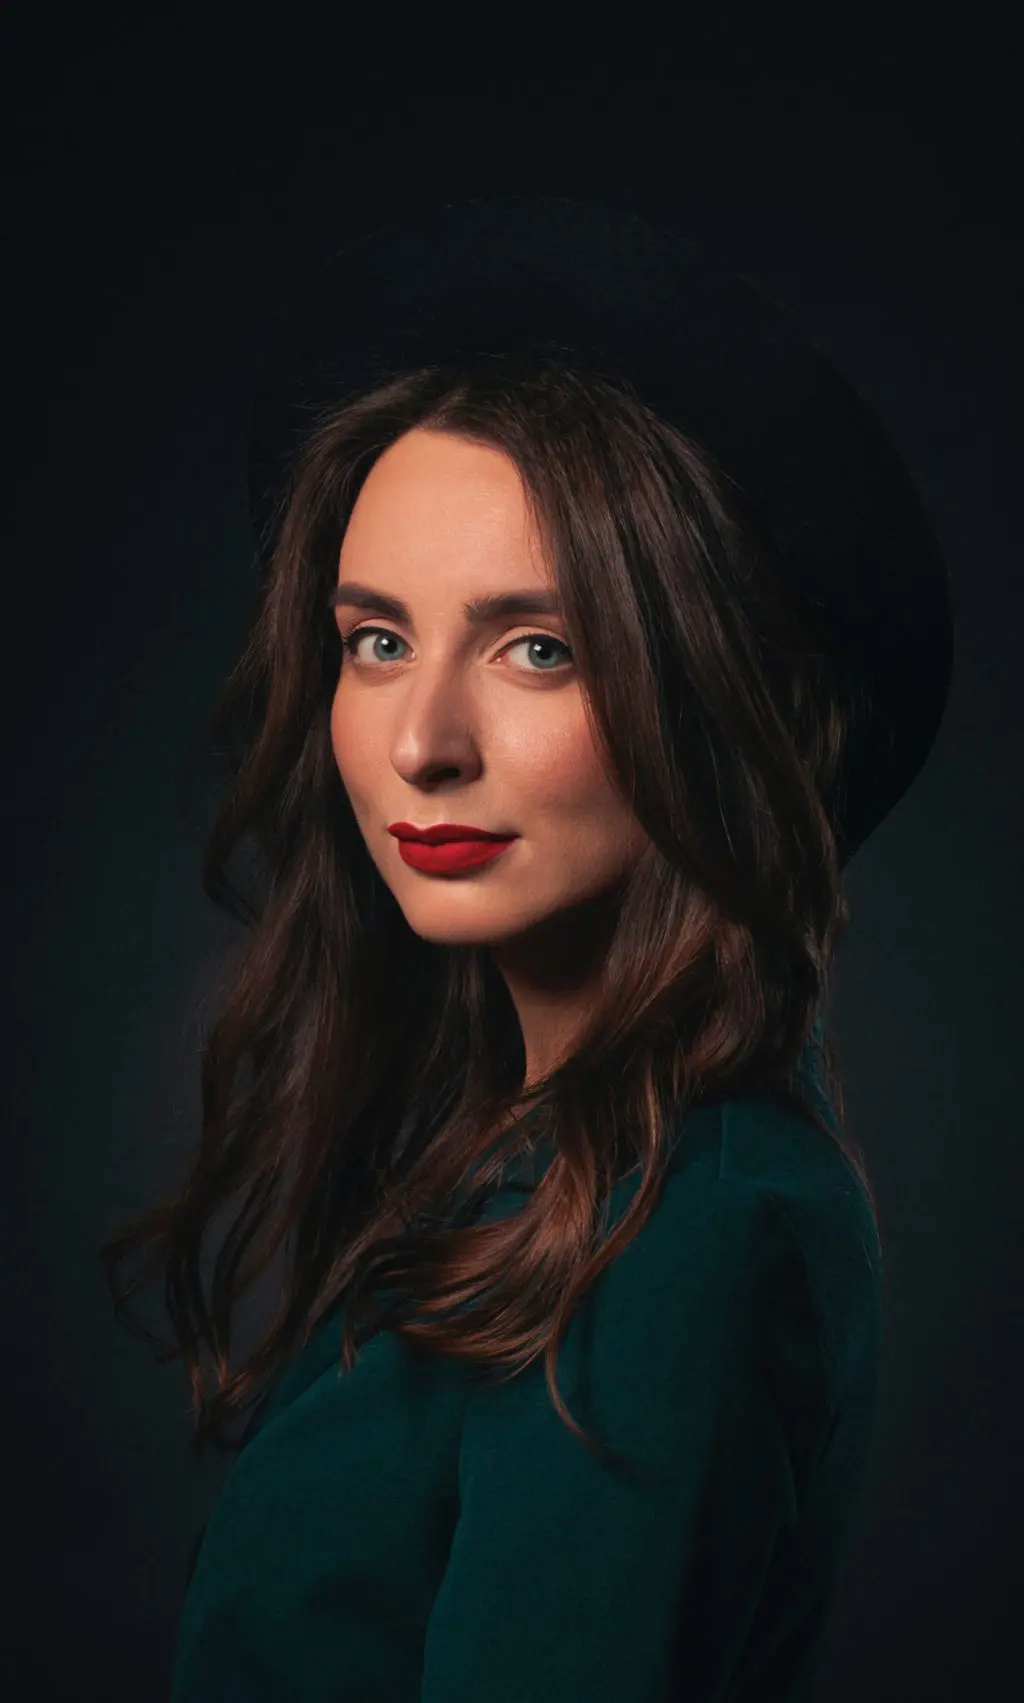
When using a flash, you are telling the camera to capture no other light other than the one from the flash in the scene. You need to dial in a few settings to get a black background and then use the flash to illuminate the subject when firing the shot. This will help you to get a black background wherever you are and whatever time of the day it is. Here is what you need to do:
- Set your camera on manual mode.
- Set the shutter speed to the maximum flash sync speed for the camera and flash. The sync speed is usually 1/200s or 1/250s depending on the camera and flash used.
- Set the iso to the lowest possible. 100 or 200 depending on your camera.
- The aperture value needs to be narrowed down till you get a completely black picture. Start from f/5.6 and this depends on the available light in the area. Take a test shot. If it is not black, narrow it down further to f/8 and so on till you get a dark image.
- Position the flash depending on how you want to illuminate your subject, but make sure the light does not hit on the background. Illuminating subjects at about 60 to 90 degrees should work fine.
- You could use light modifiers like umbrellas to control the way light falls on your subject and stop it from falling on the background.
- Play around with the aperture value and flash power till you get the exposure right on the subject as well as a black background.
Low Key Lighting Technique
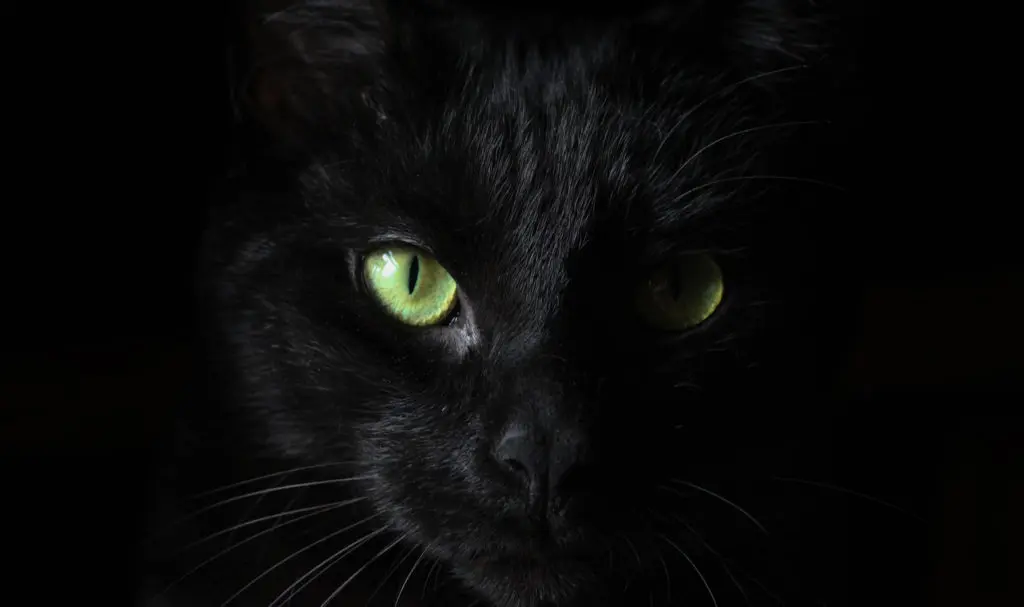
If you are looking for images with lesser contrast against a black background, you can try low-key lighting. You just need one camera and one light source to get fabulous images. This kind of lighting will help show depth and drama in images.
The lighting technique is similar to what we saw in the earlier sections. Stop light from hitting the background. Look for side lighting and use a diffuser of some kind to soften the light and to control the amount of light falling on the subject because you do not want unwanted shadows ruining the image.
Controlling Exposure Settings On Camera
Exposure Settings For Black Background
Most of the time when there is a huge contrast between the light on the subject and the background, metering for the subject will give a dark or black background. Some of the camera settings you can try are,
- Set the iso to the lowest possible
- Use the fastest possible shutter speed
- Use spot metering so it meters the light just where your subject is, thereby throwing the background into darkness.
- If you are still unable to get the desired results, narrow down the aperture values to see if that works. This will be required at times when the light on the subject is very bright.
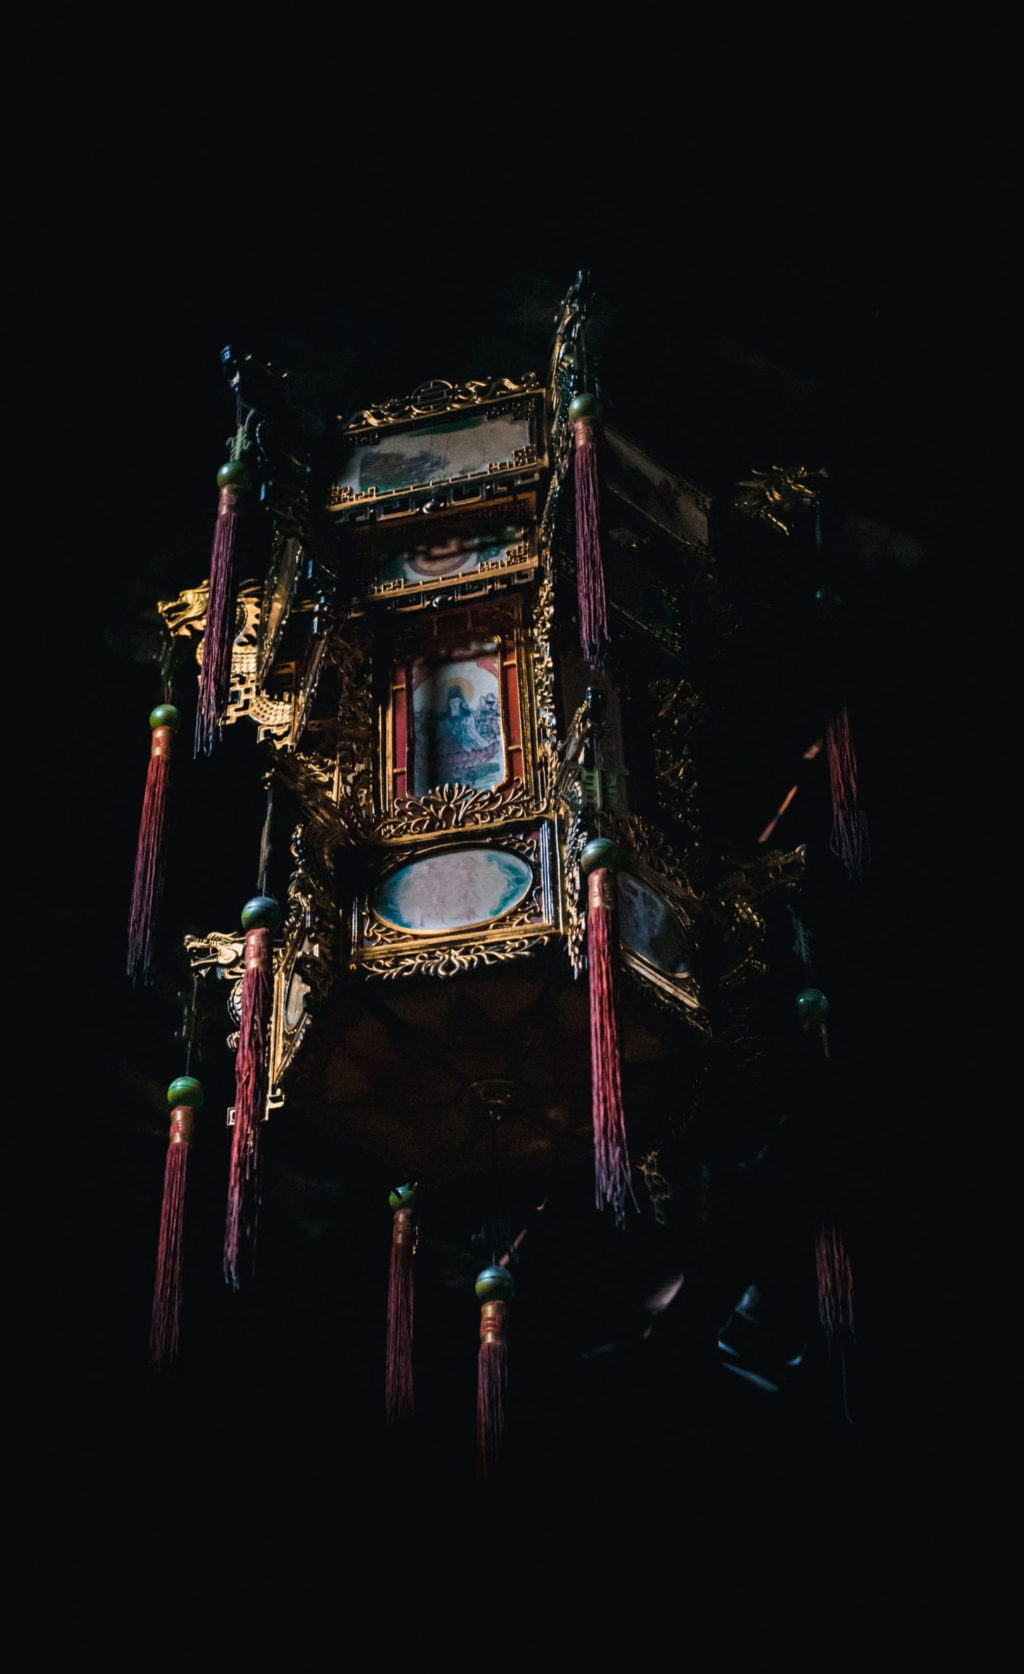
Negative Exposure/Exposure Compensation
Exposure compensation in camera is a feature that allows you to increase or decrease exposure than that selected by the camera. It overrides the exposure settings from the camera’s light meter and either lightens or darkens the image based on the type of exposure compensation set. In order to get a black background, you can use negative exposure compensation, which is also called negative exposure. This is especially helpful where you do not have much control over the subject and the environment, for example, wildlife, street, etc.
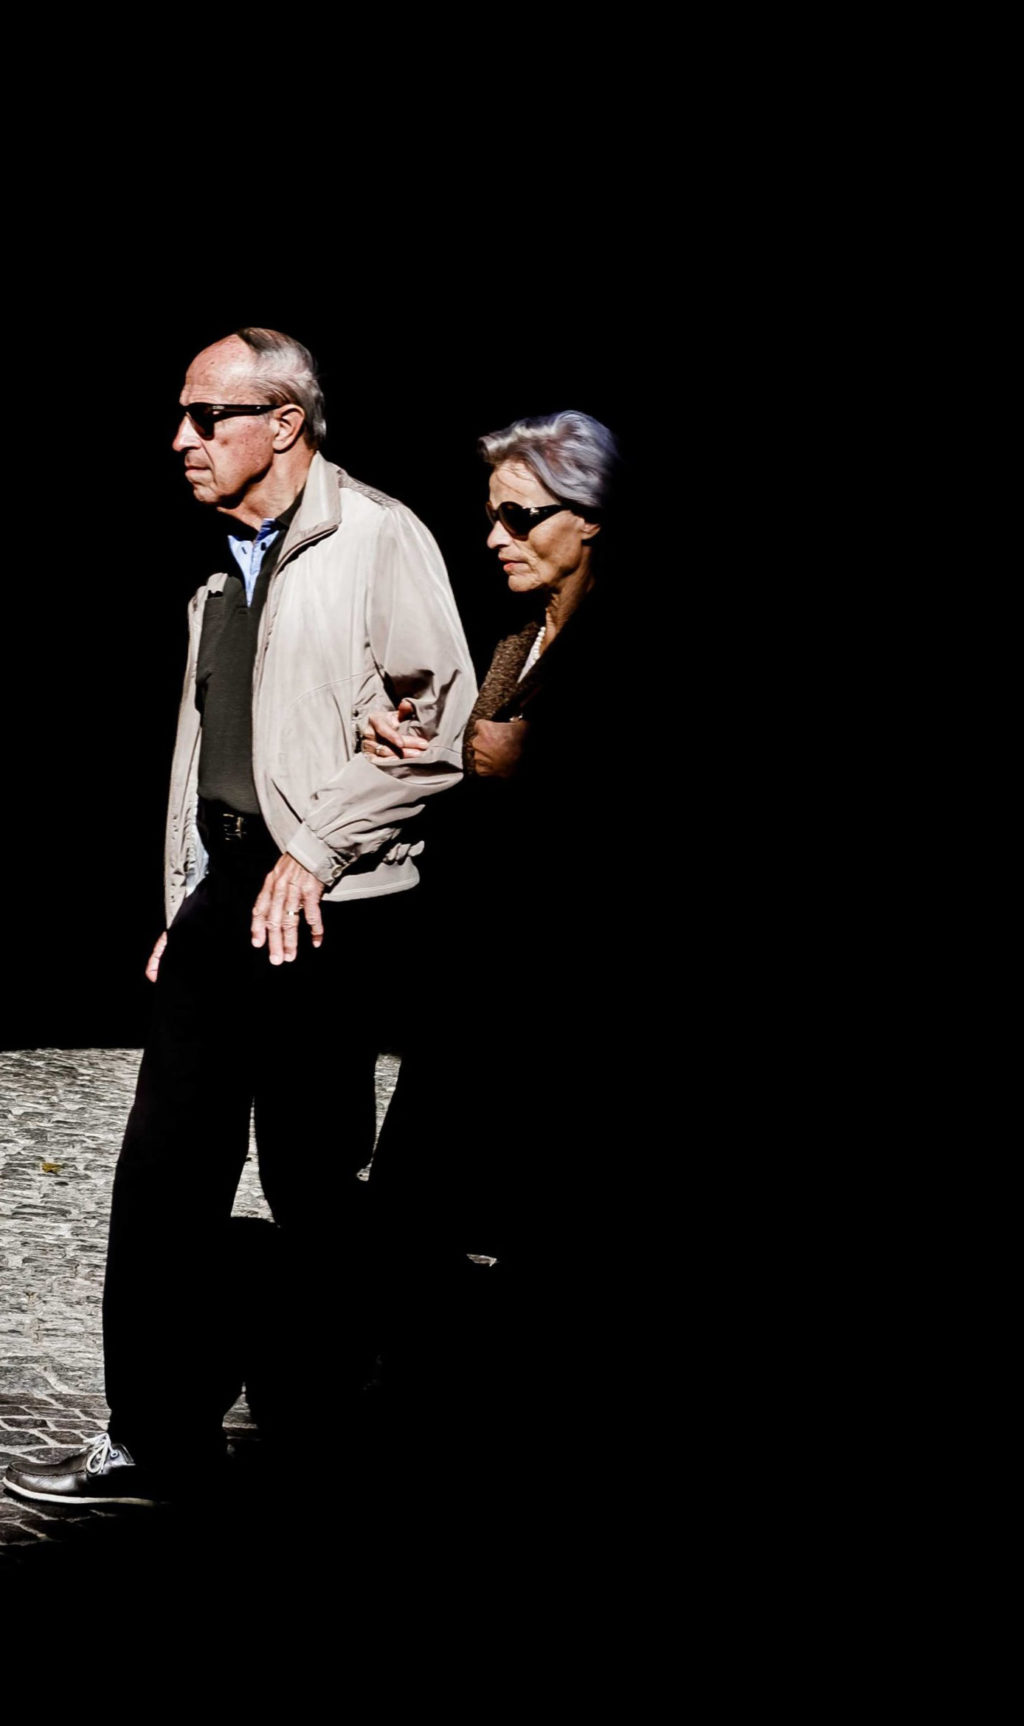
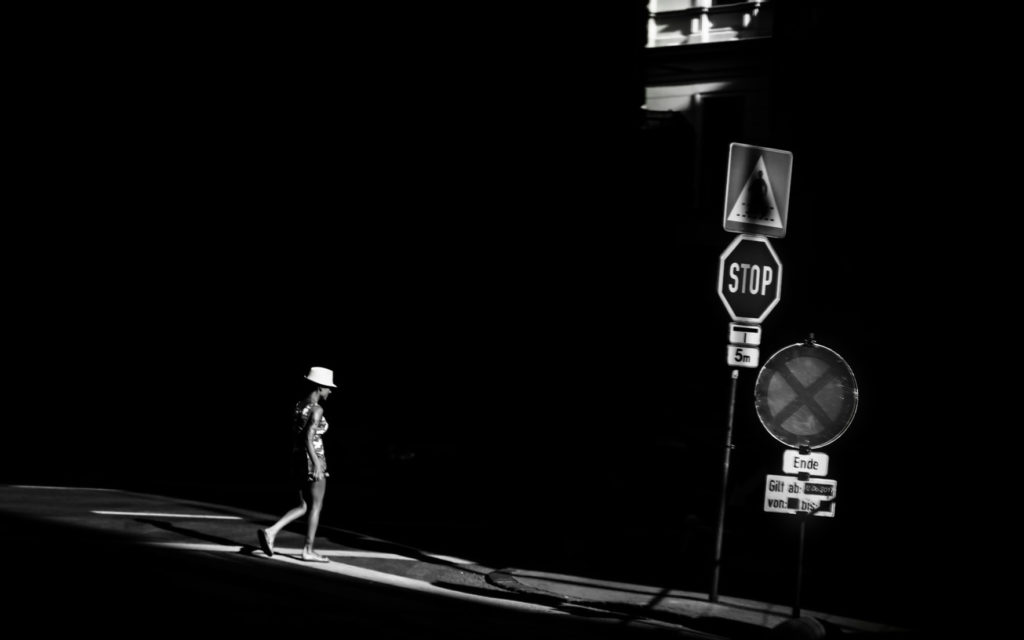
Have the camera set to negative exposure depending on the light (you could take a test shot or two to have the settings right).
Here are some tips and factors that you need to take into account when using negative exposure to create a black background:
- You need to carefully observe your subject and release your shutter at the right moment.
- The right moment means when your subject is at a bright spot against a contrastingly dark background. Also, the distance between the subject and the background should be good enough to throw the background dark or black.
- Look for locations where the sun falls like a spotlight on the subject, or where there is dappled light in a canopy where the subject is on a bright spot of light and the surrounding areas are dark.
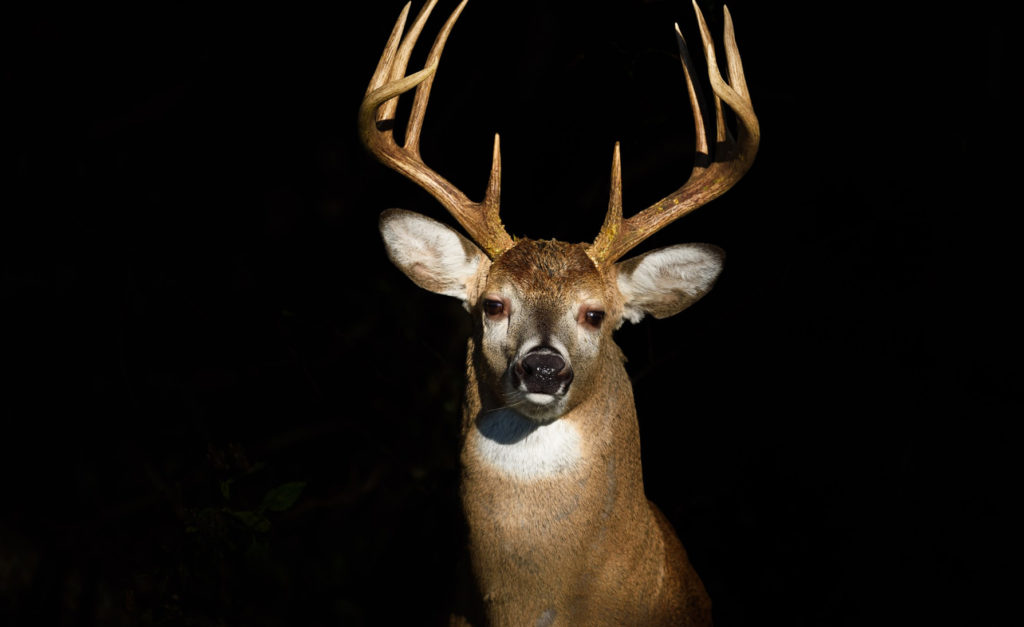
So, how much should you negatively expose? This really depends on the light, location, and subject. Depending on the amount of light, you should set negative exposure values to control the light. For example, bright sunlight is the best for this type of photography where you can negatively expose for very dark backgrounds. When you adjust exposure correctly for the subject which is the illuminated areas, the remaining areas will be left in complete darkness.
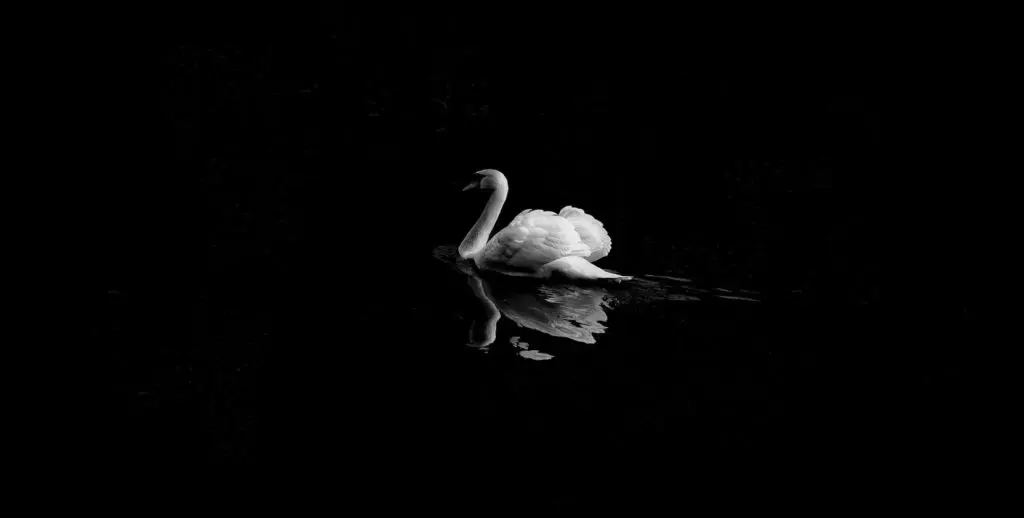
Here are some quick discussions on a few genres for black background in photos.
How To Create A Black Background For Portraits
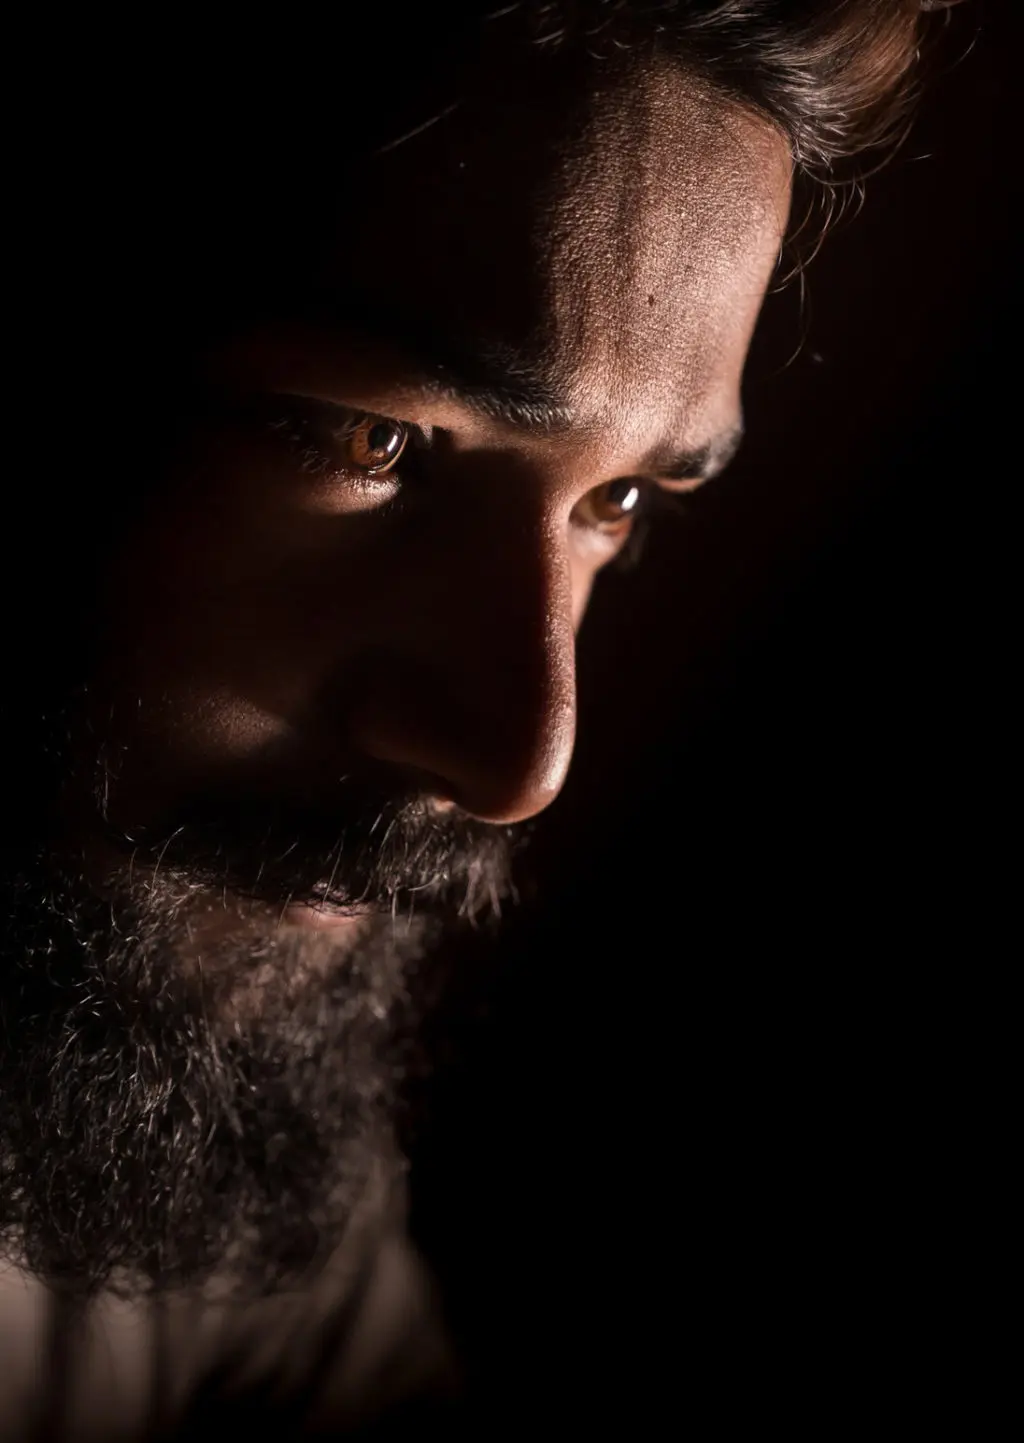
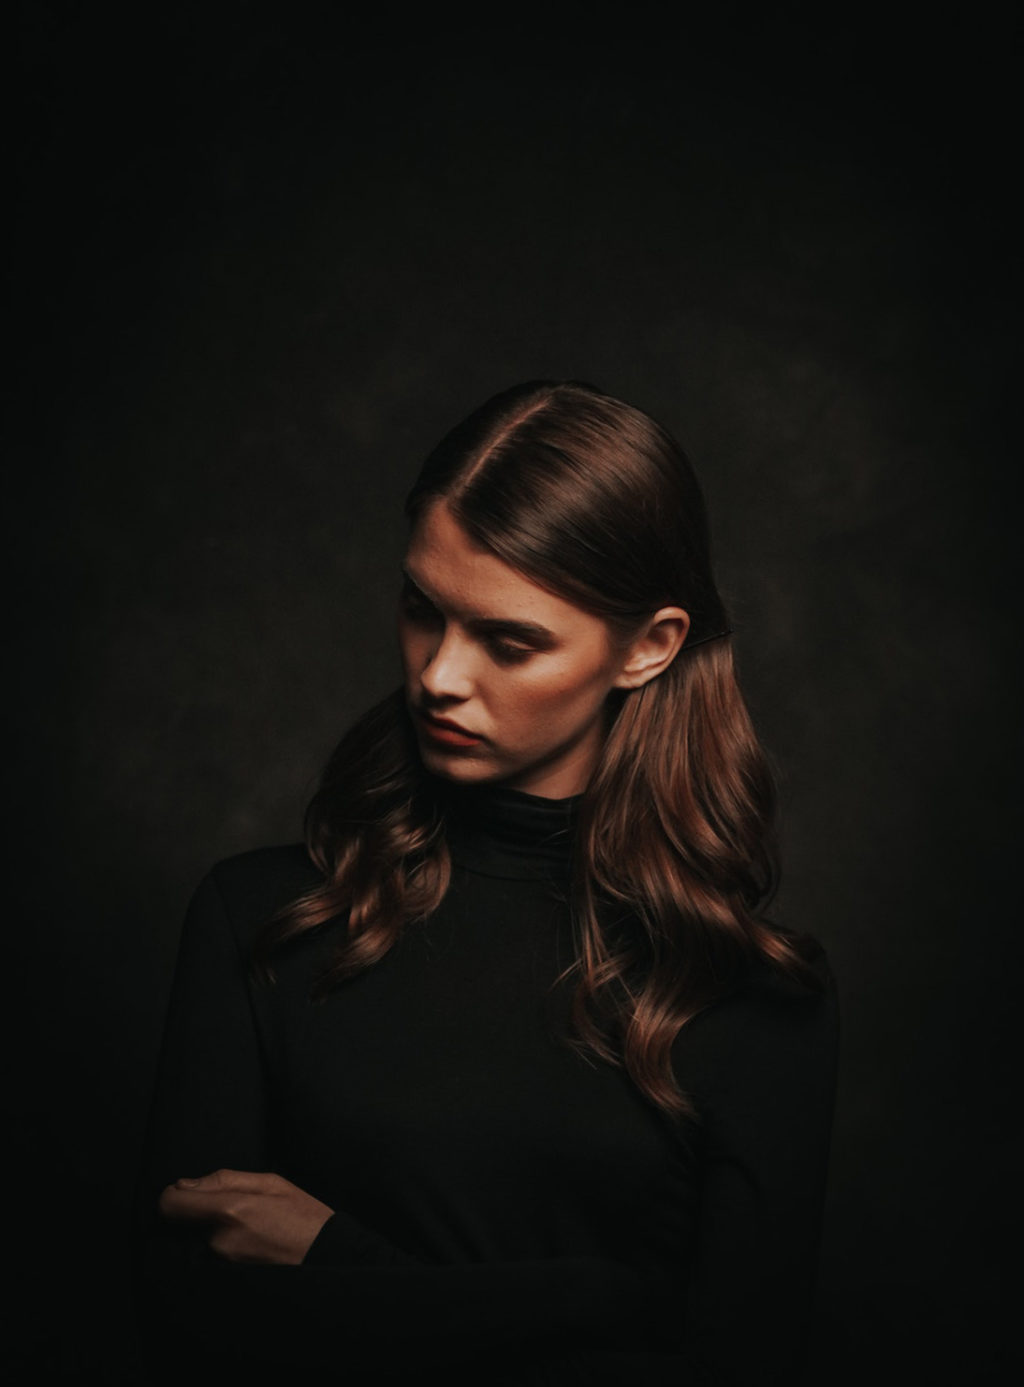
Portraits can be shot either indoors, in a studio, or outdoors and you can achieve a black background without actually having a black backdrop. We have discussed many methods above through which this can be achieved. When outdoors, look for contrasty places with bright light and shade. Place your subject in the light and use the shaded area as the background. You can use this technique when shooting indoors using window light.
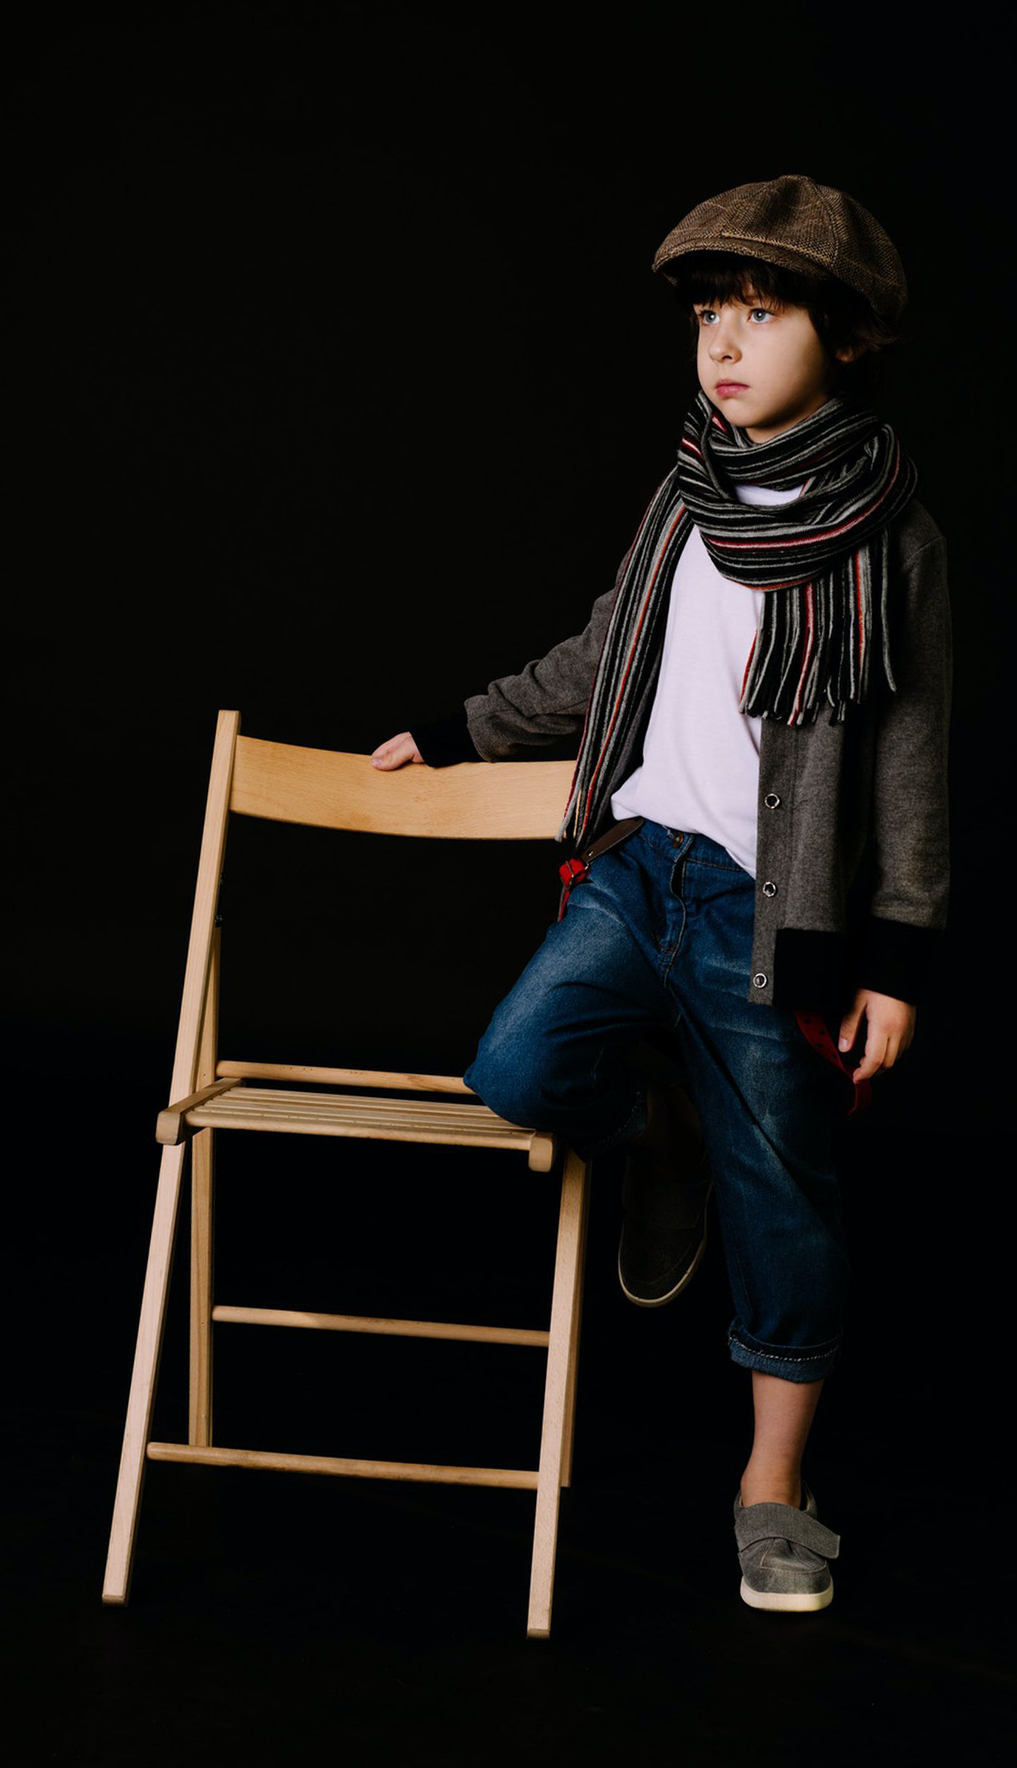
When shooting street or environmental portraits, look for the light and see how it falls on your subject. In street photography, wait for the moment when your subject will walk into a patch of light. Make sure you place your subject in the brightest spot and use the contrasting dark background to get a black background in the images.
When shooting using artificial light, adjust camera settings till you get a black image. Then use a flash to illuminate your subject when the shutter releases and you will have a beautifully lit portrait with a black background. The settings and other important factors that need to be taken into account are discussed in the sections above.
How To Create A Black Background For Still Life
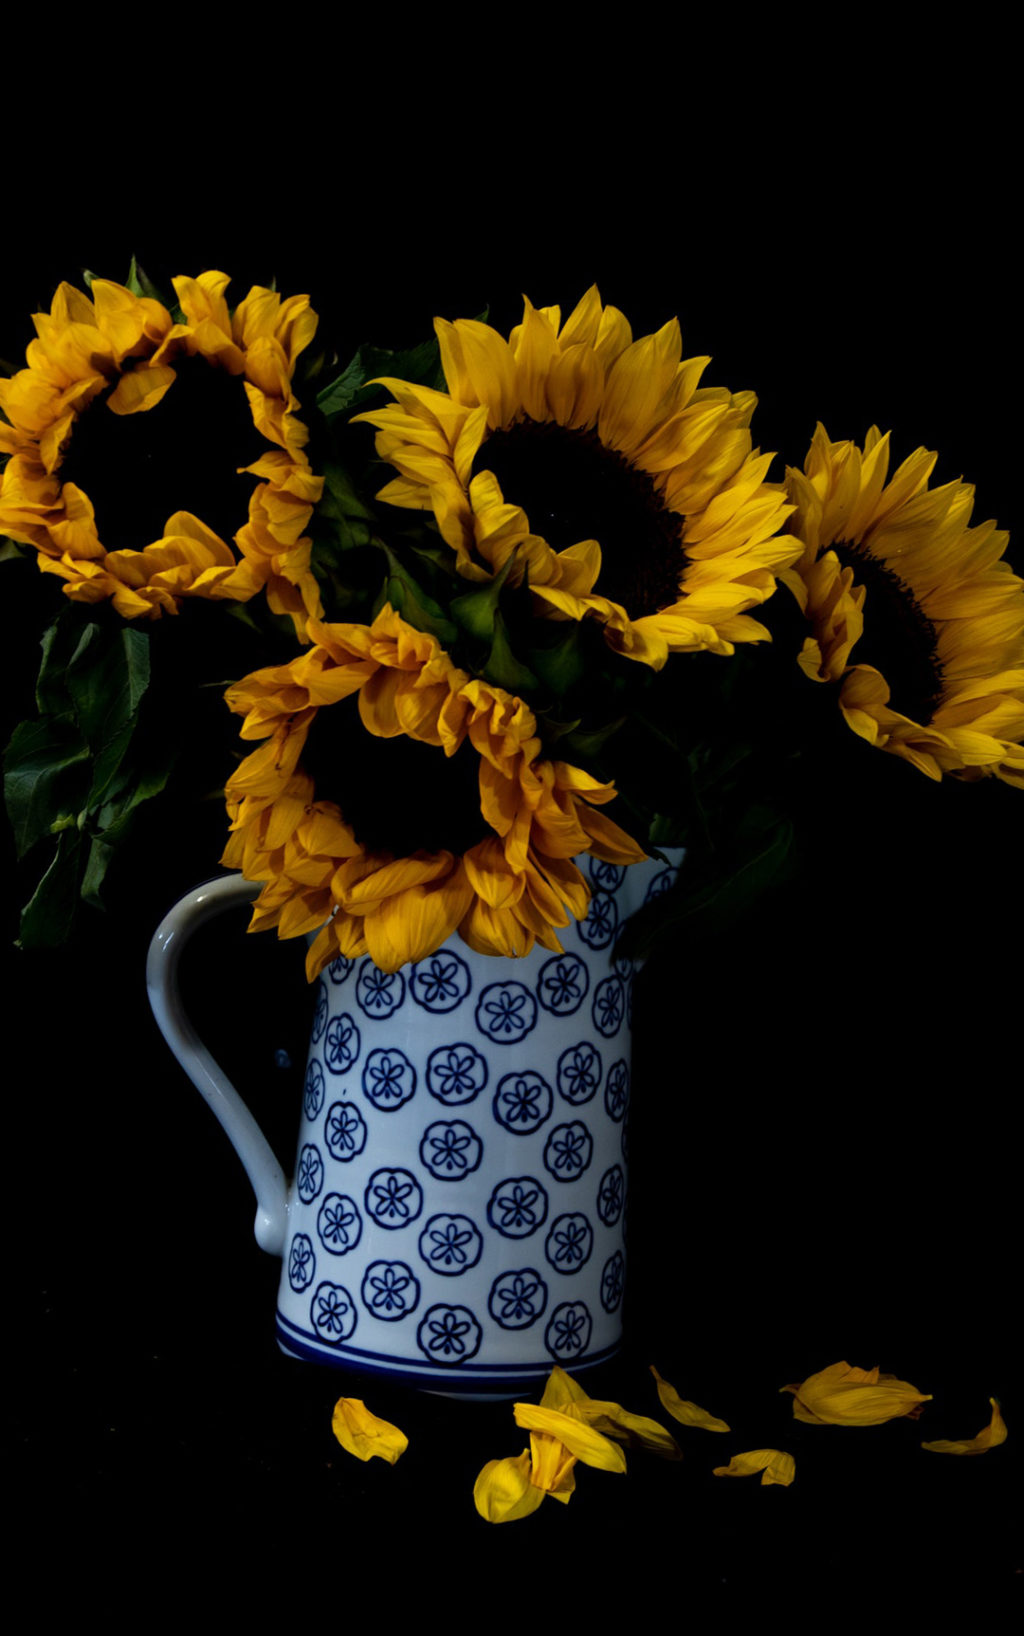
The process is very much similar to how you would shoot portraits. Think of your subject as the model for portrait photography and set up backgrounds and lighting the same way you would for portraits. Use a very low iso, faster shutter speed, and narrow aperture. You could try negative exposure if your subject is white or brightly colored.
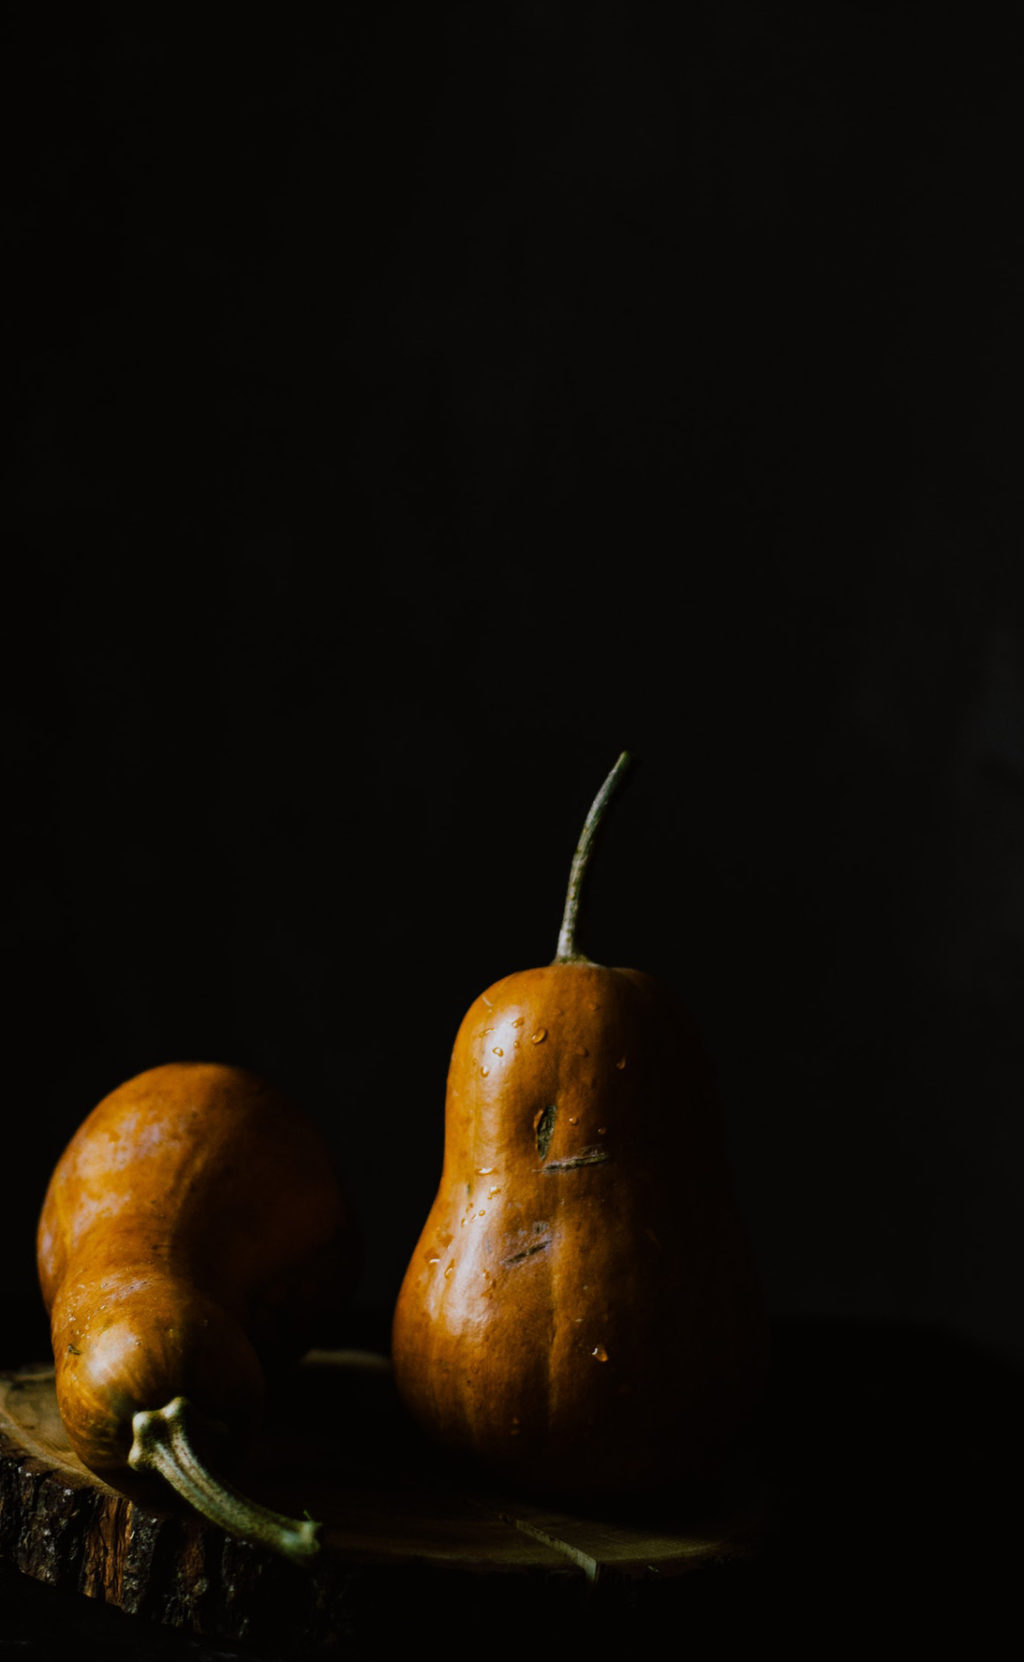
Simple window light from the afternoon or morning sun along with good background separation will give visually appealing still life images with a black background. Still life photographs look great with dark backgrounds and they should look even better when they have a dark black background. If you have a black backdrop that you could use, by all means, make use of it.
How To Create A Black Background For Wildlife
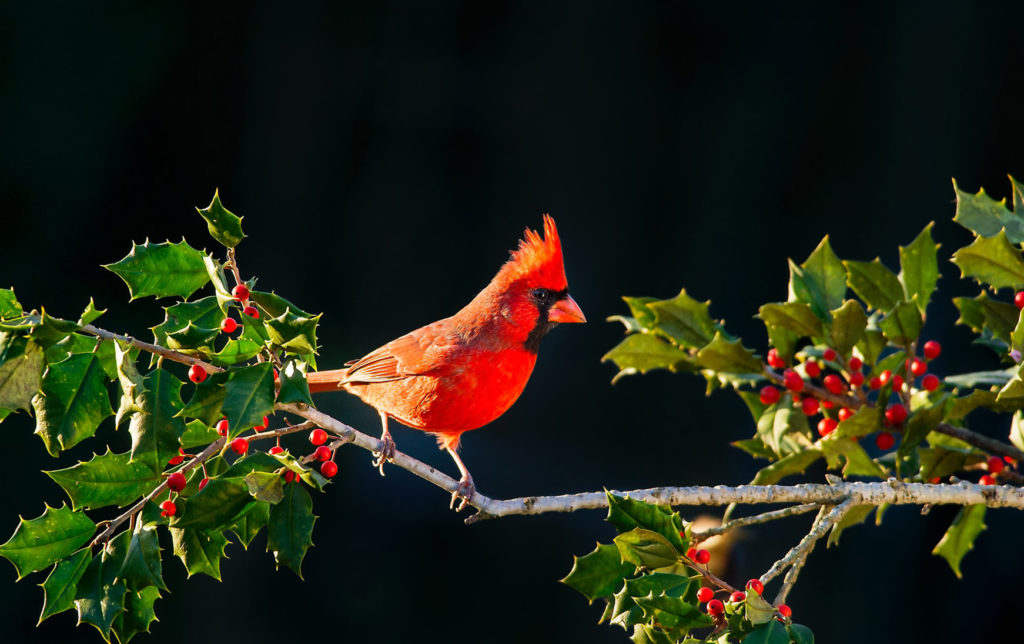
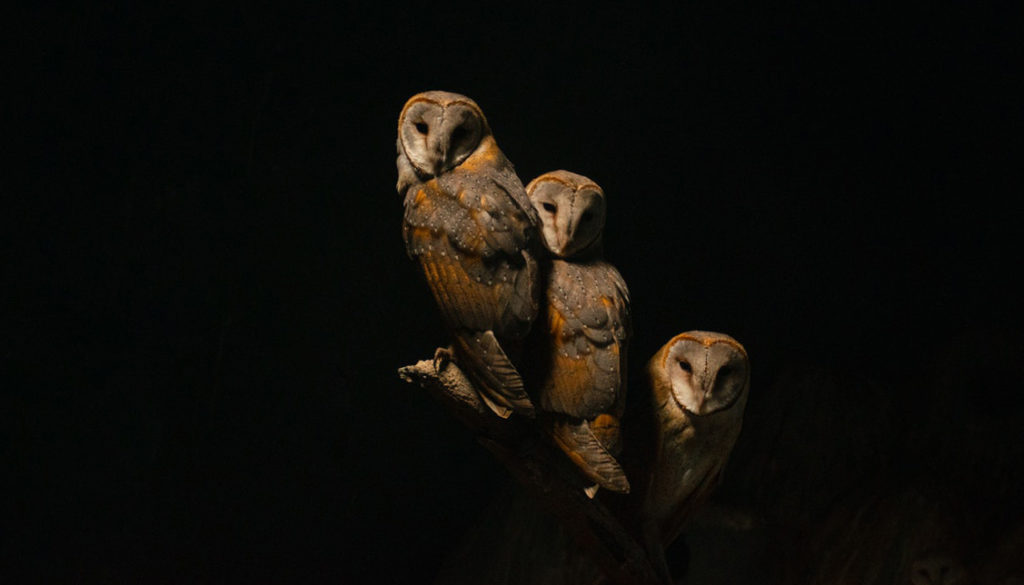
In wildlife photography, you can bring in a wow factor to an ordinary image by creating a black background. In some situations, it will also help with removing unwanted distractions and also bringing in a subtle mood to a bad lit image, especially if the sunlight was too harsh. You can use the above discussed negative exposure technique for wildlife photography to create studio-quality photographs.
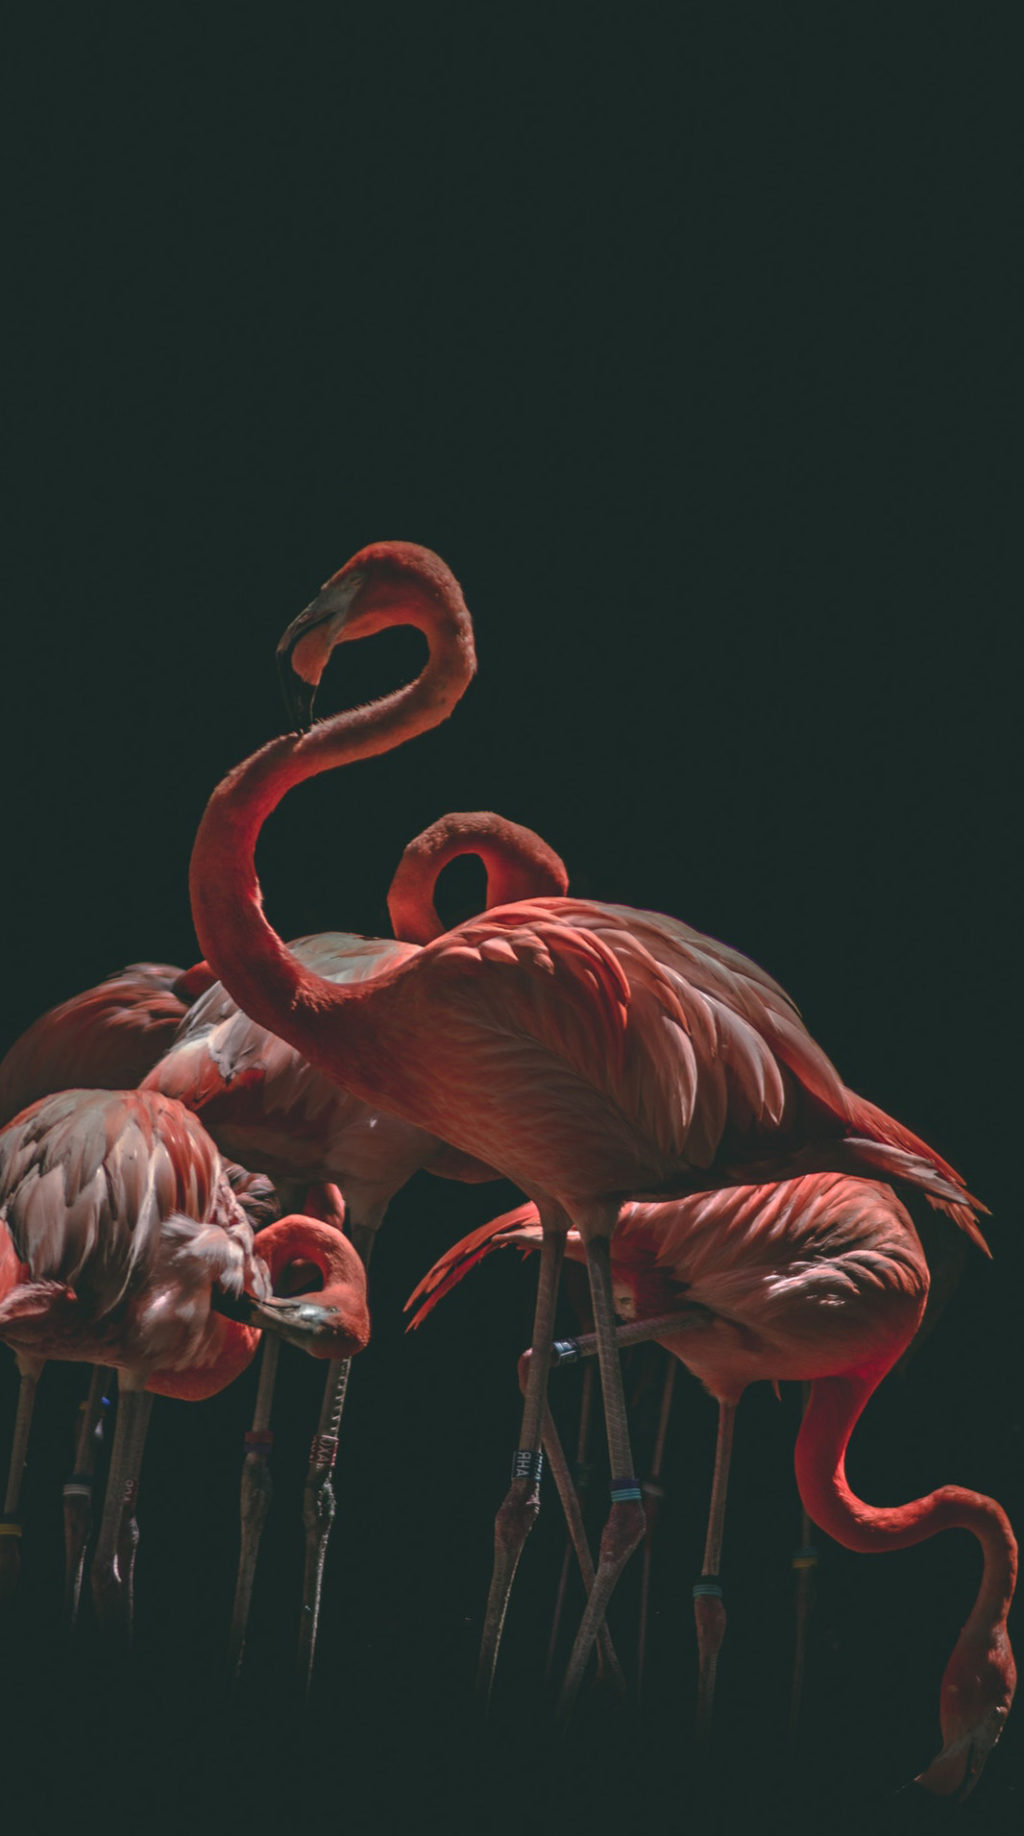
It is better to use spot metering so you get the exposure right on your subject. Make subject choices wisely because you cannot always be successful when photographing dark animals using this technique unless there is some sort of backlight that would help to give depth and separation.
How To Create A Black Background For Nature Photographs
When it comes to nature photography, you will have some control when photographing flowers, bugs, and similar subjects, where you can go around and look for the right contrast in light to get a beautiful black background. But, if you are looking for this kind of effect on a landscape, you need to constantly be on the lookout for bright light areas and locations where there is a patch of sunlight, for example in a valley or on a mountain peak, etc., so you can use that contrast to photograph a scene or part of a scene with a black background.
Camera Settings For Black Background
Wisely using the right camera settings will help you get a black background irrespective of any color or type of background that you have. Although camera settings have been discussed before, here is a run-through of all the settings you need to look out for, in one place.
You need to shoot in manual mode, have a good understanding of the exposure triangle, reciprocity rules that will help you control exposure to get a black background. Try these camera settings and tweak them according to your scenario:
- Use the lowest iso setting on your camera.
- Set the shutter speed to the highest possible. If using flash, set shutter speed to flash sync speed.
- Choose a moderately narrow aperture value like f/5.6 and see how the frame looks. You can take a test shot to see if you have a dark background. If not, you can narrow the aperture further down till you get a dark background.
- Use camera flash to fire and illuminate your subject when the shutter releases. You may need to use a diffuser to control the light so you get some soft light falling on the subject.
- Spot metering helps in most situations to get the exposure right on the subject and background dark or black.
- Use negative exposure where required and this helps when the light is extremely bright.
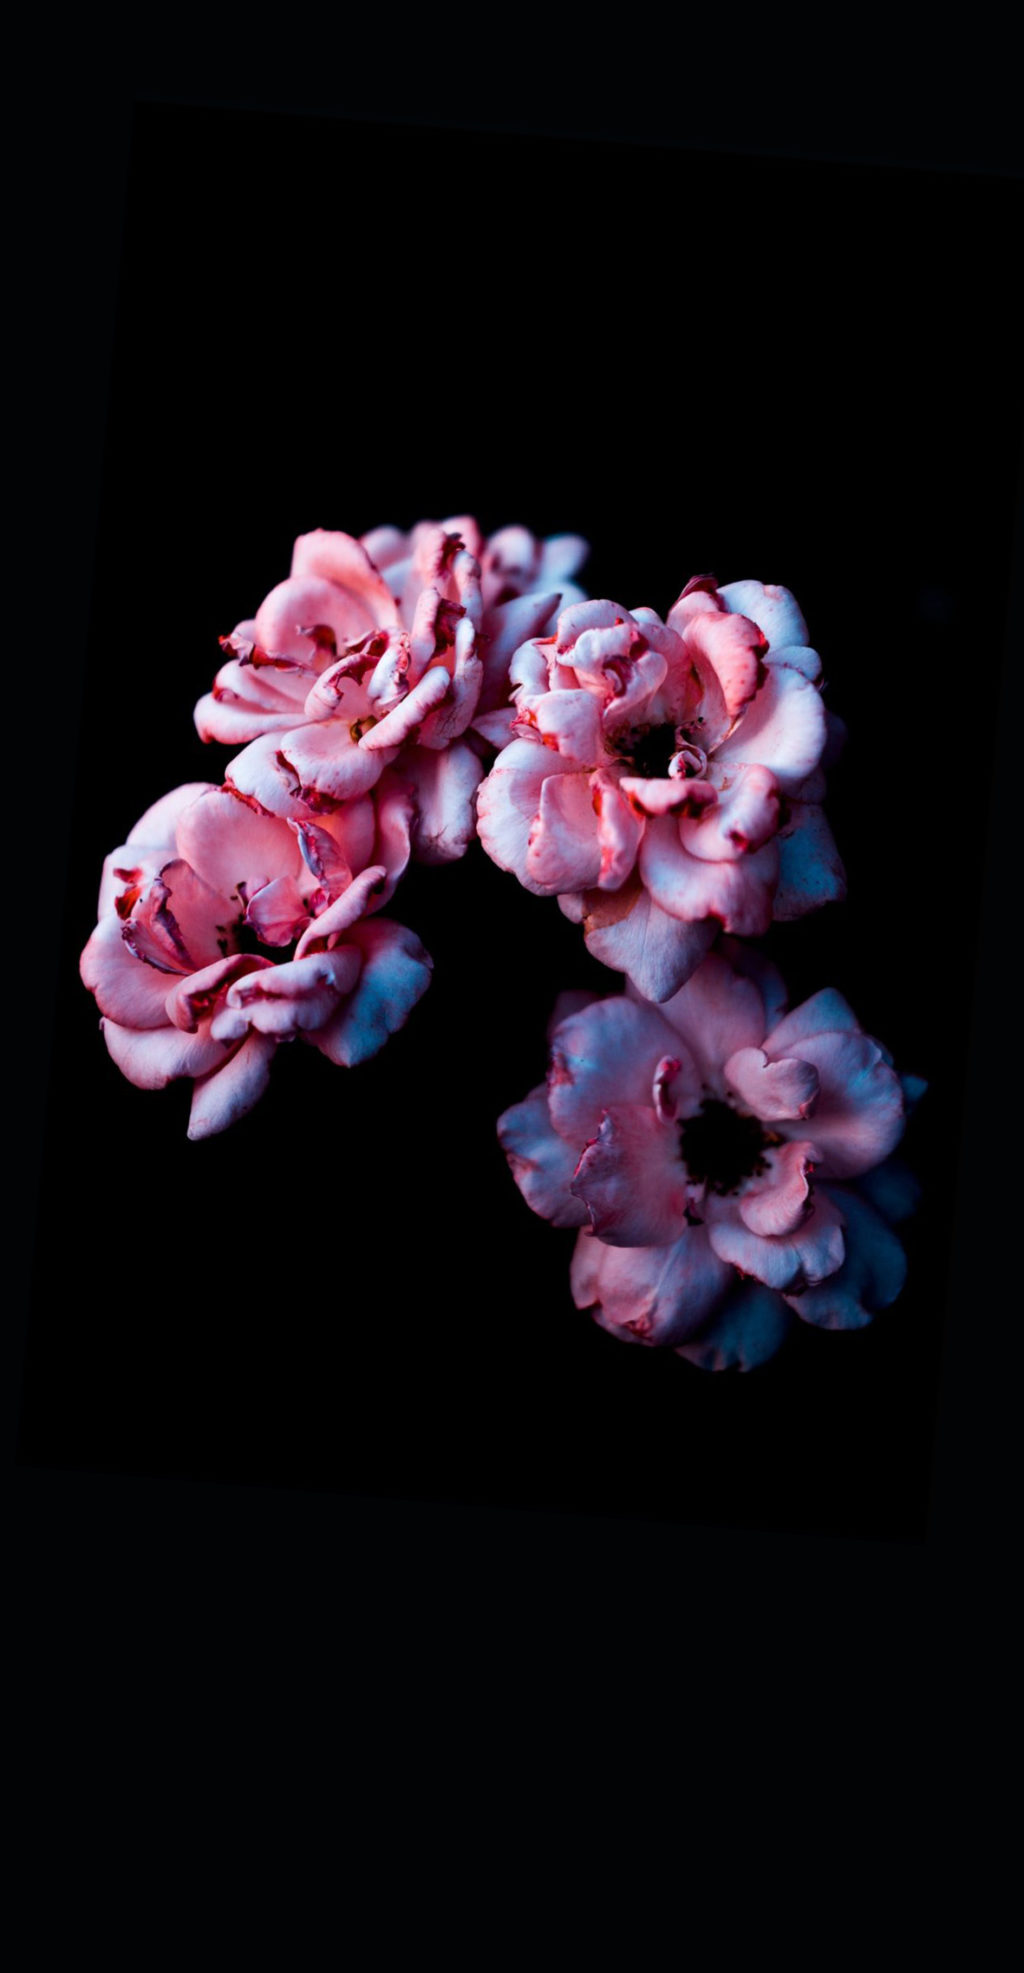
Some Tips To Get Perfect Black Backgrounds In Photographs
Here are some tips that you need to follow in order to get black background in your photographs.
- Light your subject and not the background. This is very important when you use artificial lights to illuminate your subject.
- The more light on your subject, the higher are chances for a black background. This applies especially when you shoot outdoors. Bear in mind, even if the background is black, if you light up the subject and the background with the same amount or intensity of light, then your background will not look dark the way you want it to look.
- Choose the right camera angle and subject position to avoid bright areas in the background.
- Look generally for darker areas when shooting outdoors. You can find these near areas with lush green foliage, shadows of trees, buildings, other structures on a bright sunny day. Placing your subject right in the spot where the shadow and light intersect and with the shadow as the background, you can get images with black backgrounds naturally. You need to meter exposure for the light on your subject.
- Maintain the distance between the subject and the background as much as possible. This way the light will not illuminate the background like it illuminates your subject.
- Make sure the background does not reflect any light. If using a dark background artificially, do not use shiny materials.
- Use the right intensity, angle, and/or direction of light.
- If you set up the light correctly and shoot, you can spend very little time when post-processing.
- If there are other lights in the room or surrounding areas (ambient light) that cannot be turned off but are casting weird colors or light on your subject, the best way to overcome this problem is to use the flash in full power.
- Another tip to work with tricky light in the location is to use colored gels that match with the light in the location. This will help with avoiding color casts and then the temperature can be adjusted later when post-processing.

Post Processing Techniques For Black Backgrounds In Photographs
There are times when you may not get the best black background right in camera, or there are spots that need working on in the black areas. Either way, you may need to make some adjustments to your images using basic sliders, brush tools, etc., when post-processing, to get a good output.
- Most of the time, a slight adjustment to the shadows and blacks slider will help you get the background perfectly black in the image. This works well when your background does not have any bright spots in it. Drag the shadows and blacks sliders to the left till you get the desired look.
- When photographing outdoors, there may be bright areas in the background that will need touching up. In these situations, use the brush tool to paint over the bright areas and burn till you get the desired results.
- Make use of the tone curve to get the right contrast in the image and to work in the highlight and shadow areas.
- If there are very small bright spots, these can be removed using the healing or clone tool.
- If you are unable to get a perfect black background using in camera techniques, there are a lot of royalty free black background photos or free and paid black or dark textures on websites that sell stock photos, that you can make use of during post production.
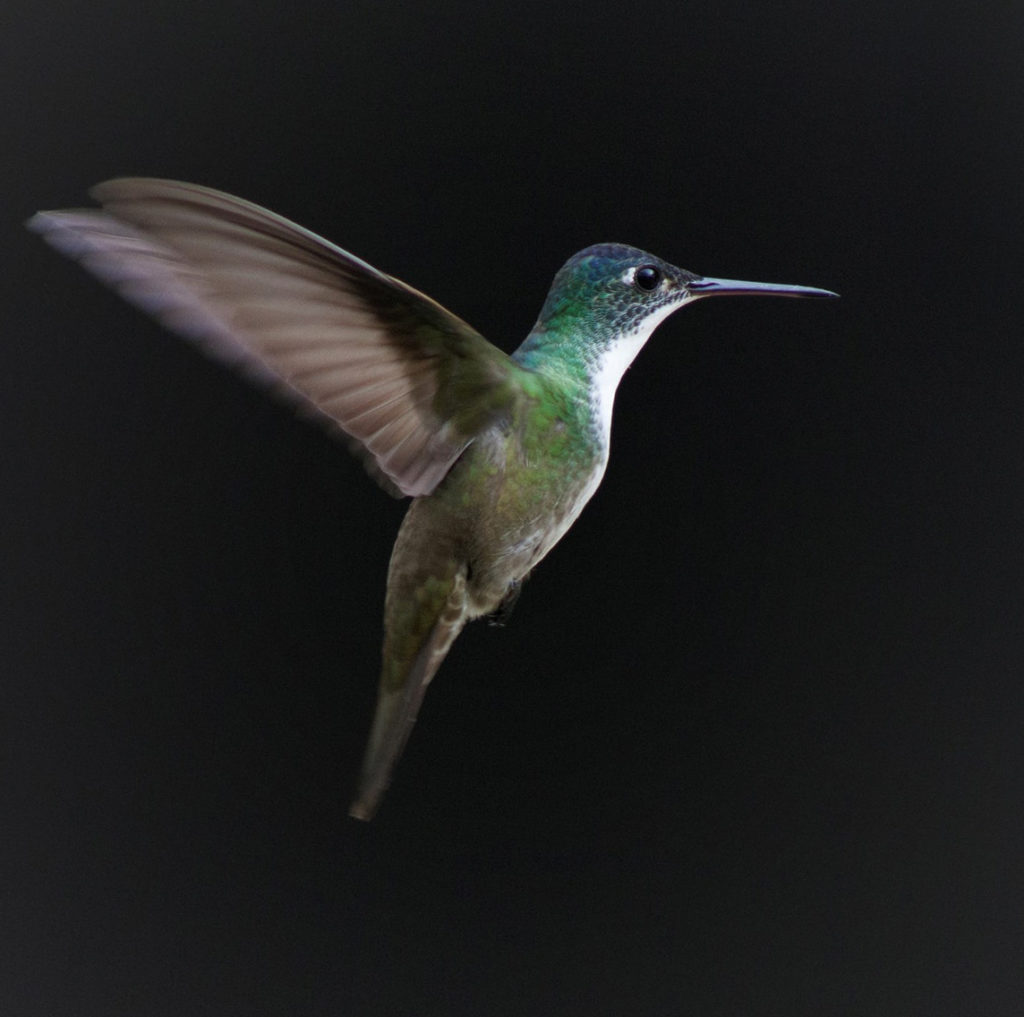
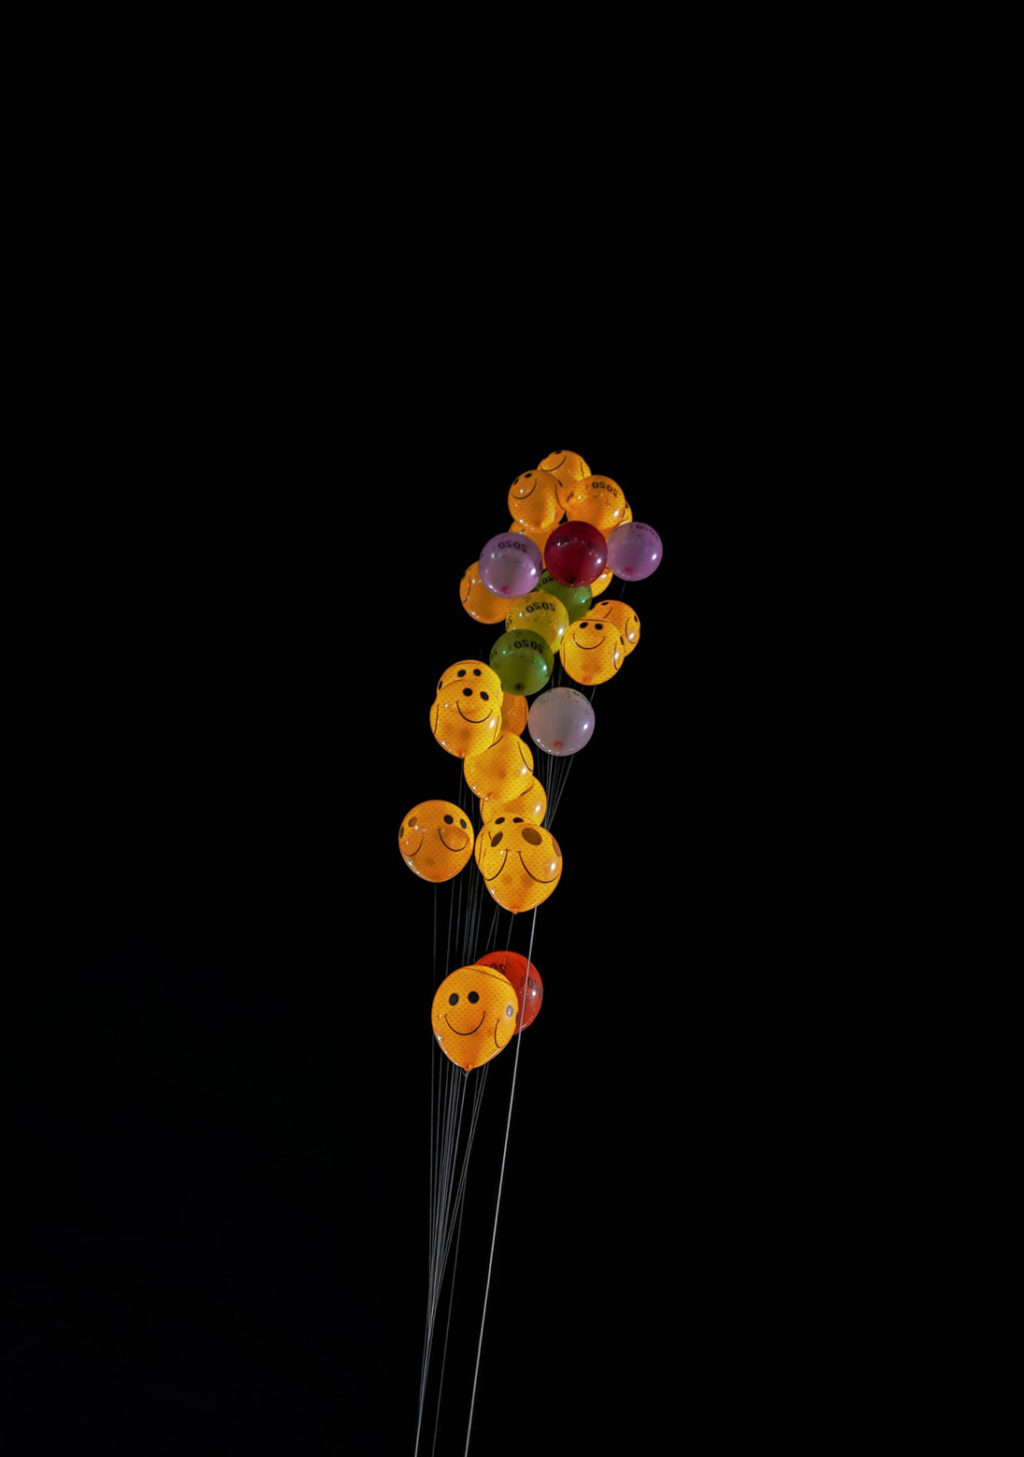
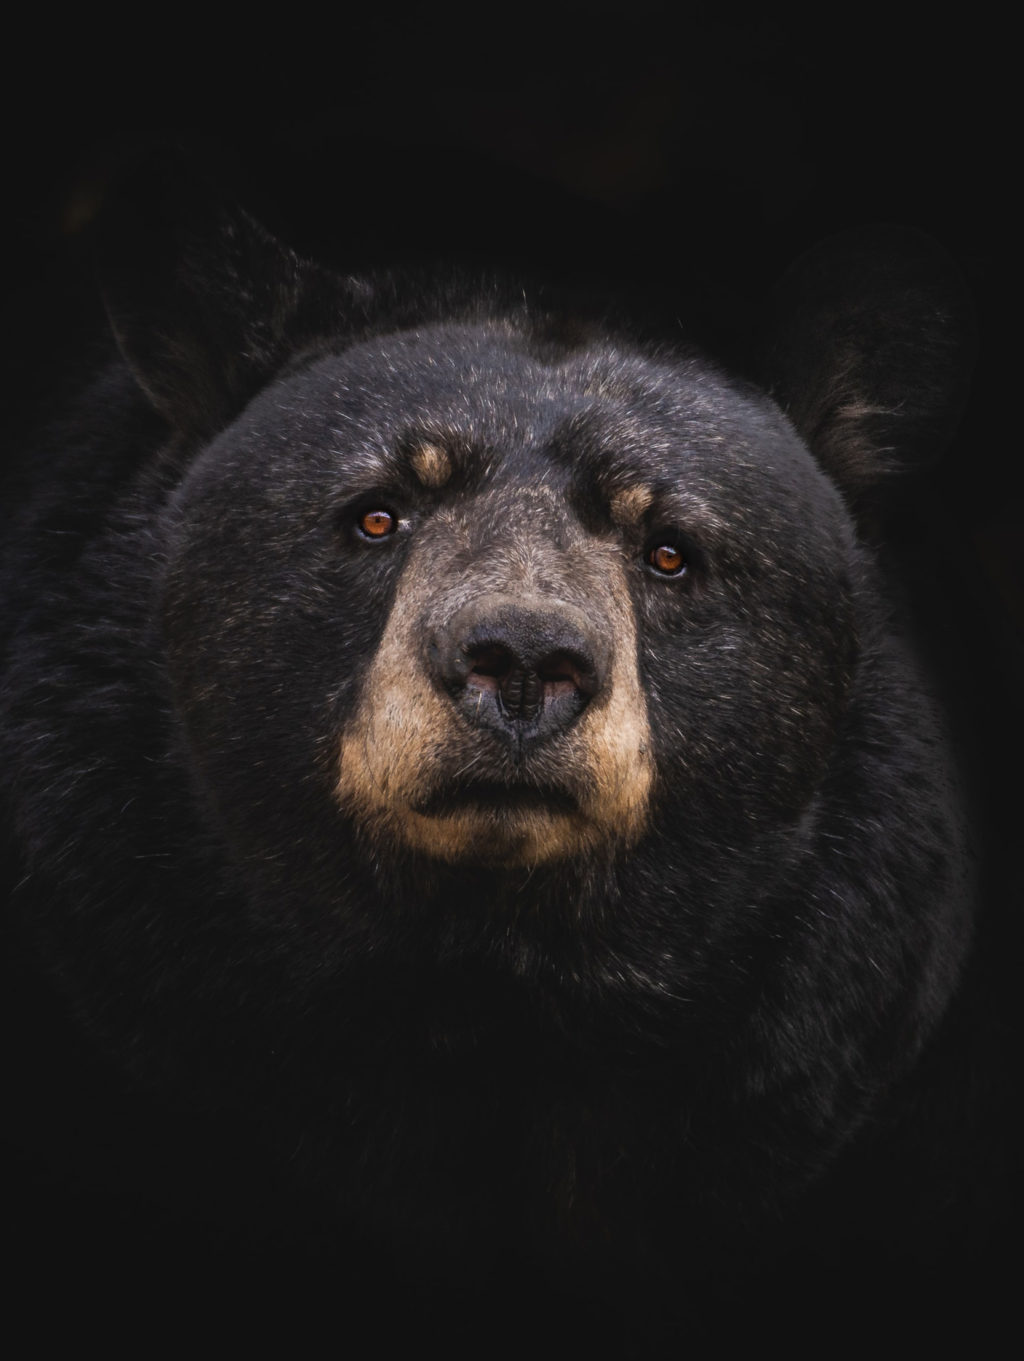
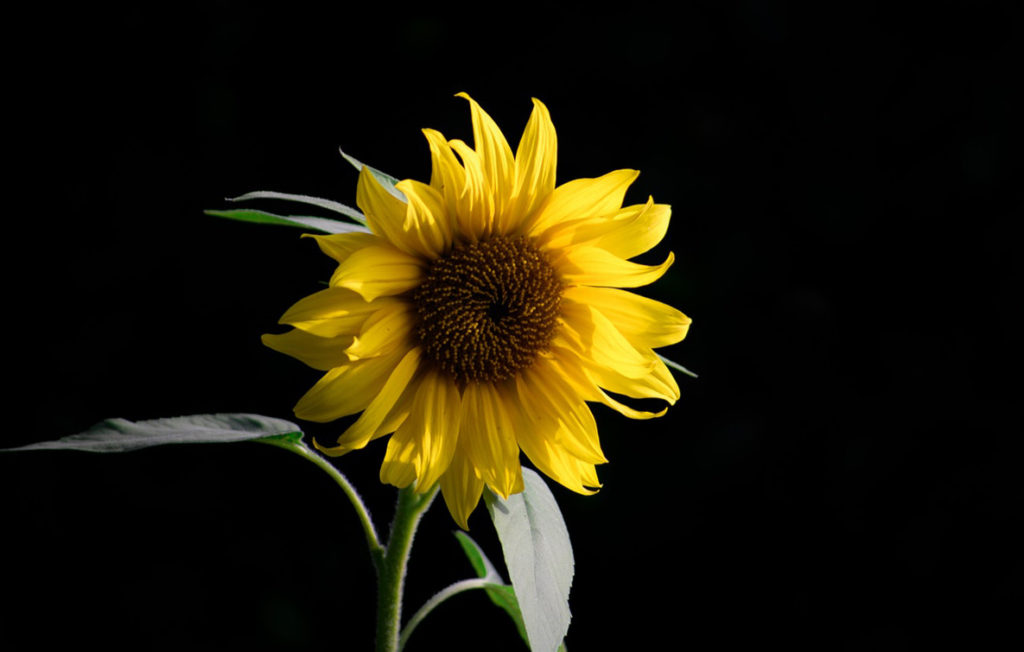
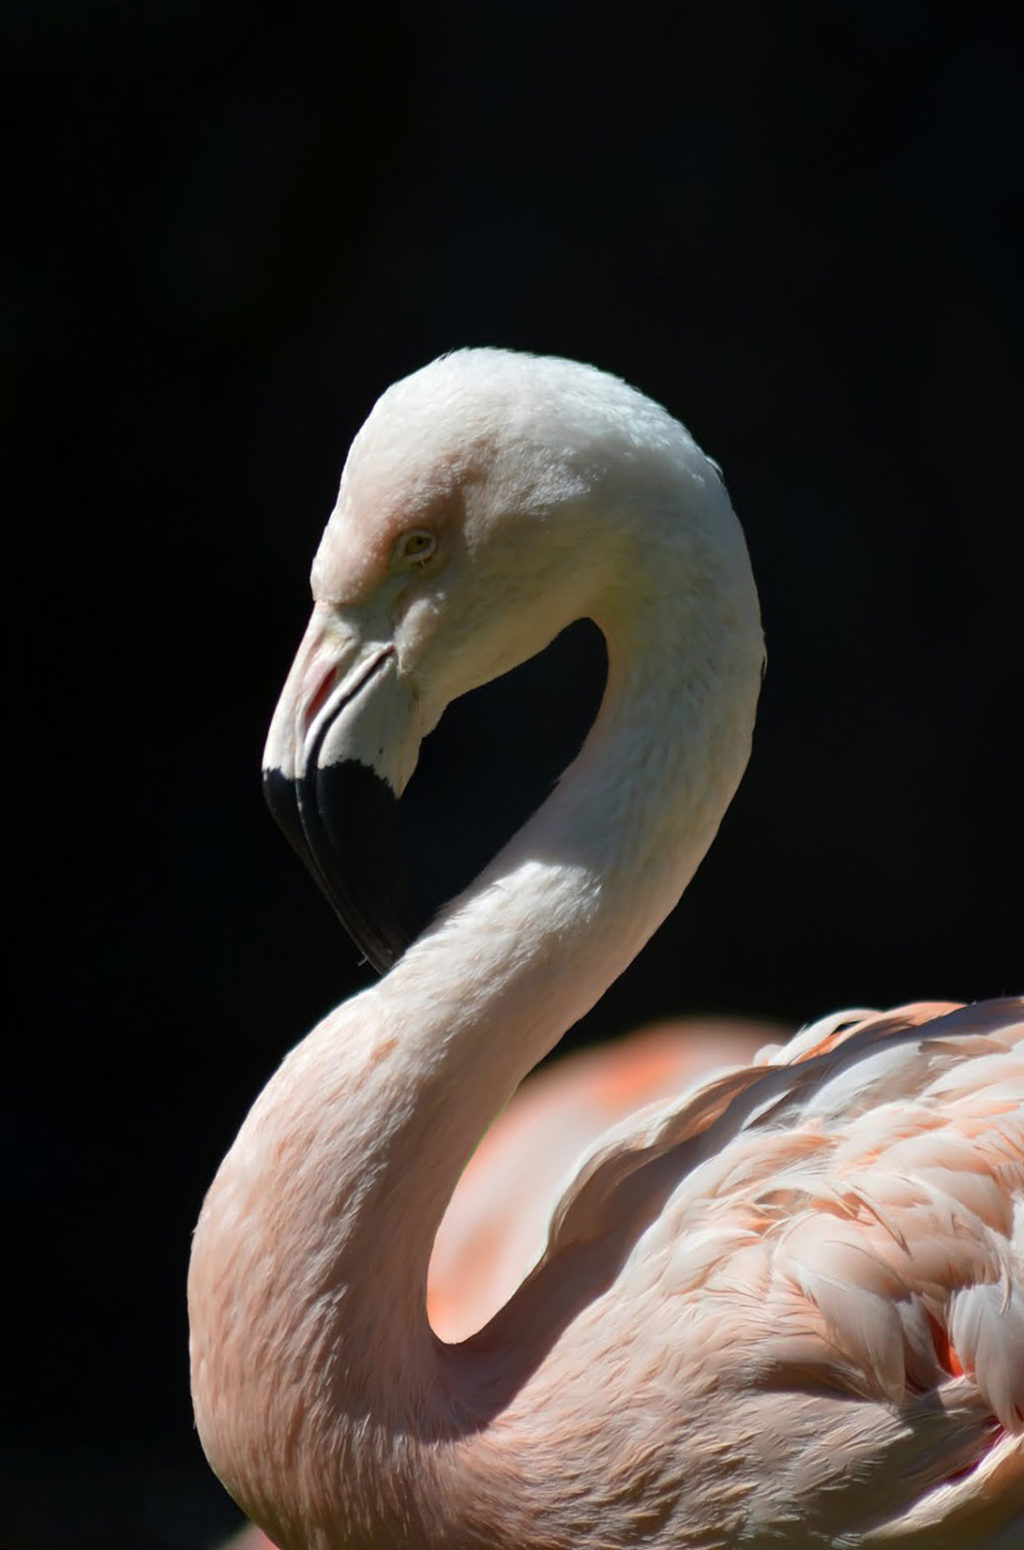
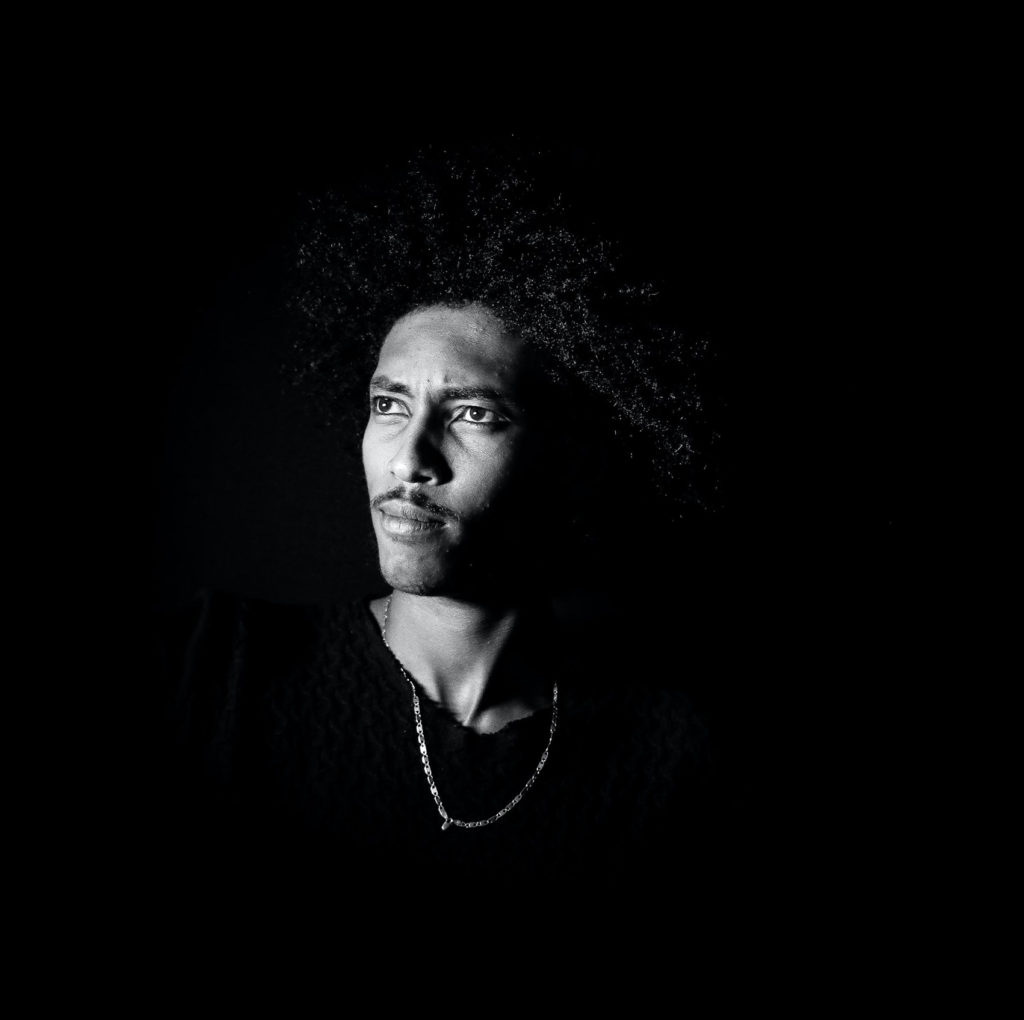
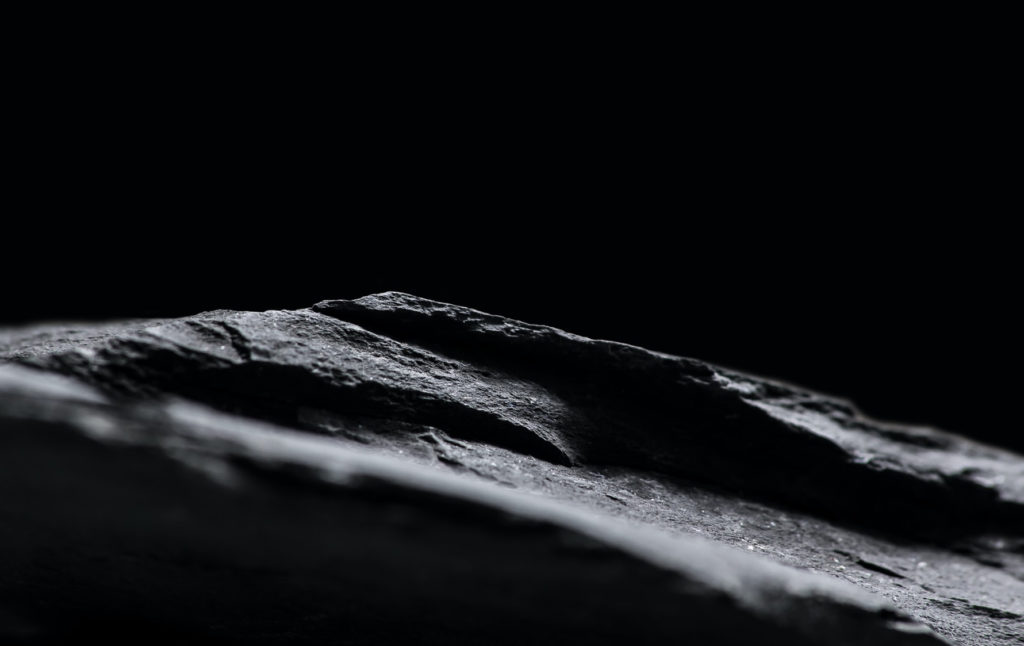
Here Are Some Images With Black Backgrounds For Inspiration:
Further Resources:
- Photography Skills: How to Isolate an Object Against a Black Background
- Always Keep an Eye Out for These Backgrounds to Compose a Great Shot
- 7 Time Tested Solutions For Better Backgrounds in Your Photos
- When and Why Should You Use Exposure Compensation
- How to Guide: Create Dark Food Photography (With Just a Box)
- Photographing flowers against a black background


5 Comments
Thank you! Very informative, interesting ,helpful and useful tips!!!
Thank you Lyudmila. Glad that you found this helpful 🙂
Thank you.
Very helpful! Thank you!
Thank you Erin 🙂