In order to understand the fundamentals of light, let's roll this back a little and consider whether you have ever asked yourself what photography actually is?
Let me explain with this reputable open source of global knowledge –
The word “Photography” was created from the Greek roots φωτός (phōtos), genitive of φῶς (phōs), “light” and γραφή (graphé) “representation by means of lines” or “drawing”, together meaning “drawing with light”. (Source: Wikipedia)
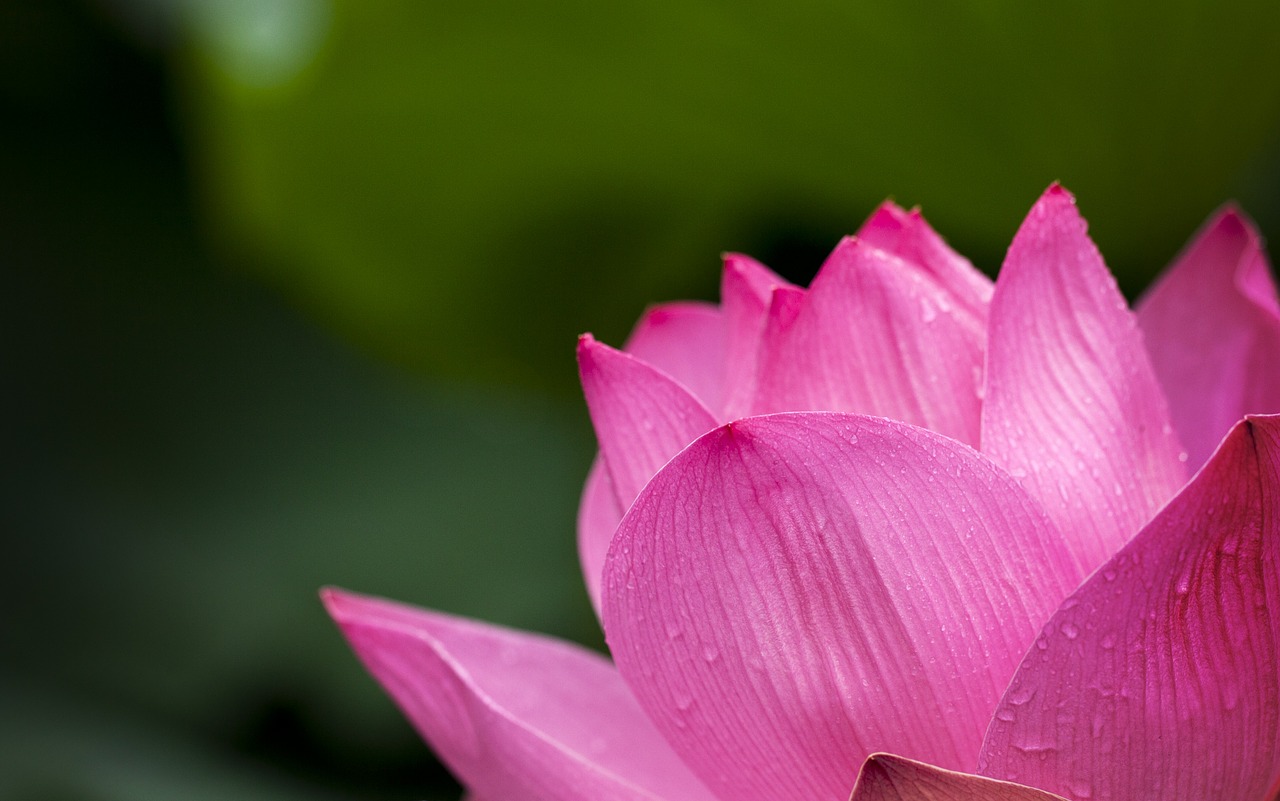
Photography IS Light
As photographers, we should all know that without light, there is no photography. Photography is nothing but capturing light that is reflected off subjects or objects and the colors that we capture depend on the color of light that is reflected by objects.
This reflected light depends on the original source of light and the object that reflects it.
Light is also responsible for creating a mood, shape and textures in the images and this depends on the intensity and direction of light. So altering light can greatly alter how an image looks.
In order to create beautiful photographs, one needs to understand the fundamentals of light, how it works and how it can be altered using various means to get the perfect image. What in fact it all comes down to is careful observation and planning before you press the shutter button.
Get this short planning phase right and you've got yourself a nice looking photograph.
We all talk about controlling and altering light, but what about those huge landscapes, buildings, cityscapes and other huge subjects that you photograph? It is near impossible to control the light here like how you do in studios or for outdoor portraits.
However, sometimes though not always, you can wisely make use of the available light and even control it using filters where necessary to get some decent images even when the light is really bad.
Quick Tip:
• White surfaces: Reflect all colors of light
• Black surfaces: Absorb all colors of light
• Light and Shadows: help to define shape, depth, perspective, etc.
Be careful in choosing diffusers and colors for reflectors taking into account the above factors

There are some important characteristics of light that are basic factors determining how an image will look.
The Harshness or Softness of Light (the Quality)
How do you know if a source of light is harsh or soft? This depends on a few factors.
A simple explanation goes as follows: a very small light source produces harsh light whereas a large source of light produces soft light.
It also depends on how far the subject is from the light source.
If the light source is very small compared to the subject ( an example is a Speedlight), or very far away from the subject (example, the sun), the light will be harder creating harsh shadows and contrast.
Stick to this general formula – Light sources larger than the subject and closer to the subject create softer light. So if you have a smaller source, try making it large by passing it through a translucent material.
You can also bounce the light off white walls and ceilings to make it bigger and softer.
Understand the Direction of Light
This is a very important factor to getting well-defined images. Always scout the scene, even if it's a portrait – look for where the light is coming from and importantly if there is enough.
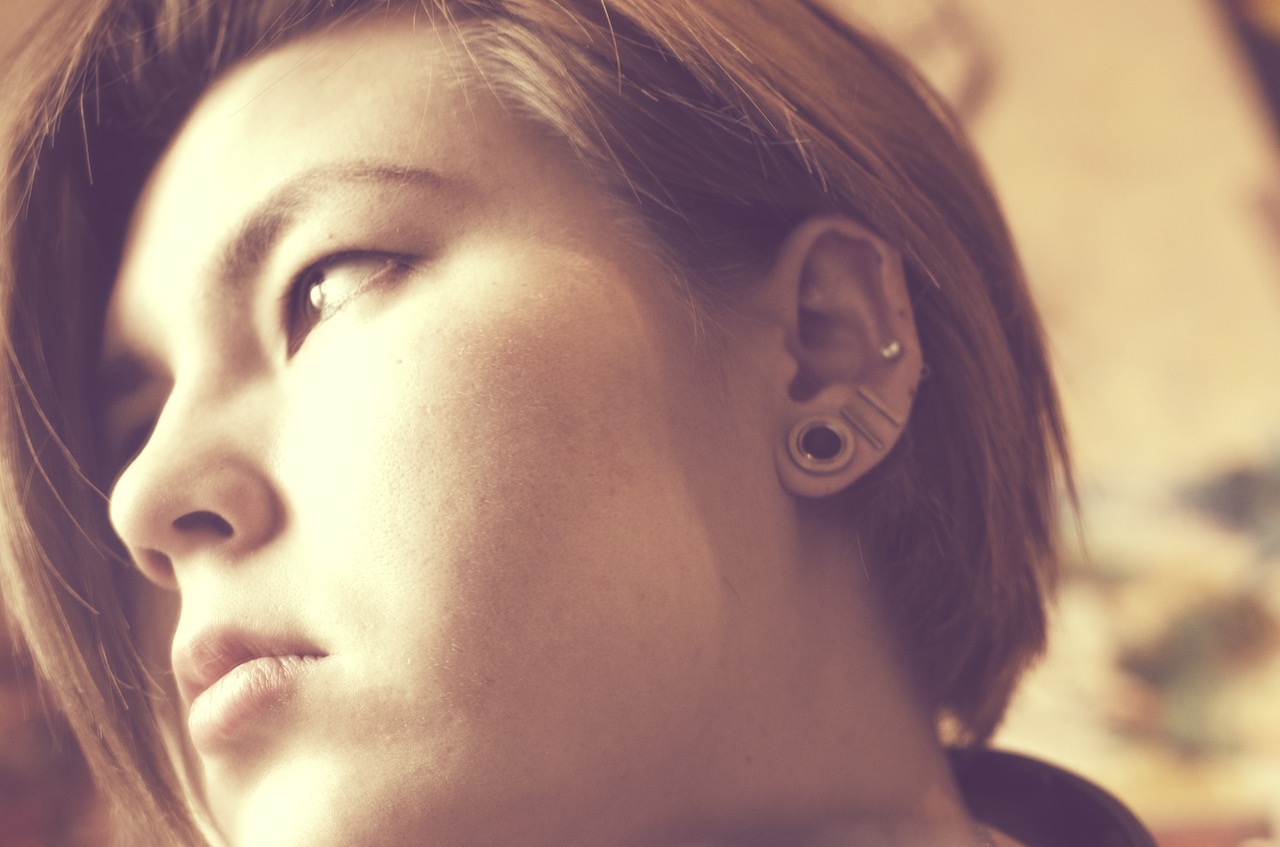
For example, if you shine a light source straight on to a subject (right from the front), it will make the image look flat with no defined shape or textures or shadows. Yes, it's a trend to produce some images like this, but let's be honest it's definitely not flattering to your subject – even if it's your cat!
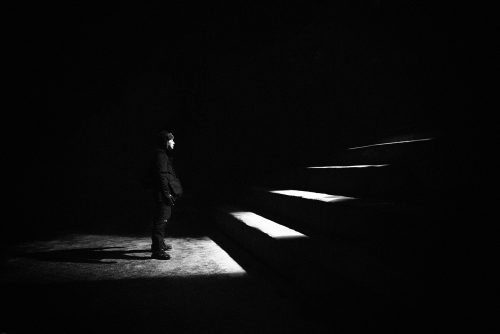
Whereas illuminating your subject from an angle, for example from one side, can account for some interesting shadows, textures and shapes that create a dramatic effect or mood to your image.
Sometimes, while doing indoor portraits, top lighting can also create a dramatic image, especially if the image is created for a specific purpose, but shooting outdoors in midday under harsh lighting conditions can create harsh shadows and highlights and ruin the image.
However, this light can be modified with the use of reflectors and the resulting image can be improved a lot.
How about Backlighting?
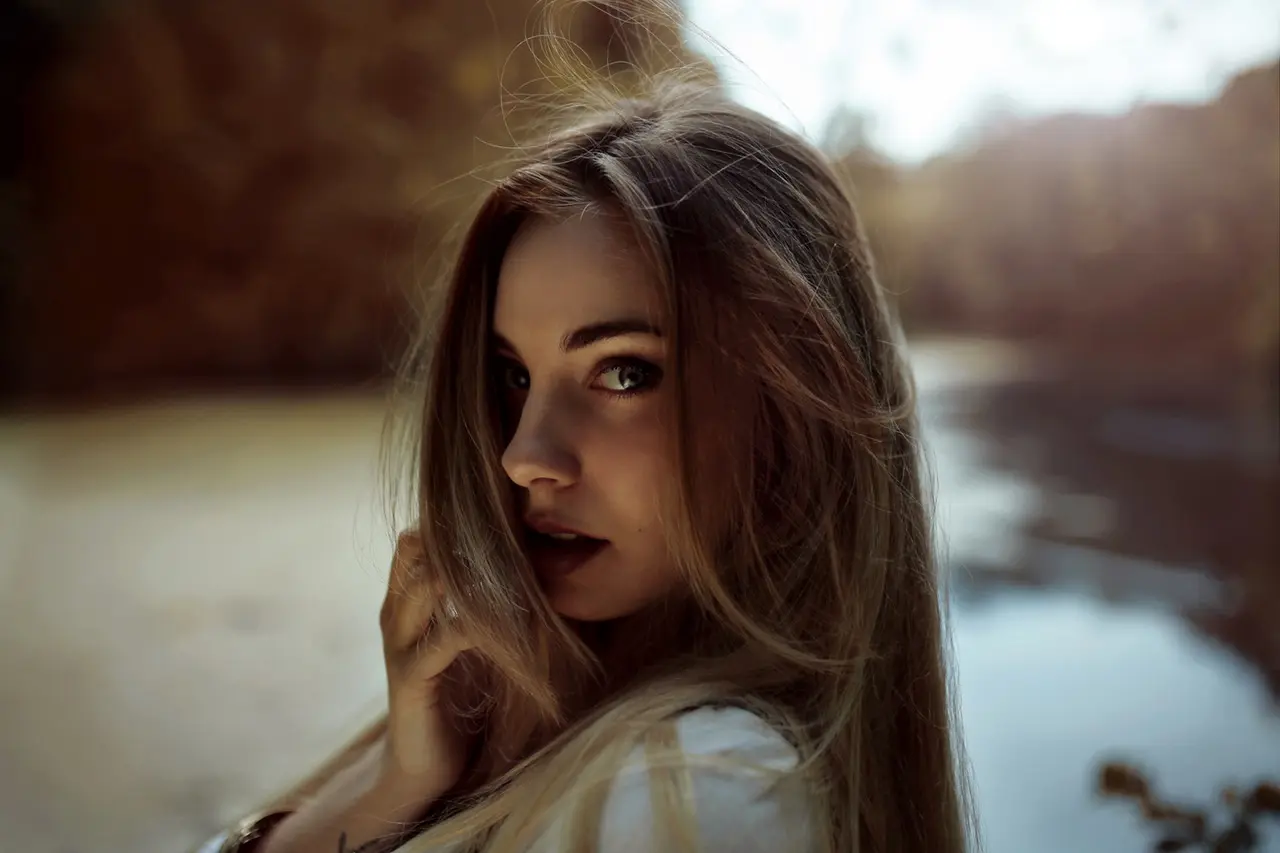
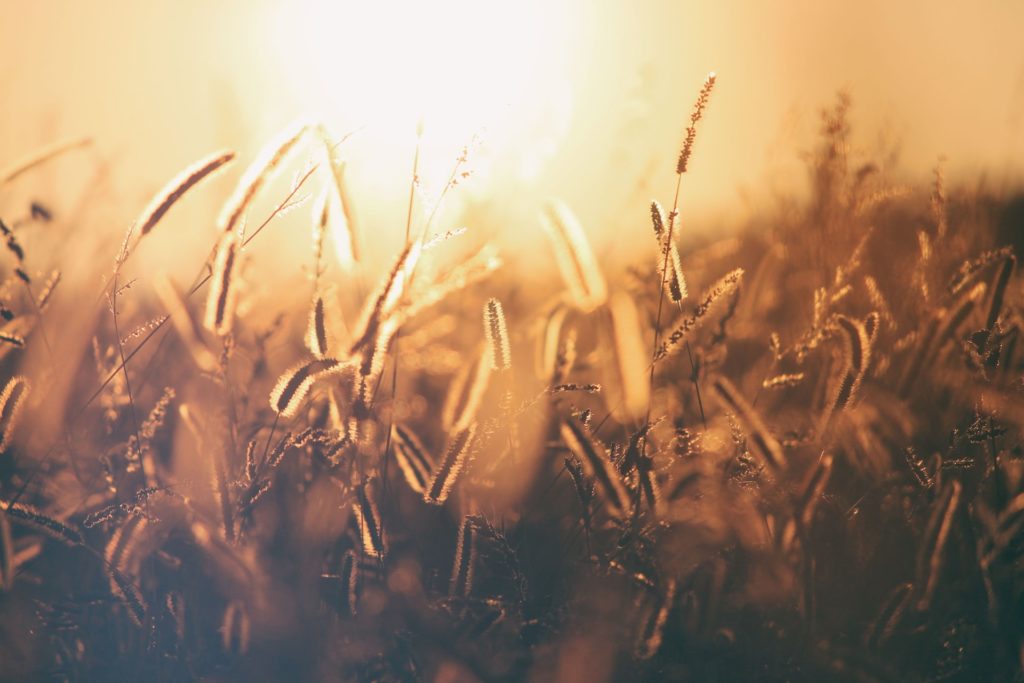
Backlighting can create some very interesting images, where you see a well-defined subject from a lit background. This technique works well both indoors and outdoors.
This is why the best time to shoot beautiful outdoor portraits is the golden hour. You get the beautiful hues of sunlight with a nice mood to the image. Street and other urban photographs look best when done during this time because of the dramatic shadows, light and patterns they create in the images.
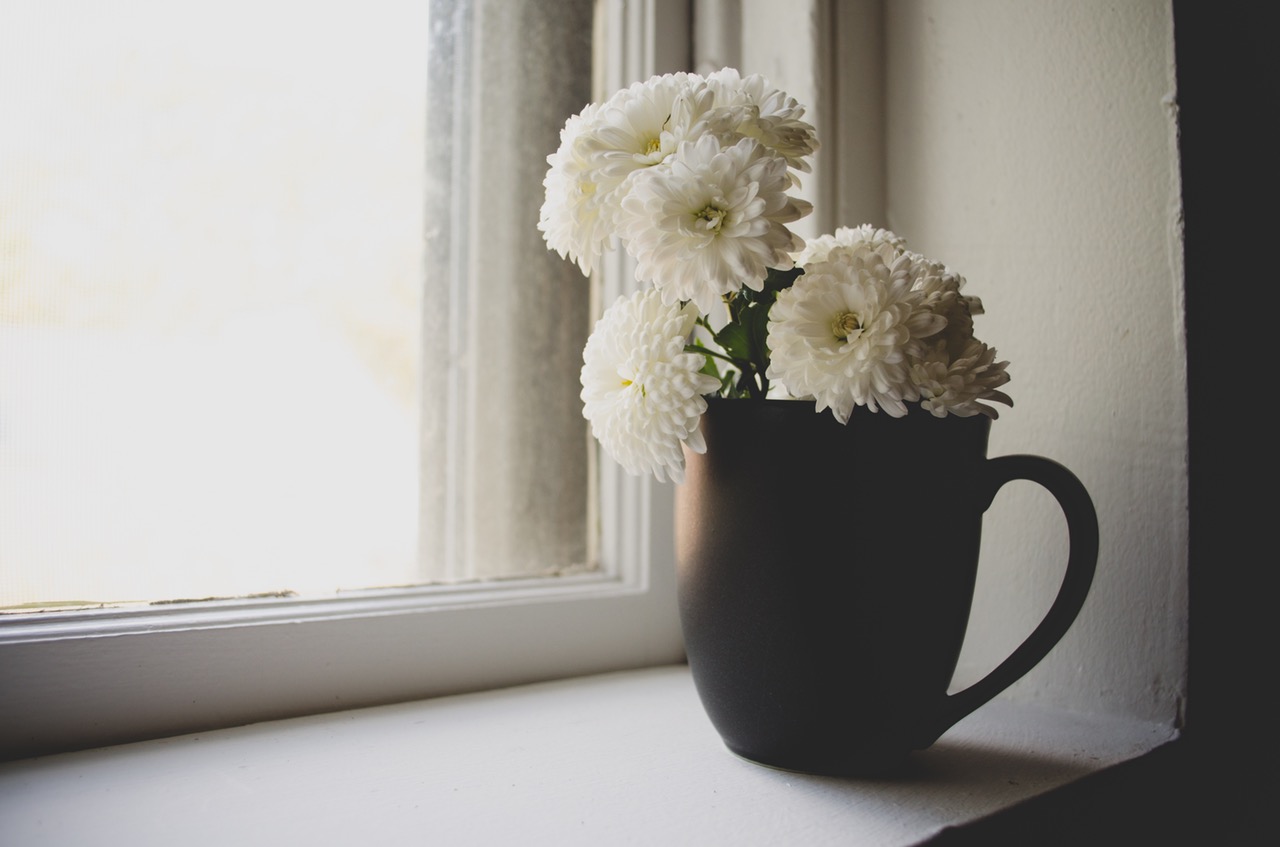
Window lighting is another beautiful natural light that you can make use of indoors to illuminate your subject. Since this light shines from an angle (from one side) depending on the time of the day, this light can be creatively used to light the subject.
Mostly window light through frosted glass or curtains can be soft, perfect for some good portraits or still life photography.
The Type of Light Source
The light source can either be
- Natural, or
- Artificial.
Natural light is the sunlight, the moonlight (this is also reflected sunlight), light from stars, etc. whereas artificial lights can be bulbs, candles, speed lights and any light that is man-made.
These light sources can be again classified as direct light, indirect, and diffused light sources. Still with me?
Direct light sources can create harsh shadows where an image can have hight contrast with very dark and very bright areas –
Indirect light is often bounced light from walls/celings/reflectors,
Diffused light is light coming from a rather large source that it is scattered and produces very soft light.
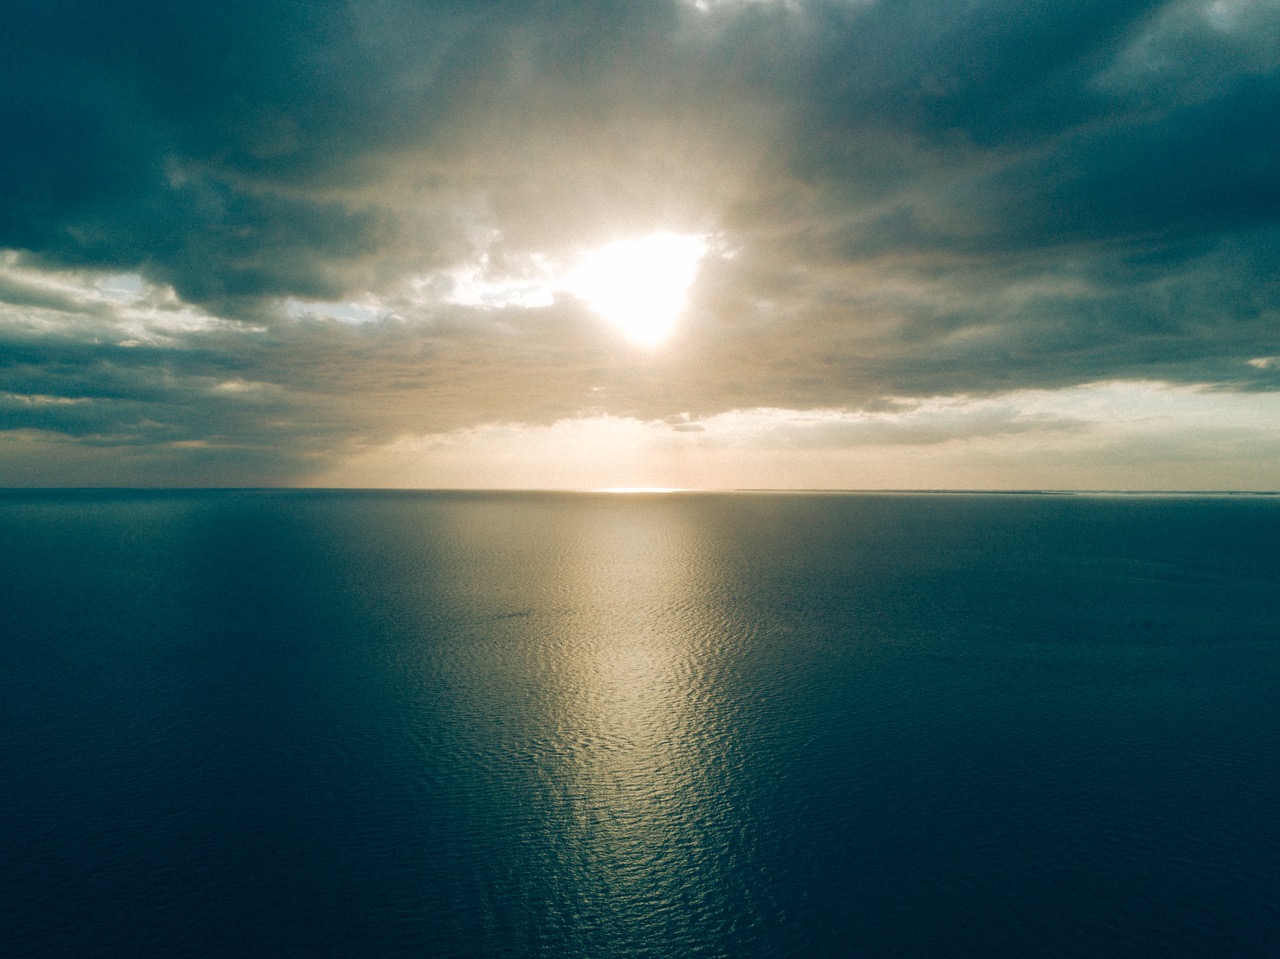
Examples of diffused light can be sunlight on an overcast day (sunlight passes through cloud layers, gets diffused), or any artificial light source that passes through a semi-transparent material.
The Color or Temperature of Light
The sun which is a natural source of light has different colors at different times of the day. You will know of the blue hour, the golden hour, the midday sunlight, cloudy day, and if you look at the colors these lights cast on the subjects, it will be very different each time of the day.
The same applies to indoor and other artificial lights. For example, a candle light, a tungsten bulb, a fluorescent bulb, etc. all these have a different color thereby creating a different mood to the images. This is called the color temperature and it is measured in Kelvin.
How do you correct these colors? You need to choose the correct white balance preset in your camera, for example, tungsten, sunny, cloudy, candlelight, etc or, if you are unsure, use auto white balance.
Some high-end cameras have the option to manually set your white balance values to compensate for the unpleasant colors.
Remember, in order to change the color of the light indoors, photographers often apply the use of colored gels on top of their light sources to alter the color of light.
My advice? Do not go for these unless it is a necessity.
9 QUICK TIPS
- Harsh light, how do you deal with this? Use a diffuser in between the light source and the subject. This softens the light, makes the source larger, if that makes sense. Do not always go for expensive kits, just use a piece of white linen or semi-transparent white paper and your job is done!
- Harsh shadows, what is the remedy? Just fill the dark areas (shadows) with light and in order to accomplish this, you will need to use reflectors that can bounce light back onto the subject. This can be mastered with practice. Adjust the angle of the reflector such that it fills the darker regions with enough light. You can create your own reflectors using white paper or silver / gold foil depending on your need.
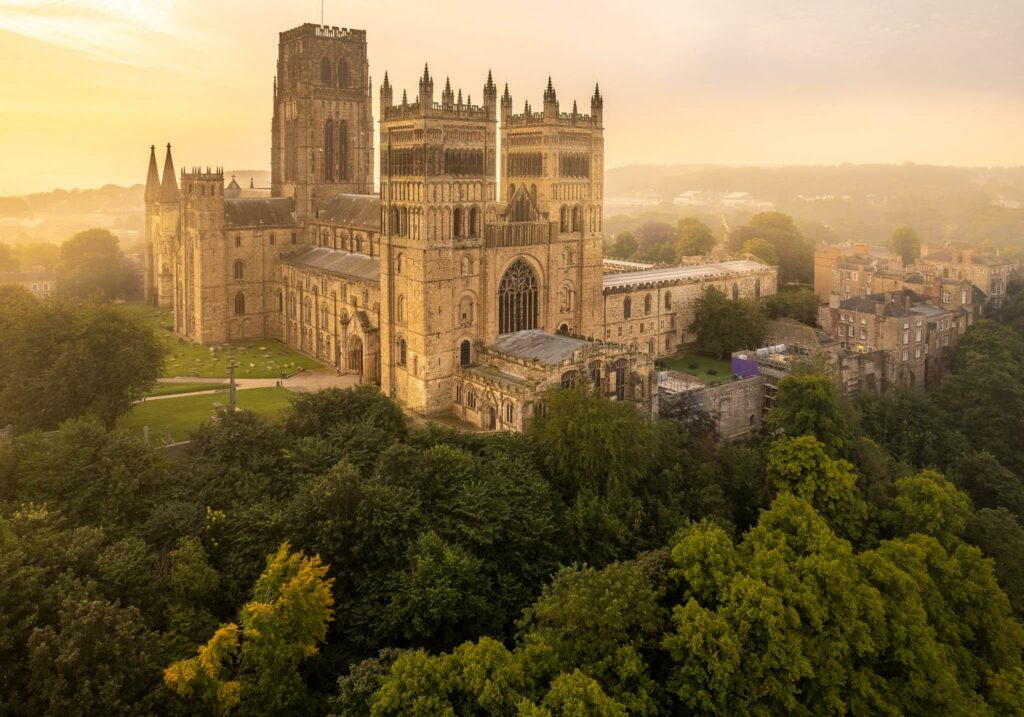
- Just like composition rules, keep the golden rule in mind. The best time to shoot landscapes is the golden hour when the sun is low in the sky creating drama in landscapes. Have you seen those beautiful images of sand dunes? The shapes and textures in these images are best revealed when the sun is low in the sky. Try different perspectives, with the sun to your back (be careful about shadows), the sun to your side or the sun in front of you. And, not to forget, as the sun gets lower, it is the best time to create some magical silhouettes by shooting into the light.
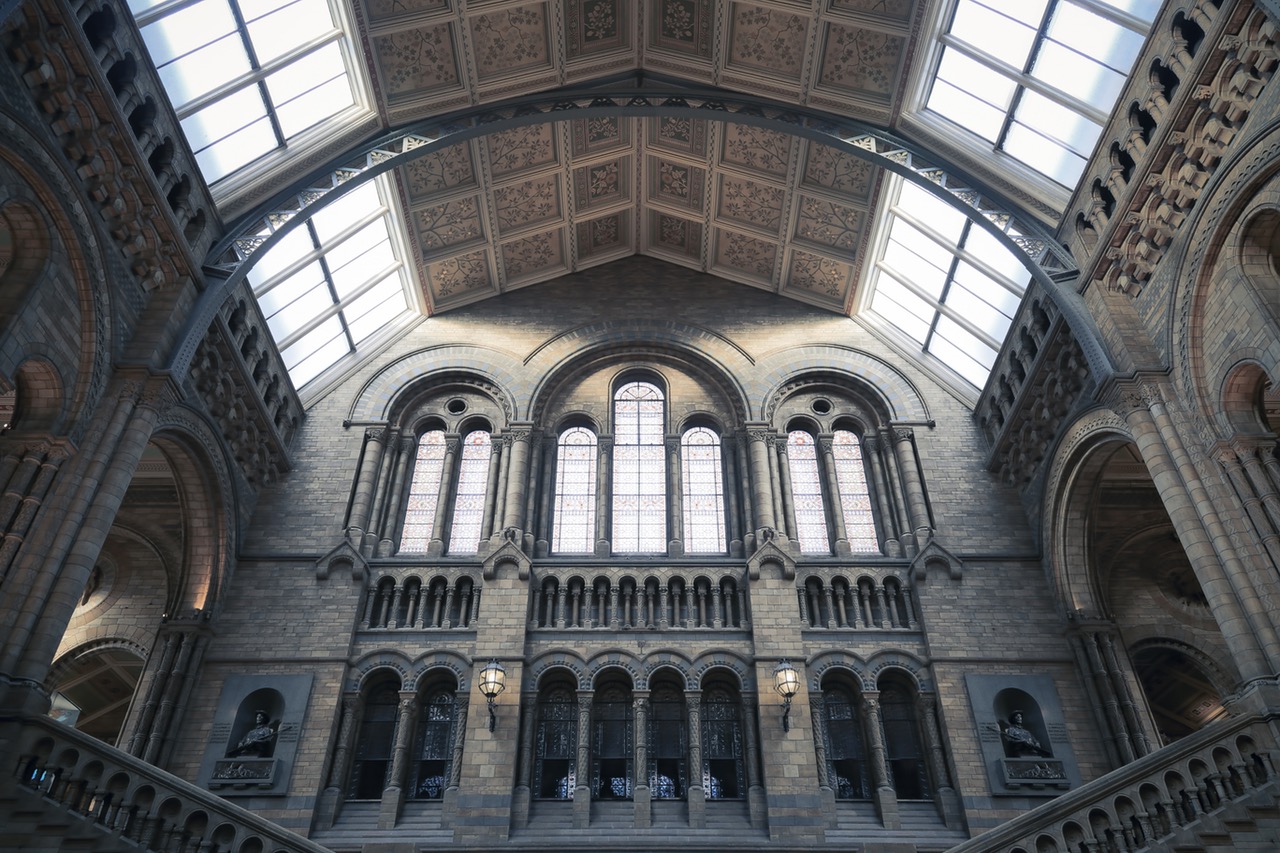
- How about those interior architectural shots in historic buildings? You cannot ignore but admire their dark interior beauty where you have to deal with very less light? These can be challenging especially with the camera struggling to focus, smaller aperture values, etc. Make use of the available lights, keeping in mind the amazing results you could achieve, as these photos can be truly stunning and dramatic. Window lights can help with amazing compositions and textures and shapes in images.Bump up the ISO a bit – the best suggestion would be to use a camera that performs well in low light. You can even use a tripod and slow shutter speed and record the movement of people to create a different feel to the image.
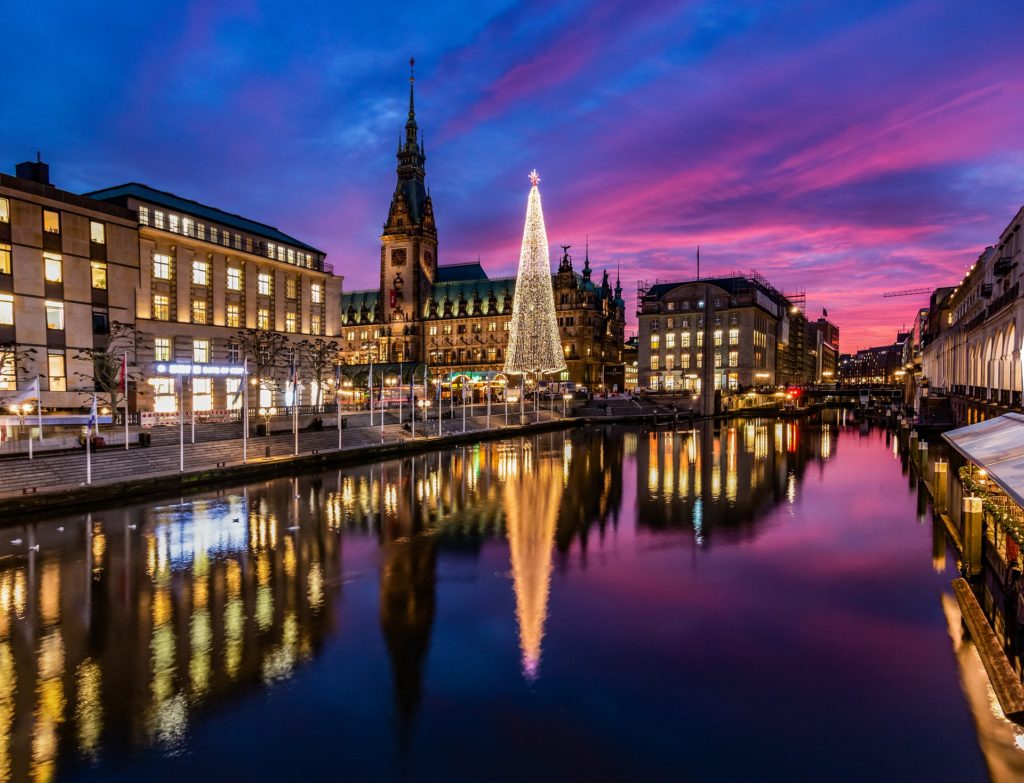
- Have you shot images in the twilight hour? Well, this is the time before sunrise or the time after sunset when there is some color still left in the sky. Make use of this soft blue light and create some long exposure photographs. This is usually the best time to shoot cityscapes, but not limited to. Try doing a beach shot or a landscape, where you can record the movement of water, clouds, etc with a different feel in the image.
- Do not stop yourself from photographing at night. This is the time when most cities come to life and are the perfect time to shoot some stunning urban street photos, nightscapes, the moon and various others. Keep a check on your white balance and iso and wherever possible, use a tripod.
- Natural light has a lot to teach you. If you understand how it works and if you are able to take control and make the best use of it to create good images, then you can apply the same understanding to use flash and other artificial lights to create beautiful images. Soften the light from a Speedlight using various accessories like softboxes, umbrella, diffusers, etc. to avoid harsh light.
- Do you stay indoors during stormy weather, just because the light is bad? Don’t do that! Have you seen those selective lights from partly cloudy skies or those streaks of sunlight through a stormy sky illuminating a landscape? These are some pretty amazing phenomena and images to photograph. Look for the rainbow after the storm and above all, be safe and protect your gear!
- Are you at a location (whether night or day, a cityscape or a landscape) where there is too much contrast between the bright and dark areas of the frame? Do not hesitate to bracket exposures so that you can save your image from having uninteresting shadows or highlights. Always use a tripod and cable release in these situations.
Mastering or understanding light can take you to the next level when it comes to photography. Be it natural or artificial light, there is various lighting equipment to suit everyone’s needs.
You can create some yourself at home, like a DIY project. If you are someone who doesn't like artificial light, you'll have various times of the day to make use of the natural light available to shoot stunning images, even at night.
Further Resources
- Understanding Light by Photzy
- 6 Essential Tips for Taking Good Photographs on a Bright and Sunny Day by Lightstalking
- 12 Simple Ways to Bounce Light and Capture Better Portraits by Karlo de Leon
- Why You Need A Reflector For Shooting Better Portraits by Jason D. Little

4 Comments
Excellent article, thanks, Dahlia. I am so glad that Wiki agrees with me – the image only becomes a photo GRAPH when you print it 🙂
One thing worth mentioning, is shooting in RAW (if your camera permits it – most seem to, these days). This means one less setting to worry about, when taking the shot. And it enables the photographer to defer worrying about the color temperature of light at the time when the photo is taken, and deal with it later, during post processing. An advantage of this is that during post processing, you can fine tune the actual color temperature – choosing the color setting in camera goes in big jumps – not that that matters much, because you can still fine tune the result later.
Thank you for stopping by and sharing your thoughts Jean. Yes, shooting in RAW helps you save most of your images at times when you need to spontaneously make pictures not having enough time to change settings on your camera; mostly when shooting actions. Sometimes, when the light is constantly or rapidly changing, I think the best thing to do is to choose auto white balance.
Excellent Article Dahlia! Very informative!
Thank you Frogdaily. Glad that you found this informative 🙂