The basic factors that make a good photograph are the effective shadows and highlights caused by the light falling on various elements in the frame. Depending on the dynamic range in the scene, the shadows or highlights can be too dark or bright and as a result, clipping can occur on either one of the areas. Shadows are areas that are dark with more blacks and highlights are areas that are bright with more whites. If not exposed well, the dark and bright areas can lose details which in turn can lead to clipping.
In this article, our focus will be on highlight clipping and we will look at several ways to avoid clipping the highlights in photos.To explain, clipping the highlights means that your photo has blown-out or overexposed regions. These areas then have little or no digital information and the area then appears as pure white in the image. The problem with this pure white is that it appears in areas where one would normally like to see details – for example a blown out sky with no details.
Why Does Highlights Clipping Occur?
Clipping the highlights occurs when there are varying intensities of light in a scene (from very dark to very bright) and the camera’s sensor struggles to cope with the huge dynamic range or the huge variation in light and tones from black to white. The photographer has exposed correctly for the darker regions, but as a result, the camera sensor has struggled to record details in the brighter areas of the scene.
Such areas are generally impossible to recover by any means, but if you shoot raw, there are chances that some amount of recovery can be done while post-processing.
However, these can be avoided while you shoot the image and here are some tips on how to avoid clipping the highlights in your photos.
9 Tips On How To Avoid Clipping The Highlights:
1. Always Shoot Raw
Whatever lighting conditions you may be working with, it doesn’t hurt to shoot in raw, because it records the maximum amount of details and light information available for an image. Blown out highlights that are impossible to recover from a jpeg file may be recoverable from a raw file.
2. Use The Correct Metering Mode
Depending on the light available in the scene and the type of photography you are looking to do, you may have to use the correct metering mode. That way your camera knows how to calculate exposure values for a given scene. Example: For landscapes using matrix metering and for backlit portraits, using center-weighted metering will help.

3. Use Exposure Compensation
Although this is not an advisable tip, if there is no way you can record details in both the brightest and darkest regions, it is best to expose for the brightest region in the image and recover possible details from the shadow region later while post-processing. For this, you may have to underexpose your image using the exposure compensation feature in your camera.
4. Use The Histogram To Avoid Clipping The Highlights
Your histogram is a powerful tool that can help you avoid clipping highlights and you can read about using it here and here. If your camera has that feature, make use of it. There are some cameras that even have a highlight alert to indicate the blown out areas. Make use of these features to avoid highlight clipping.

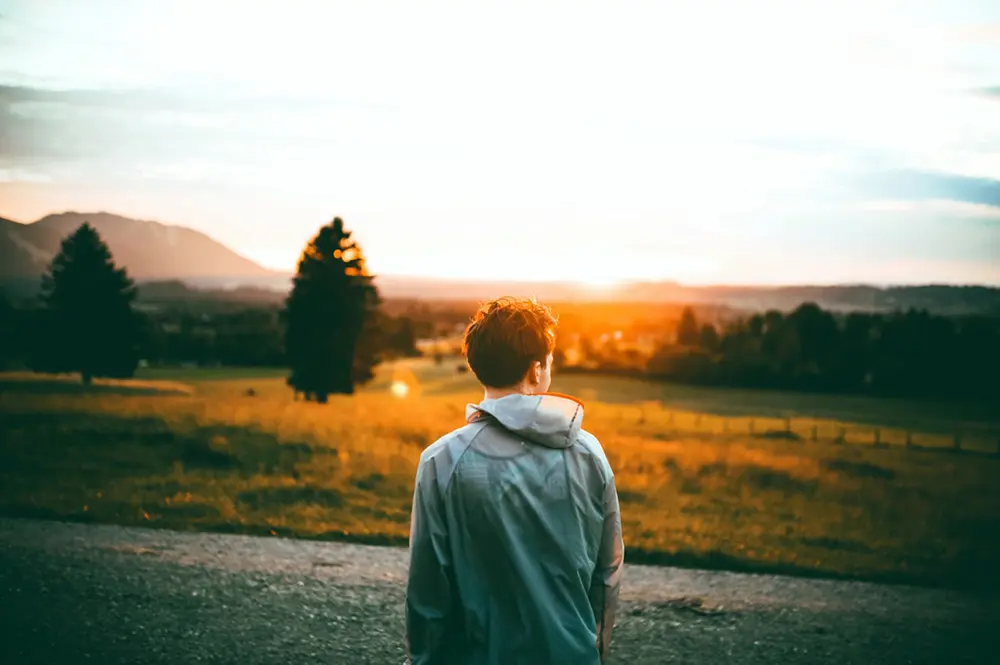
5. Shoot During The Golden Hour
Shooting during the golden hour is not going to completely eliminate the problem of clipping highlights, but compared to midday, the intensity of sun will be lesser. If you still have the sun in the frame, you will need to get the help of graduated ND filters or use other methods like exposure bracketing or HDR.

6. Choose Overcast Days Or Shoot In The Shade
Overcast days are a photographer’s favourite one if they are not shooting landscapes, but they help with avoiding blown out highlights. Alternatively, if you are shooting portraits on a bright day, it is best to choose a uniformly shady area with the light from the right direction to get correctly exposed images without any clipping.
7. Use A Graduated ND Filter
When there are scenes for example landscapes where the sky and the foreground have huge variations in the intensity of light, you can use a graduated ND filter to expose correctly for the sky and foreground. Be careful how you place the filter taking into account the horizon in the frame. In scenes where you do not have a perfect horizon, for example, mountains, you may have to use exposure bracketing.

8. Shoot For HDR Or Do Exposure Bracketing
For scenes that have a huge dynamic range, you can shoot a series of three (one correctly exposed, one over exposed and one underexposed) or five images and combine them while post-processing. You can also create HDR images with these bracketed exposures, but, remember to use a tripod for best results.

9. Recover Some Lost Details Back In Post
If after all the above, you still have highlight clipping in your images, you can recover the details while post-processing. Most of the time bringing down the Highlights slider should do the trick. If not, a combination of adjusting the highlights slider, whites slider and tone curve should do the trick.
Here are some samples, where just dragging the Highlights slider down a bit has helped bring back details in the clipped areas.

Image by Johannes Rapprich

Image by Katerina_Knizakova

Image by Free-Photos
When Should You Embrace Highlights Clipping?
There are situations where you may want to embrace clipping the highlights. For example, if you are shooting an indoor image and you have one or more bright windows that you have included in the frame, your camera may record it as a highlighted area while your eyes will be capable of seeing elements that are both inside and outside the room.
These highlight clippings can be especially good because blowing out outside details in windows can make the image simple and get the viewer to focus on what is in the room rather than let the eyes wander out the window.

Conclusion
If you are in a situation where you have to shoot out in the bright light, do not worry about getting all the images blown out. If you know a few tricks that you can take to your advantage, you can shoot at almost any type of light conditions and still get some good images.
Not all tricks will work for a particular lighting condition, so choose the one that will suit the light you are working in and get the shot. With practise you will know what to do under each light conditions.
Do you avoid shooting in tricky lighting situations and shoot only in good light because you don’t yet have the confidence?
You should check out Mitchell Kanashkavich’s Natural Light that will enable you to unleash your full creative potential by discovering the secrets to natural light.


