Blown highlights, they are the bane of the photographer’s life. Once you have blown your highlights in the original exposure, it will be virtually impossible to recover them in post production. Fortunately, we can avoid these situations by taking care with our exposure when we shoot and our cameras have some very good tools to help us with that. Let's take a look at how.
What is a Blown Highlight?
For the uninitiated, blown highlights occur when the amount of light in the scene is too much for the sensor to cope with. Your overall image might look well exposed but, for example, the sky might be a bright overcast and be completely overexposed, going completely white. When you take that image into Photoshop or Lightroom and try to recover that white area, it just ends up looking like a uniform grey patch with no definition.
Why Do You Get Those Blown Highlights?
Most of the time when you look at the scene, you do not see the highlights with your eyes, but they get recorded when you photograph the scene with your camera. The reason behind this is that our eyes are generally capable of seeing and distinguishing the huge tonal range in the scene whereas the technologies behind camera manufacturing has not got to the point where it can record what a human eye can see at an instant of time. But, technologies behind this are getting better and better!
Most cameras in the market are not capable of recording the dynamic range in the scene and so depending on how you expose, it either records the bright areas as blown out highlights or the dark areas in the shadow regions as black.
How to Avoid Blown Highlights
Learn to Use the Histogram:
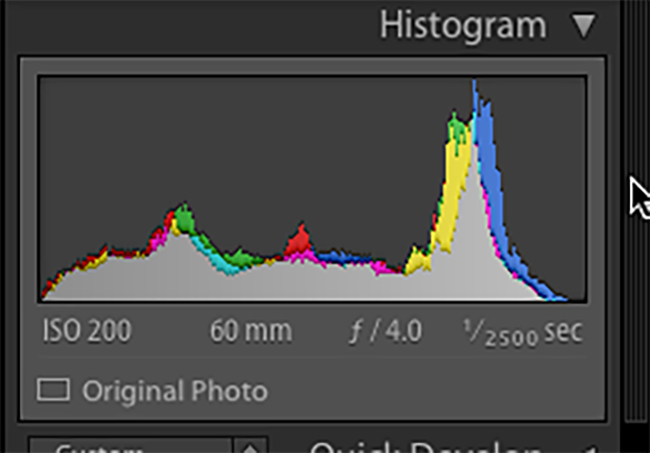
You might have seen it on your camera but maybe you don’t understand its significance. That graph that you can display on your LCD screen is one of the most powerful tools your camera has. In the simplest terms the graph shows the distribution of light in your exposure, the darkest areas to the left and the brightest to the right. Anything falling on the right side of the graph is light and potentially becomes a blown highlight.
When shooting in difficult conditions check the histogram after taking the shot. If your graphs spills out of the right side, then increase your shutter speed or close down your aperture until that graphs comes back inside. Check this article on how to use a histogram for better shots.
Further Reading:
- How To Read Your Histogram And Why It Matters For Landscape Photographers
- Are You Using Your Histogram to Get Better Photographs?
- Bite Size Tips: How to Get the Perfect Exposure with a Histogram
- Beyond the Limits of our Histogram: Pushing the Boundaries for Visual Impact
Highlight Alert:
To some, it's an annoying blinking signal when they preview their pictures. To others it's a useful indicator of areas of blown highlights. The fact is the Highlight Alert is a very useful tool that will show you any area of your image that is overexposed and beyond recovery.
To see either the histogram or highlight alert you need to switch these on from you camera’s menu system. Usually this is found in the image display menu accessed by pressing the menu button whilst viewing a photo. To check exactly how to do this, check your camera’s manual.
Use Filters:
Another way to combat blown highlights particularly in skies is to use neutral density graduated filters. Available in 1, 2 or 3 stops, these filters go from dark to clear. Depending on how blown your highlights are. Placing an ND graduated filter will reduce the exposure in the very bright areas whilst maintaining correct exposure over the rest of the image.
Square filter systems are the best option for graduated filters as you can carefully control the position of the graduation over the image.
Further Reading:
- A Quick Guide To Understanding ND Filters
- What Camera Filters Do You REALLY Need?
- How To Use A Neutral Density Filter For Daytime Long Exposures
- This is What Photographers Need to Know About Basic Filter Types And Their Uses
Shoot Raw:
Whist jpeg files might be fine for many things, when working in difficult lighting or when needing the best quality, nothing beats the power of a raw file. The reason for this is simple; you are getting the maximum dynamic range from your sensor. A shot that may appear to have blown highlights as a jpeg, may well be recoverable if it had been shot as a raw file. There are limitations of course but if you combine shooting raw with monitoring your histogram, you will soon learn just how far you can push the exposure abilities of your camera.
Use The Right Metering Mode:
Although you make sure you have got all the settings right, depending on the scene and light conditions you are shooting in, you will need to use the right metering mode to get your exposure right. You will need to use for example matrix metering for landscapes most of the time, center-weighted metering for backlit subjects and so on.
Further Reading:
- An Advanced Guide to Light Metering in Photography
- When to Use Matrix & Spot Metering
- How to Best Utilize the Various Metering Modes in Your Camera
- A Basic Introduction To Understanding Metering Modes
Understand Exposure:
All these tools and techniques are great but to truly understand how to prevent blown highlights you need to understand the limitations of your camera. Every manufacturer and model is different. Learn not only to understand the dynamic range that you camera is capable of capturing but also to read the light visually before you even lift the camera to your eye.
Look at the scene in front of you, how dark will those shadows be? Can I get a decent exposure despite that bright, uniformly lit overcast sky. Look at the tonal range between the darkest and lightest areas and think about the technique your wish to use to capture it.
Further Reading:
- The Rule of Equivalent Exposure (With Quick Quiz)
- What You Need to Know About Exposure Before You Pick up a Camera
- Photography: What Everybody Ought to Know About Exposure
- How Light, Aperture, Time and Sensitivity Affect Exposure
Try Exposure Compensation:
Exposure compensation is not always the best idea to expose correctly for an image. However, when there is a huge contrast in light between the darker and brighter areas in the frame, you can use exposure compensation to expose for the bright areas and then recover details in the shadow areas when post-processing because exposing for brighter areas will underexpose the shadow areas in the frame.
Further Reading:
Shoot During The Right Time Of The Day:
Although not always possible, it is best to avoid bright sunlight and stick to early mornings and late afternoons for photography. Golden hours are the best and if you can shoot on overcast days, these are the best for portraits. If you are out shooting portraits in bright light, choose shady areas and make sure that your subject is positioned so that the face is well lit.
Try HDR or Exposure Bracketing:
Best way to bring out details in a landscape that has a large dynamic range is to exposure bracket the shots or create HDR images. For this you will need to shoot 3 or 5 images depending on the contrast in the scene and then merge them when post processing. By bracketing, you take one correctly exposed shot and then one or two overexposed and underexposed shots. Always use a tripod for the best output!
Further Reading:
- HDR Photography: Shooting Tips, Software Plugins, and Training Resources
- How to Do HDR Photography – Gear and Process
- 4 Kinds Of Bracketing You Can Do With Your Camera
- What Your Camera’s Auto Bracketing Feature Can Do and How to Use It
- Here Is Why I Exposure Bracket Every Shot
Blown highlights can ruin the most beautiful shot, yet you can still get beautiful images if you know the tricks that you need to use – it isn't really so difficult as it seems. Understanding how to control highlights and bring them back inside your camera’s abilities using one, some or all of the techniques above, you should be able to banish them for good.


5 Comments
Thanks been very helpful
And boy does it happen , I specialize in sunset photography and like you state in your article it is virtually imposible to fix .
Thx for the tips.
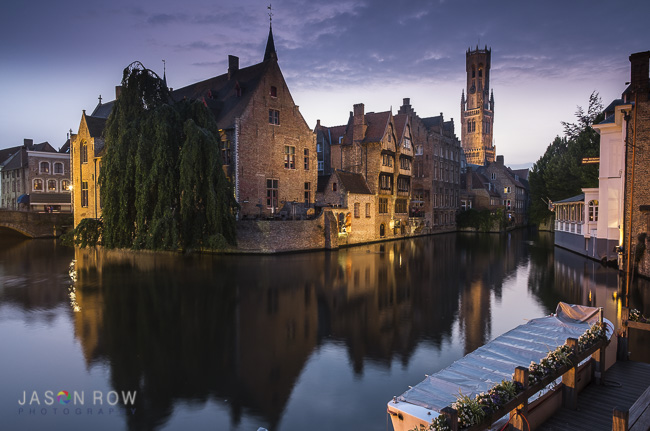
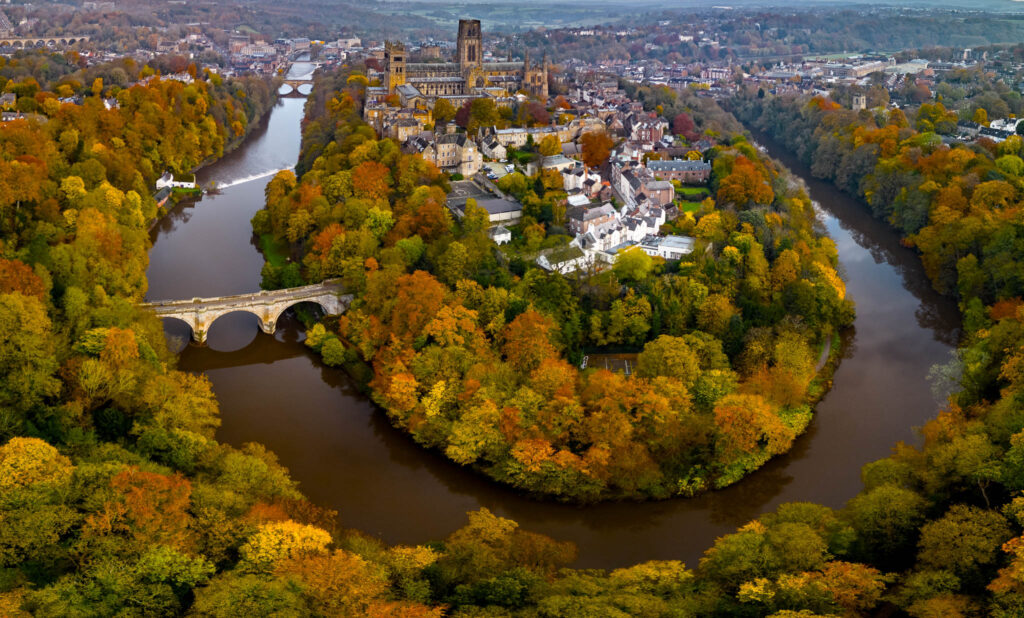
I dislike graduated filters. True, it is quick fix, but really usefull only on seaside, where horizon is straight. As seen on upper image, part od sky is white and part of church tower is dark. I always shoot multiexposure to later make HDR photo. For sunsets and stationary photos like the one above, one can do 3 different exposures (+2, – 2 and normal) even manually, since time is not problem. If using tripod I alwas exposures customize exposures depending on scene. There are quite few (free) HDR blending programs.
Hi, came across your page looking for some answers on blown highlights. I took quite a few night photo’s of a viaduct near my home town, I tried everything I know to combat the one highlight all to no avail.
I set the camera to manual used a 2.8 L 24-70mm on a 5D Mk3 and went up and down the scale from 2.8 to 22 , 6 seconds to 30 secs using different combinations, nothing worked, I even tried a 1.4 nifty fifty for speed, again no joy. I think in some situations blown out high lights just can’t be tamed. I’ve enjoyed your views on the subject. A ND filter would be impractical on a shoot such as this .
Great website. My problem is with dynamic range and trying to solve it using bracketing. Still a work in progress. I’ve tried manual bracketing and I’m getting better results, apart from moving clouds. I’ve picked out a number of your articles to work through to get some more background on exposure and bracketing. I’m moving away from HDR and getting boned up exposure blending in Photoshop.