Nowadays, it seems that the majority of DSLR, mirrorless, and even point-and-shoot cameras have video features. In fact, the video features on the DSLR and mirrorless systems are so advanced that many blockbuster movie scenes are recorded with them.
Of course, if your camera has video capabilities, you want to know how to make the most of it. Videography works by principles that are much the same as those used for photography. The biggest difference is the obvious presence or lack of motion.
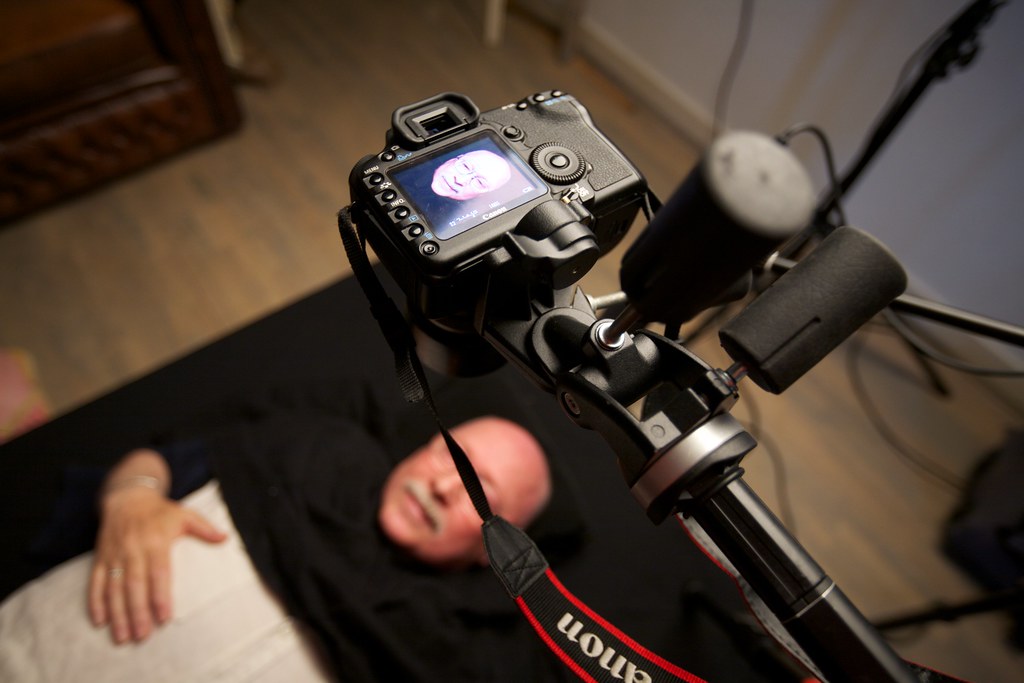 Photo by Sebastiaan ter Burg
The exposure concept is the same: you control the ISO, aperture, and shutter speed with small exceptions. The aperture and ISO are up to you, while the shutter speed is predetermined in order for the video to have good flow and motion, but we will get to that a little later. Another thing to remember is that you don’t have RAW capabilities here, so you have to get things right in the camera in order to get the most out of video. This is especially true when it comes to white balance. Also, except on a few cameras (like the Canon 7D mark 2, or the Canon 70D), auto focus is taken out of the equation since it doesn't look nice. When shooting video you have to master manual focus (which can save you heaps of money, but we will talk about that later, as well).
Shutter Speed
The shutter speed is what makes the difference between a jittery and a smooth image. But before we get to that, you need to understand frames per second. Unlike rapid-fire shooting for still images, there are many frames per second in video in order to trick the eye into thinking that it is an animation. The eye sees animation with frame rates of equal to or faster than 24 frames per second. That's why 98% of movies are recorded on that frame rate. Depending on the standards, the frame rate can vary from 24 to 30 for standard TV/Movie viewing, and up to an unfathomable one million frames per second on ridiculously expensive high-speed cameras. The faster the recorded frame rate, the easier it is to create a slow-motion effect.
Photo by Mariano Kamp
For video to look smooth at a given frame rate certain shutter speeds must be maintained so that the motion is smooth. The rule of thumb is that for any given frame rate you double that number to find your shutter speed. For example, for 24 frames per second, your shutter speed should be 1/48 (but because that can’t be set on most cameras, the closest one is selected, which is 1/50th of a second). If you shoot at 30 frames per second, then your shutter speed should be 1/60. For 120 frames per second, your shutter speed should be 1/250 (because 1/240 can’t be selected), and so on.
You can intentionally shift to shorter or longer shutter speeds to achieve certain effects, but in order for it to look good, it has to be done properly.
Aperture and ISO
On most Canon DSLR cameras the aperture and ISO can be changed during the recording of the video, while it has to be done beforehand on most Nikon DSLR cameras. However, it is not recommended to do so while shooting the video since it usually can’t be done smoothly and ends up looking very bad. A better way to control the light is by using a variable circular neutral density filter, which allows you to twist the filter slowly and smoothly to control the light during recording, if that is necessary.
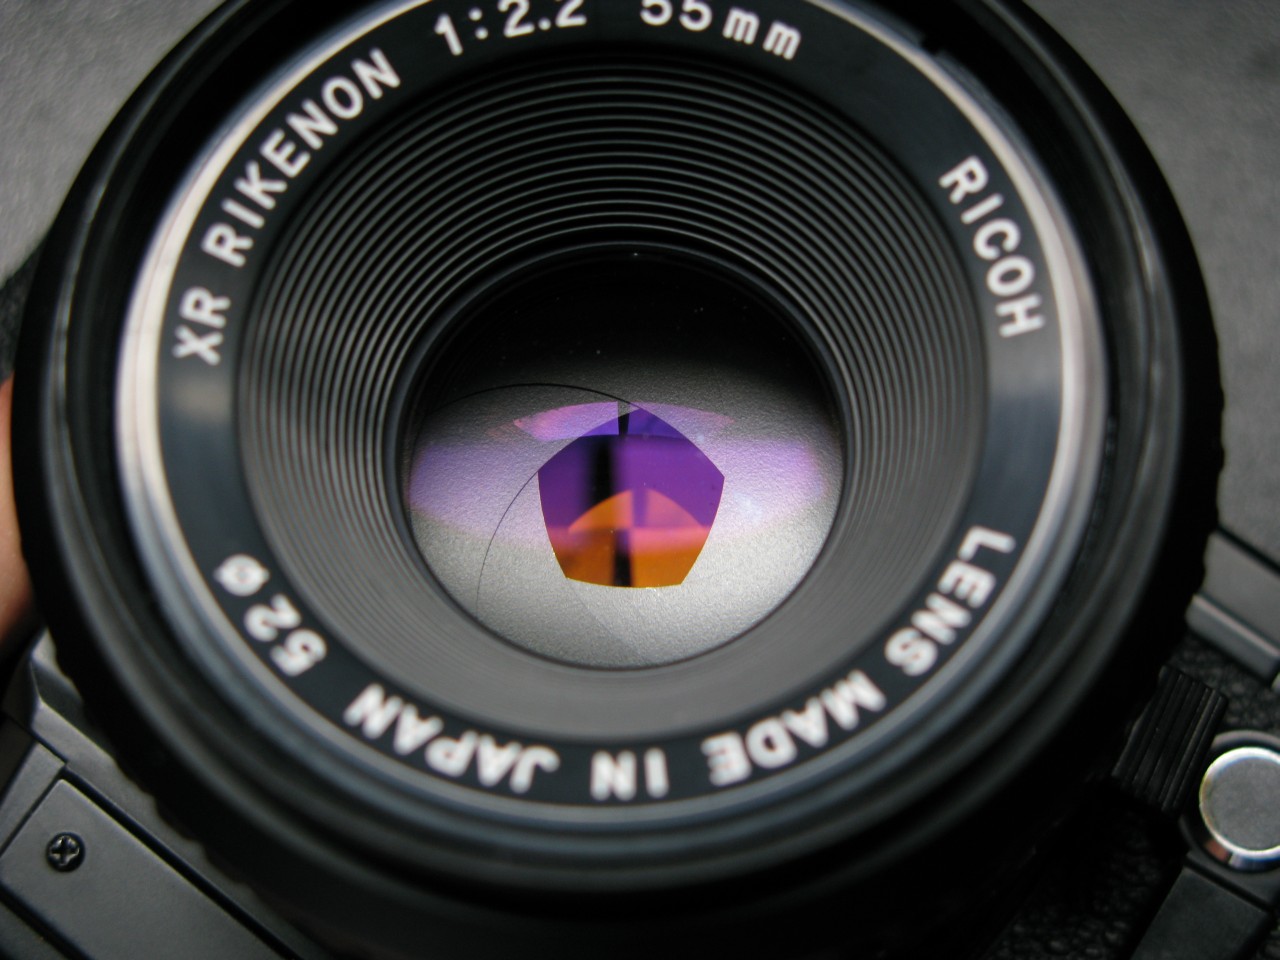 Photo by Nayu Kim
Since your shutter speeds are fixed, the exposure is strictly controlled by the aperture and ISO. Most of the time, you’ll have to use neutral density filters if you want to use wide apertures in the middle of the day, since even at ISO 50 using f/1.4 will result in pure white image at shutter speeds of 1/50th or 1/60th of a second.
If you are using vintage lenses, you can control the aperture more easily, even mid-shoot, if you do a minor tweak to the lens. Vintage lenses have aperture rings (aperture is controlled directly on the lens itself, instead of in the camera body) which enable you to adjust the aperture in any manner. The only issue is that the aperture clicks on the common aperture denominators, but the majority of the vintage lenses can be easily de-clicked, thus providing for smooth aperture transitions to be done mid-shoot. Doing it this way you're forced to set the common aperture denomination blindly, so you’ll have to glance the lens from time-to-time when changing aperture, but at least you're making the trade-off in favor of having smooth transitions.
Focus and Vintage Lenses
This is the most tricky part when recording video since much of the time you’ll have to focus manually, and you’ll have to do that as smoothly as possible. There are contraptions like follow focus, which do the turning of the focus ring for you, but you still have to set the start and ending points, and set the speed of the rotation with fade-in or fade-out. Anyhow, it is not an easy job and it requires lots of practice. To be honest, even though I’ve used manual lenses a lot, I still can’t follow focus properly when rolling video.
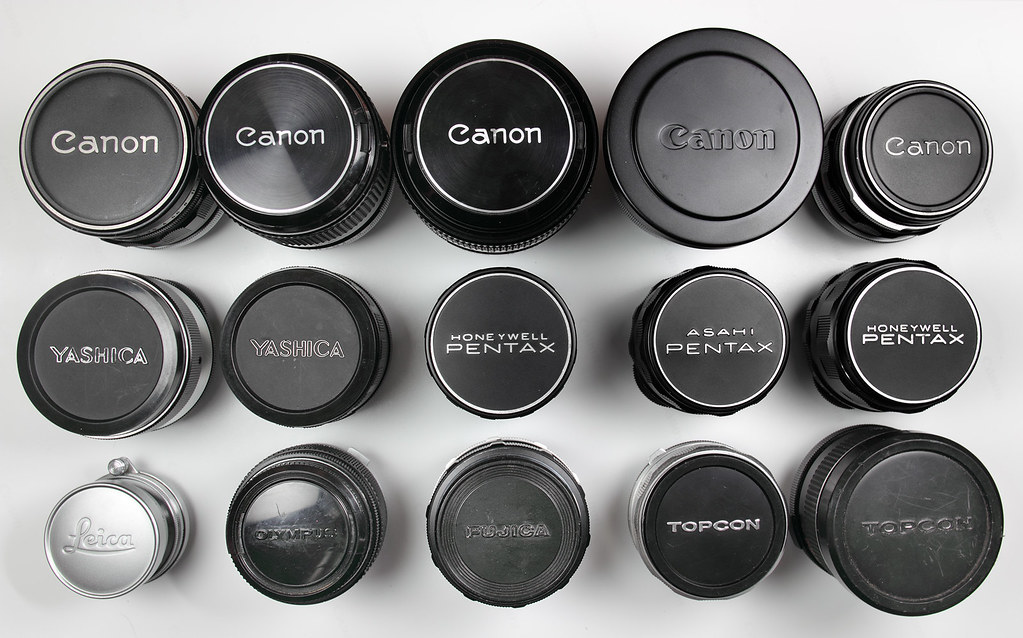 Photo by s58y
However, because you don’t need the luxury of auto focus, vintage lenses can do a hell of a good job for video. For one, they have decent ring travel for focusing (most of them turn for 270 degrees, while modern photography lenses turn for only about 90), they are cheap, and most of them are sharp with very fast apertures. For example, you can pick up 50 mm f/1.4 lenses made 40 years ago in vintage pawn shops or flea markets for maybe 20-30 dollars. You can find 135 mm f/2.8 lenses on eBay for around 80 dollars. Lenses come in a vast variety of types, and most of them are really good and sharp.
Batteries and SD/CF Cards
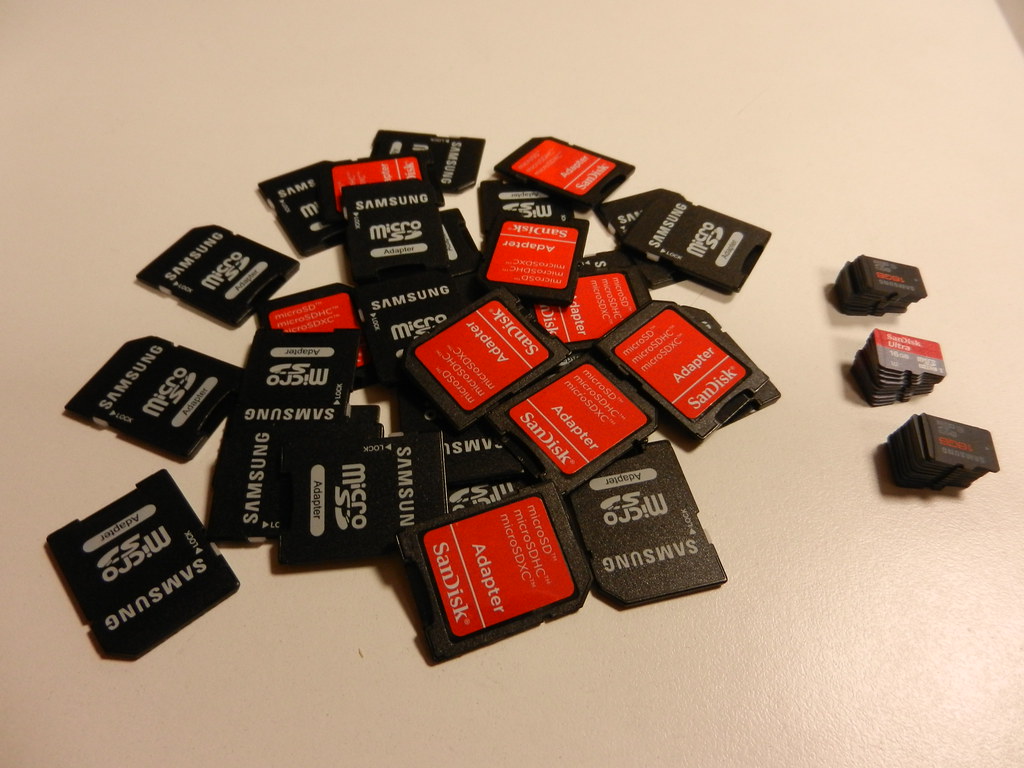 Photo by [url=”https://www.flickr.com/photos/seeweb/”]Seeweb
Recording a video means two things: huge files and poor energy efficiency. Batteries don’t last as long as they would if they were used for stills photography, and storage cards fill up even faster when they're used for video. I recommend that you invest in one or two spare batteries and several SD/CF cards (Class 10 at the minimum, for SD cards, even faster if possible, and for CF, having a transfer of at least 45MB per second is the way to play it safe).
Video Formats, Bit Rate, and Resolution
Every video has a codec where it is recorded and a container where it is contained (the container is usually the extension, actually, such as .mp4, .mov, etc.). As a beginner videographer, you need to know that higher bit rate means better video quality and a bigger file. Higher bit rate also requires faster cards. On cameras which allow you to choose the bit rate, always opt for the higher number. Bit rates are always expressed in mb/s, meaning megabits per second. Don’t confuse that with the MB/s on the memory cards, which is megabytes per second. Since 1 megabyte is equal to 8 megabits, you can divide the bit rate with 8 and that number should be smaller than the card speed by at least 25%.
Resolution is also a big factor when it comes to video quality – the higher the resolution, the better the image, as with photographs. However, you’ll often find with video that resolutions are expressed as 720p or 1080p. This means that the video is 720 pixels or 1080 pixels high with progressive scan. Depending on the aspect ratio (which almost always is 16:9), the long side is determined using it. So a 720p video has a resolution of 1280 x 720 pixels, while 1080p is 1920 x 1080 pixels in size.
Accessories
You’ll notice that videographers have a bunch of accessories attached to their camera which you probably wouldn't see on a stills camera. There's a reason for this. Videographers use all sorts of contraptions for handling the camera to reduce handshake and to achieve smoother motion. Ranging from tripods to monopods to shoulder stabilizers. If you plan to do video more often, you’ll probably need things like that.
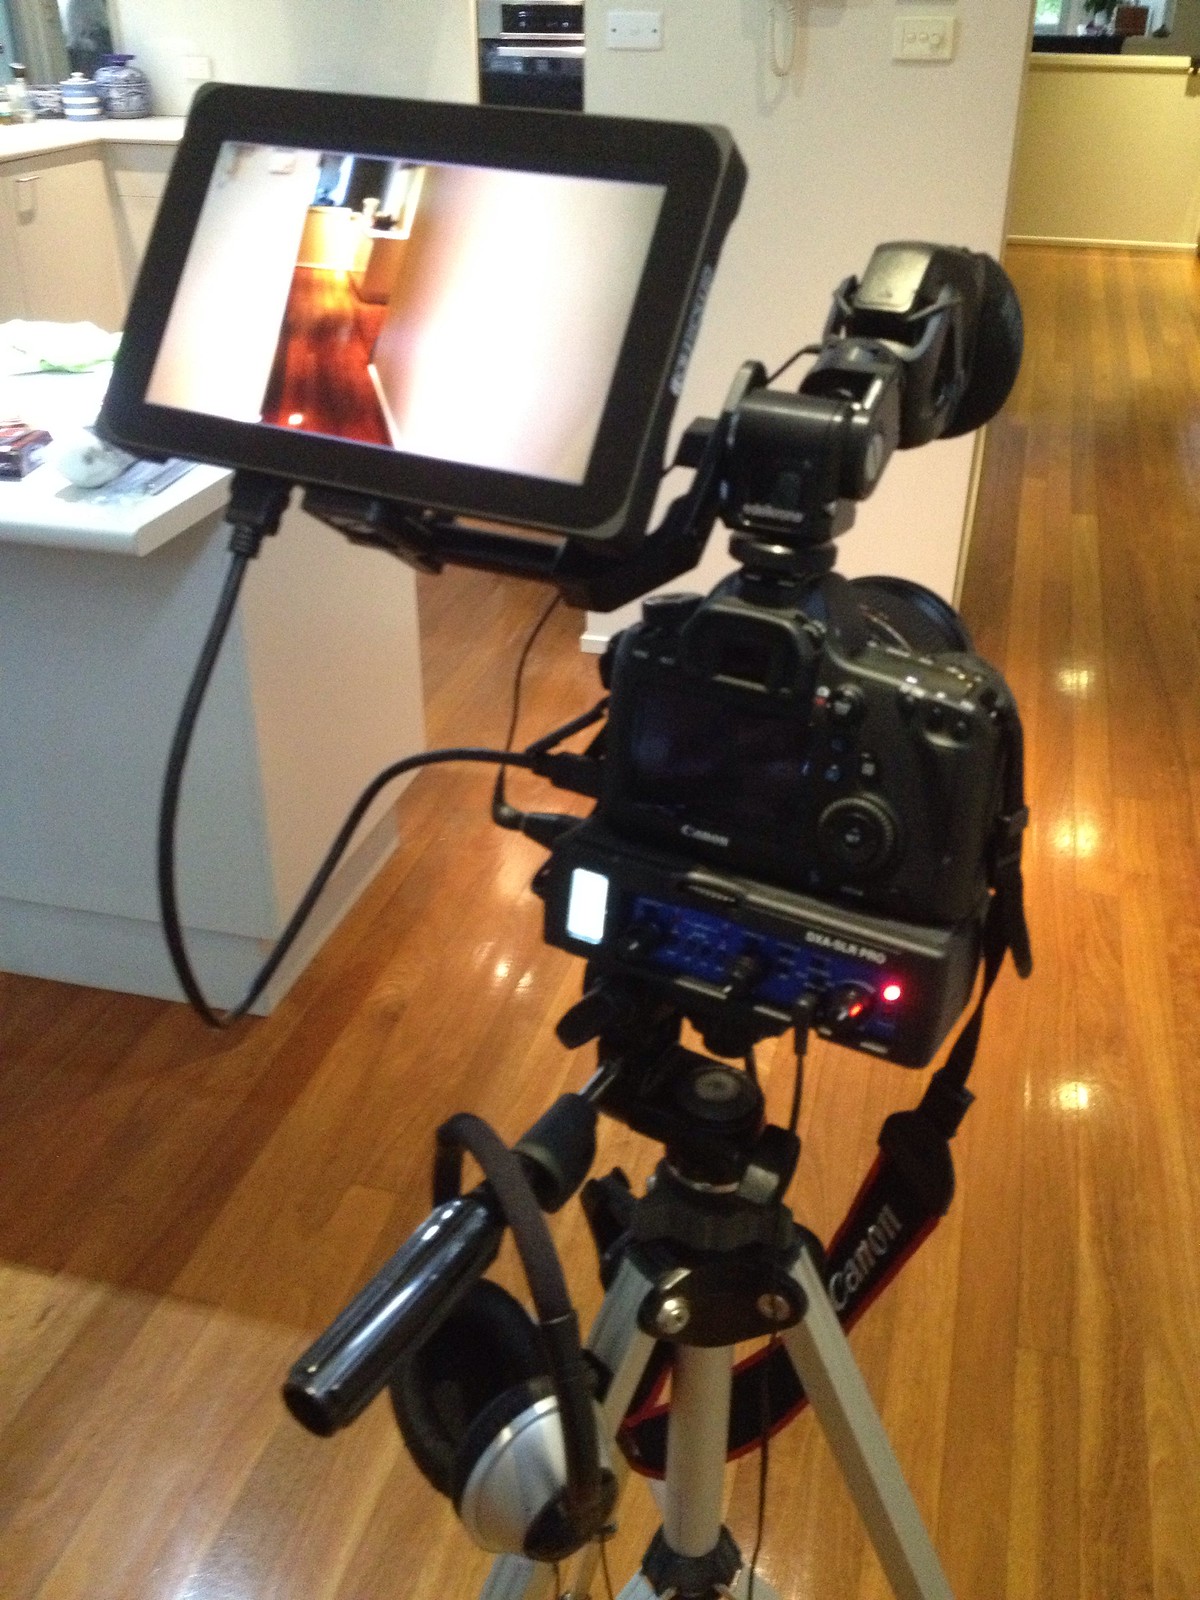 Photo by Stephan Ridgway
A loupe for your screen is a must since you’ll need to focus manually and having your screen enlarged is really a big help. True, it won’t increase the resolution, but it will help you focus better.
Additionally, if you want to record sound with good quality, the built-in microphone probably won't cut it, so it is a good idea to get a microphone dedicated to the job. Many videographers even buy separate audio recorders with good pre-amplifiers for microphones in order to achieve pristine audio quality. Keep in mind that not all microphones are equal. There are different types of microphones which suit different types of recording, ranging from all-purpose microphones to microphones specialized for picking up vocals or ambient sounds.
Summary
Videography is essentially a derivative of photography, the physics behind the sciences is the same and the principles are really similar. The main difference is that photography is about capturing still shots while videography records motion with sound. All you need to do is figure out all the smaller differences, adjust your technique according them, and you’ll have no issues. Light and composition are the same as in photography, but in videography flashes won’t work, so you’ll need constant light. Practice makes it perfect. As with photography, videography requires practice as well, so go out and shoot some video, learn from your mistakes, and you’ll become good at it in no time.


1 Comment
Great article Dzvonko