Film look is something that is loved by most viewers mostly because we think film is what shaped the photography field long before digital came into the industry. Since digital cameras are easily available, affordable and are cost effective compared to film, most photographers are looking for a way to make digital photographs look like film. We will therefore look at how to get the “film look” with a digital camera with no post processing or presets involved.
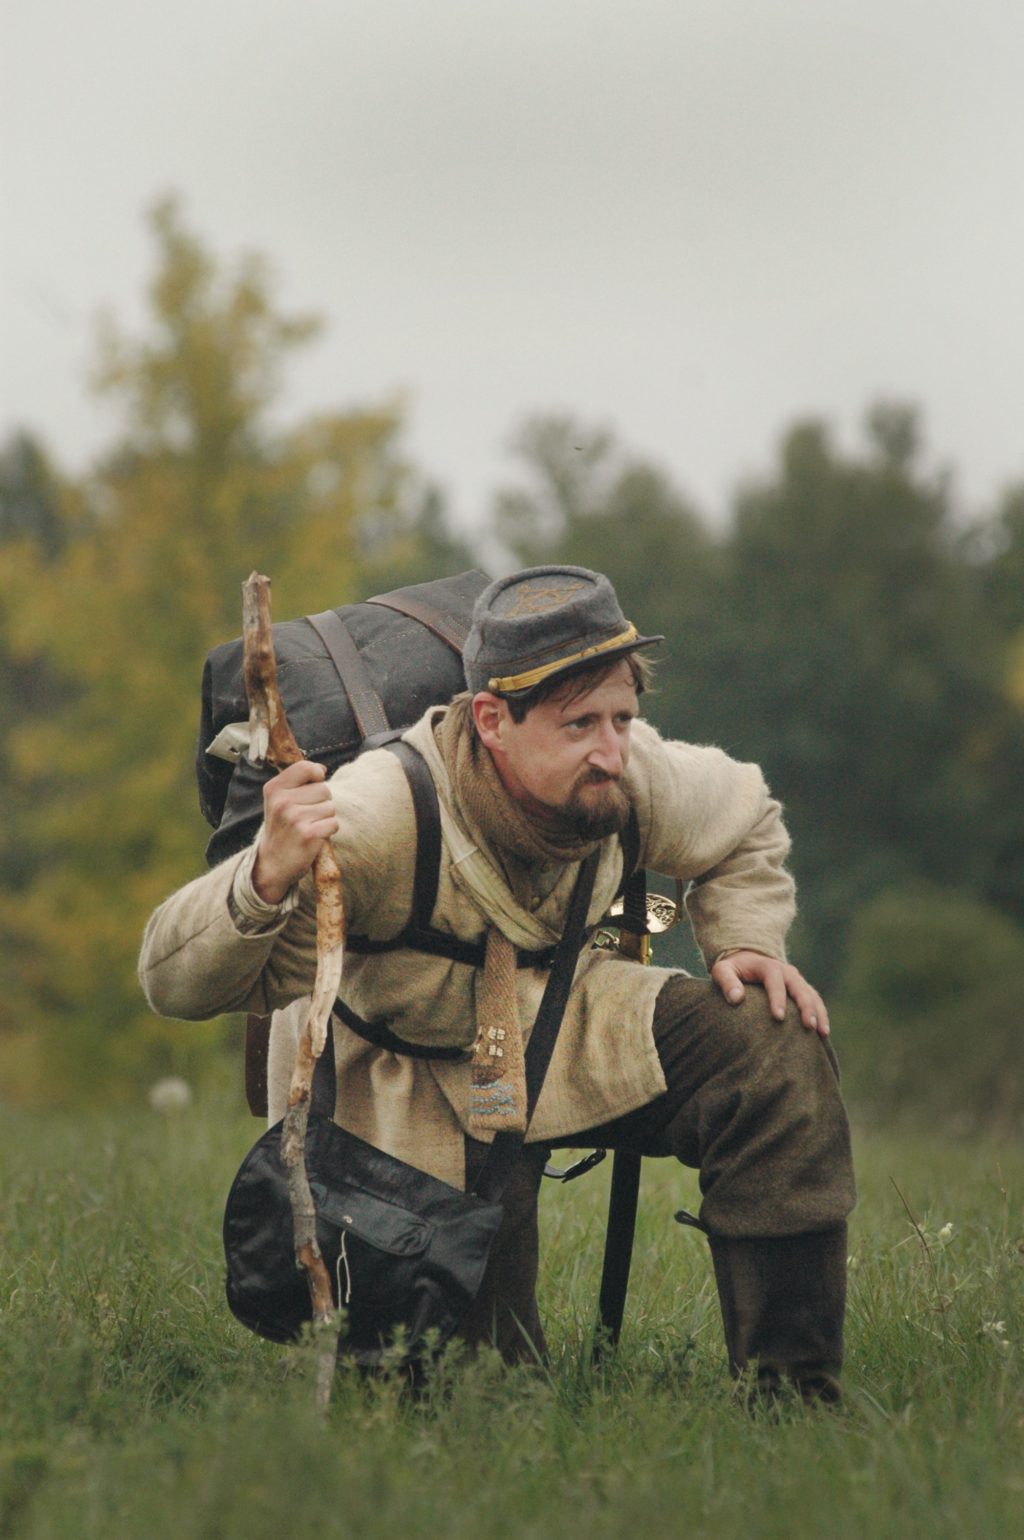
I’m going to start this off by pointing out that this entire article is really subjective. No scientific measures are taken, rather I’ll be going by the eye alone. Also, most of my opinions about ‘look and feel’ are just that, opinion. They are based on me trying to think deeply about why things are the way they are.
What Is ‘Film Look’ Anyway?
Before digital photography, all photographs were on film. Back then the distinctions were probably more based on the differences between film formats (frame size). Another set of distinctions would be between monochrome vs colour, or grain size and look between different film emulsions. There's also what happens after – what the photographer did in the darkroom that influences the look of the end result.
My overall point is, there was more diversity within the film universe itself than the differences between film and digital today. So today when we say ‘film look’, we are generalising something that is actually really diverse.
Interestingly enough, a good proportion of what gave a photo its ‘film’ character had nothing do with the actual film. Some of the factors include;
- The Lens – Aperture, Contrast, Coating, Flare, Barrel Distortion, Sharpness, e.t.c.
- The printing process / photo paper
- Dust, stains, and scratches
- Age / Exposure to light
- Frame size
Of the above list (which is not exhaustive by any means), the two that contribute the most are the lens and frame size. We thus can get closer to that ‘film look’ by manipulating these two factors in the digital realm.
Here Are The Factors in Detail To Achieve The Film Look:
The Lens:
As stated above, a lot of the characteristics seen in an old photo taken on film was as a result of the camera’s lens. Ironically, many of these characteristics were seen as flaws or imperfections including vignetting, lens barrel distortion, lens flare and softness at certain apertures. Some were design features aimed at improving sharpness such as lens coating. Even the best lenses were limited by the technology of the time.
The first step then would be to grab a lens from the film era. A nice vintage lens, especially a prime lens is likely to have those aforementioned properties, as well as a wider aperture than its modern equivalent.
Talking of wider apertures, I have a theory about that too. In the early days of digital photography, most people had point and shoot digital cameras with lenses that didn’t open past f4 (if you were lucky). Even consumer-grade DSLRs from Canon and Nikon that could accept their vintage lenses were too expensive for the masses at the time. That, as well as tiny sensors, produced photos with a large depth of field (DOF). This wasn’t really ideal for photography genres such as portraiture.
During the film days, most film images were shot using a full frame or medium to large format camera. The lenses were used in their widest aperture because of the low ISO performance of the film itself. So photos taken with film cameras with the f/1.2 lenses, however, produced extremely shallow DOF resulting in more pleasing portraits. I believe this contributed to the whole desire for the “film look” and shallow DOF being subconsciously associated with film / professional photography.
Frame Size:
This is a little more straightforward. The larger the frame size, the shallower the depth of field that can be achieved with everything else remaining constant. Film frames are much larger than digital – what is known as ‘full frame’ in the digital realm is basically 35mm which is one of the smallest formats in film. I already mentioned the effect of shallow depth of field on how people perceive certain types of photos.
Other properties of a larger frame are higher resolution and lower noise. In the early days of digital photography, noise was a big problem due to small sensors with low ISO performance. Things are a little different now of course. Film grain, on the other hand, wasn’t that bad compared to digital noise.
Getting The Look With Lens And Frame:
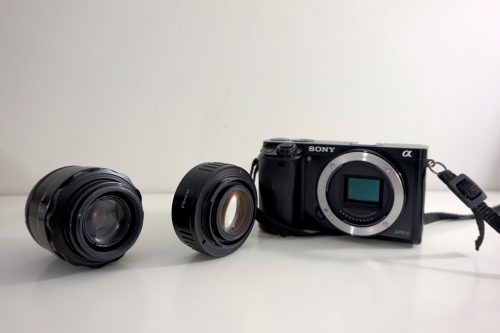
Effectively then, what I need to achieve the “film look” I’m going for in-camera, are a camera with a large frame and a vintage lens with those properties.
If you own a full frame or medium format digital camera, you have an advantage. I don’t, so I’m going to be using a Sony A6000 crop sensor mirrorless camera. The lens I’ve picked is the famous Helios 44-2. I also need the M42-NEX adaptor to be able to use the lens with the Sony.
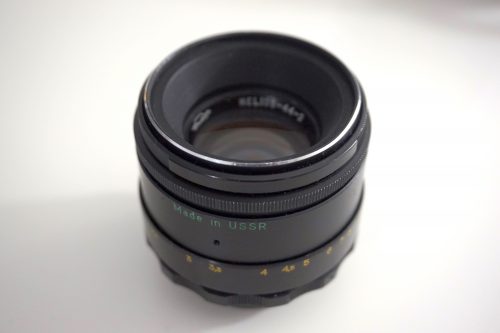
There is one further step. Since my camera is a cropped sensor camera, the image projected onto the sensor by the Helios lens will be cropped. That means I’ll be losing the outer edges of the projected image. The outer edge is where all the action is though when it comes to these lenses. That is where the imperfections are most prominent – distortion, vignetting, softness, and so on.
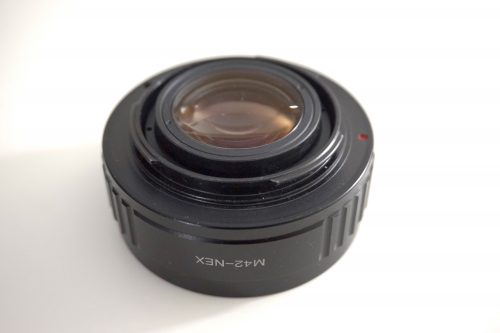
In order to capture the edges on my crop sensor, I need what is known as a ‘focal reducer’. It is basically an adapter with a lens that sits between the Helios lens and the camera’s sensor. It changes the focus of the attached lens such that the projected image now fits approximately on the sensor. The overall effect is that the full characteristics of the lens can be seen on the resulting photo hence reversing the effect of the cropped sensor.
Other Tweaks:
I could obviously throw one of those film emulation filters on the images after the fact, but this article is about achieving the look ‘in camera’. So I applied a few tweaks to the image to give the desired impression.
- Since film images have lower contrast compared to digital images, I slightly reduced the contrast and saturation to create the impression of an aged photo.
- I positioned the subject such that the main source of light – the window – produces lens flare and artefacts.
Images:
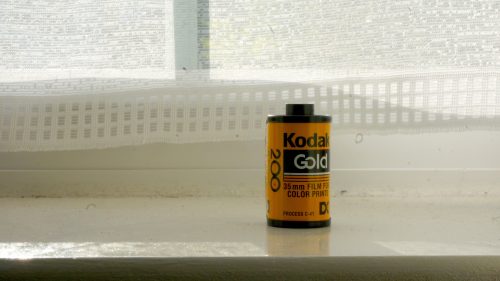
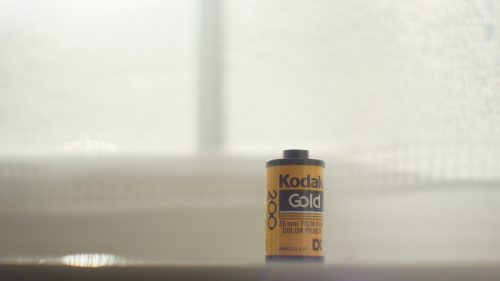
Below are the two images. The first one was taken with the kit lens of the Sony A6000 in the default setting. The second image was taken with the Helios 44-2 lens and the focal reducer as described above. (armodexperiment.com)
Default:
Film Look:
Here Are Some More Tips When Shooting For Film Look:
- Look for the vivid colours that look beautiful in film images and try to include them when composing the image.
- Since light is a very important factor in deciding the look of the image and most film images have a soft warm tones, it is best to shoot in the 2 hours after sunrise and 2 hours before sunset when the light is warm and soft.
- If you missed the morning and evening sun or no possible to shoot, then shoot in the shade during daylight.
- When setting up White Balance in the camera, set it to daylight white balance if you are shooting during the day and for night shots, choose the Tungsten white balance.
- Illuminate your subject properly and fill in light in the shadow areas using a reflector or other types of fill light
- Try shooting in manual mode while keeping an eye on the histogram, so you have control over the exposure of the image.
- Shoot only RAW so you have all the details to work with in the image file.
- Shooting at a slightly higher iso can bring in some grains in the image without ruining the fine details in the image.
Conclusion:
Most experienced film photographers would probably laugh if I tried to pass the shot as film, especially if printed out in real life rather than views on a computer screen. Viewed on something like a phone screen though, you could probably fool most people with this. Besides we live in an era when you can take a photo with an iPhone, throw an Instagram filter on it, and call it ‘film look’.
Just like I said at the beginning of the article, it’s all subjective. I’ve seen photos that I thought were digital but were taken with a modern auto exposure film SLR and Kodak Ektar 100, so it works the other way too I suppose.


8 Comments
I actually have an a6500 and a Helios 44-2 with adaptor. What kind of focal reducer do you use with this set up?
Hi Casey,
I use the one from Roxsen. It’s branded as ‘Roxsen’ but I believe it’s just a a white label – that is, it’s the same as any other generic one you can buy online.
Umm.. why not just shoot film?
You don’t have to buy or process film for one thing…
🙂 That would be my recommended advice, but as Casey said, some people just don’t want to (or can’t) for whatever reason.
From my experience the most pleasing and accurate results come from… using real film profiles (surprise!) in Lightroom.
Google for “RNI All Films 5” – it’s something you’ll never achieve through tweaks, only proper and exact profiling of a digital output to a film stock.
Why not just use film profiles instead of guessing? RNI profiles are excellent, DVLOP are quite good, just to name a few.
How about if I wanted a digital camera, that uses SD Cards for memory, but the pictures it takes are like old film cameras. What camera should i get?