What Is Freelensing?
Creative photography is loved by all photographers because it helps create beautiful effects in camera without the need for post-processing to achieve those effects. There are many such techniques and a lot of those have been discussed in detail on Light Stalking’s blog. One such creative photography technique is freelensing and it is a tricky photography technique where the lens is detached from the camera body and held at varying angles in front of the camera when photographing the subject.

Freelensing technique is also called lens whacking and this technique can be used to also create tilt-shift effect and hence this also has another name called poor man’s tilt-shift lens. When freelensing, the plane of focus is no longer parallel to the image sensor of the camera but is tilted depending on how the lens is being tilted. In this article, we will look at how to use freelensing techniques for creative photography.
Note: We do not recommend anyone to use this technique as this can be quite tricky to execute. Please do it at your own risk because you will be handling a lens on one hand and the camera on the other (if not using a tripod) while trying to focus and achieve interesting effects. So care needs to be taken to not drop or damage the lens and also to stop dust from entering the camera.
Tip: You could try freelensing using an old camera and lens and have one dedicated for this purpose so you do not ruin your other photography gear.
How To Do Freelensing?
Freelensing is a tricky technique and utmost care needs to be taken during this process. The camera lens is detached from the camera (you don't need to move this far away unless required) and is held in front of the lens mount. You then tilt the lens in different directions or shift the position of the lens around the lens mount or do both “tilt and shift” to get interesting blur effects. These effects are caused because of the tilting and shifting of focal planes in unpredictable ways but with practice, you will know what type o tilt, shift, or both will result in what kind of effects.
Move or tilt the lens up, down, left, right along with various directions and select the focus area on the point you would love to have it. It will take some time till you get the focus right where you want it. The above tilt-shift process along with selective focusing and light leaks can result in surreal-looking images.
The trick is to just detach and tilt. Do not move the lens too far away from the camera as it can make everything in the frame blurry. The random soft focus, weird bokeh, and dreamy light leaks are all that make freelensing visually appealing.

We will be discussing in detail how to focus and the entire freelensing process in detail in the following sections.
Why Freelensing?
You may have the question, why freelensing when there are lenses like “Lensbaby” and other tilt-shift lenses in the market that can help achieve some dreamy effects in images. The answer is, those lenses can be quite expensive and lensbaby lenses do not give you the surreal light leaks and sometimes the extreme focal plane shifts that you can achieve when freelensing. So in short, this is a very cheap technique to get dreamy images.
Note: Bear in mind that a tilt-shift lens is a complicated mechanism and your freelensing technique will not be able to achieve the effects a proper tilt-shift lens does.
Best Conditions For Freelensing
Since you will be removing the lens and moving it around in front of the camera, there are high chances for dust and dirt to enter your camera and to settle on the back elements of the lens. Care needs to be taken to shoot in favorable conditions to minimize the entry of foreign particles into the camera. The sensor itself can behave like a magnet to attract dust particles.
- Look for days when there is no wind and look for locations where there is no dust. This way you can minimise dust and dirt from entering the camera body.
- Shoot only when the weather condition is dry so as to avoid water and moisture from entering the camera and destroying the internal parts. So rainy days are a no, no.
- Do NOT try this technique in beaches and other areas where the air in general will have salt water particles and high moisture in it.
Best Lenses For Freelensing
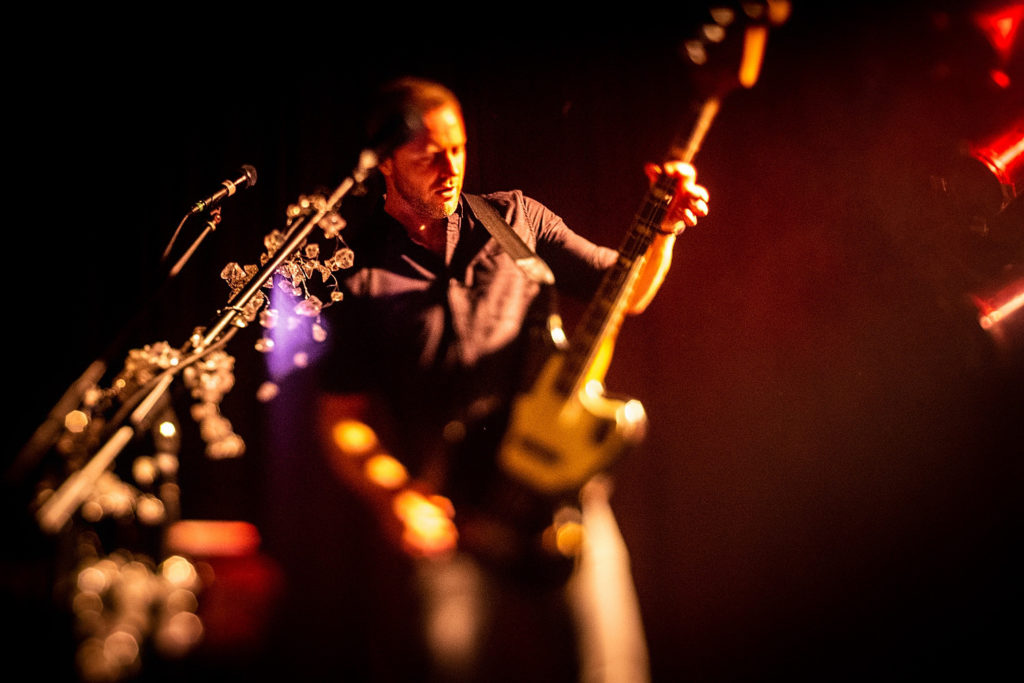
Since you will not be attaching the lens physically to the camera body, any lens from any brand can be used for freelensing. Vintage lenses usually have a manual aperture ring that makes them a recommended choice for freelensing techniques as you can use wide apertures and get dreamy out-of-focus backgrounds.
Wide-angle lenses are not recommended for freelensing as it can be very tricky to get anything in focus. The best lens to start with would be the 50mm prime lens and other than that once you get a hang of this technique, you can also try the 85mm or even the 35mm prime lenses. Longer lenses can be hard to freelens and focus accurately.
Since most photographers have a 50mm lens in their kit, it is a great lens to start with. You can even buy a cheaper manual 50mm lens off eBay or some vintage lenses just for the purpose of freelensing. If you only have the kit lens, use the longest focal length or at least the 50mm range on the lens.
If you are using Nikon lenses, then it is good to look for a D lens that comes with a manual aperture ring. The G lenses close down the aperture to the narrowest when detached from the camera. Many other lenses from other manufacturers close down the aperture as soon as they are detached from the camera.
In the above cases, you will not be able to use them for freelensing and you will then have to go down the route of opening the aperture by holding the lever at the back of the lens using a piece of paper, or other means and it can be a bit risky. It is recommended to have a lens that has a manual aperture ring. This will help you to control the aperture manually with the help of the aperture ring when freelensing. Without this, you may need to find ways to keep the lever controlling the aperture wide open once it is detached from the camera.
Cameras For Freelensing
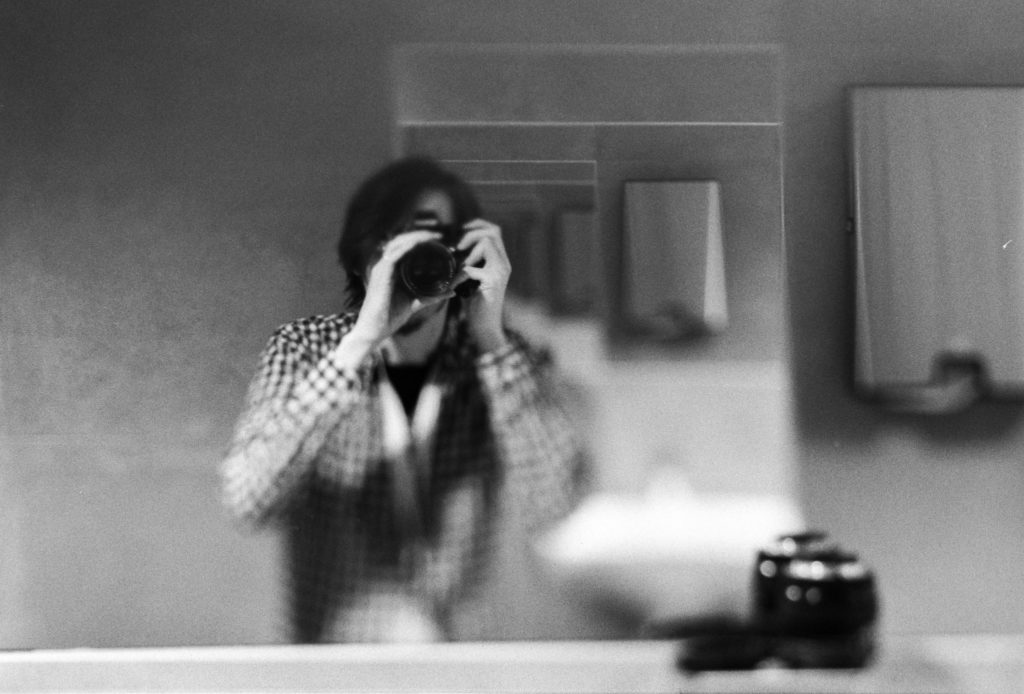
You need an interchangeable lens camera because we need to remove the lens and then tilt-shift for creative photography. It is good to have a camera where the image can be previewed. This way you know where the focus is prior to taking the shot. You can also look through the viewfinder and focus + compose, but the focus, in this case, can be very unpredictable.
Moreover, this technique is suitable to shoot in live view as you will be able to creatively see the effects live when you move and tilt the lens around in front of the camera but be careful that the camera sensor can be more exposed to dust and dirt from outside when on live-view.
Settings For Freelensing
Here are some settings that work well for freelensing:
It is always recommended to use manual mode when freelensing. This way you can control the iso and shutter speed to get the desired exposure. On the other hand, semi-auto and automatic modes may not work once the lens is detached from the camera.
- Get to the location where you will be shooting.
- Set the aperture value. It will usually be a wider value.
- Set the iso to lower values like 100 to 400 to get neat noise free images.
- When the lens is attached, adjust the exposure for the above aperture value, iso and this will be your shutter speed.
- Make sure to have shutter speed slightly faster than you normally would because you will be fiddling around with the lens and camera on each hand that can increase the probability of camera shake more than when you shoot normally.
- Once the lens is removed you may have to slightly adjust exposure due to flares and light leaks.
Focusing Tricks For Freelensing
When you detach the lens from the camera, you will no longer be able to autofocus. You will need to manually focus and that too will not be possible by rotating the focus ring because you will be holding the lens in one hand and the camera on the other. This makes focusing quite challenging.
Selective Focusing
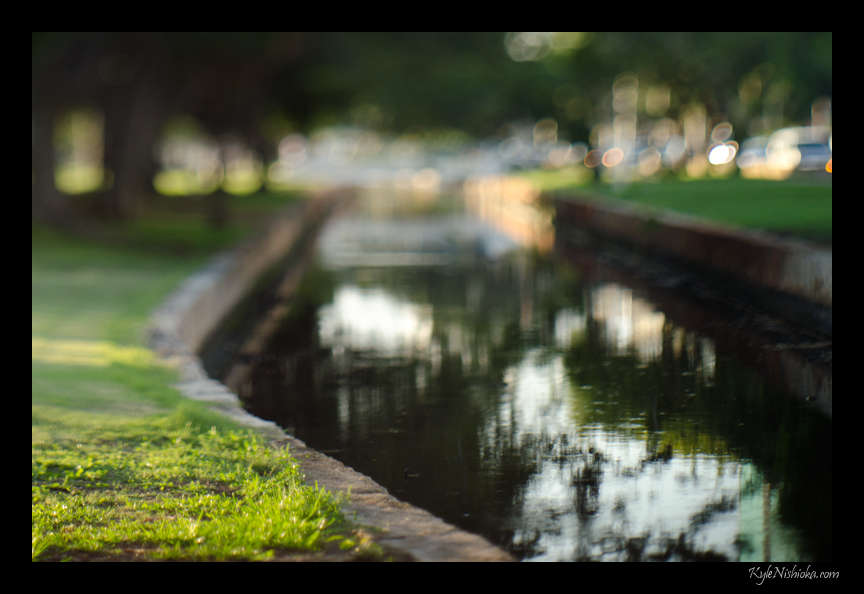
When freelensing, the photographer will be selectively focusing on a particular subject or part of the subject and the rest will be thrown out of focus. This means, apart from the subject, everything else in the scene will be ignored. With a shallow depth of field and tilted plane of focus, this will lead to surreal images.
Here are some tricks you can try for sharp focusing when freelensing:
1. Set Focus To Infinity
While freelensing, set your focus to infinity before removing the lens from the camera. You then manually focus not using the focus ring, but by moving the lens slightly backward and forward in front of the camera. Then tilt up, down, or sideways to see the focal plane change but still having the main subject in focus.
2. Focus Before Detaching The Lens
You can also focus on your subject just before detaching the lens and then make slight tilting adjustments after detaching the lens by looking through the viewfinder, to get the focus right. You may have to slightly rotate the focus ring to get tack sharp focus in this case as you have moved the lens after focusing. As much as possible, try to keep the point of focus sharp and the rest out of focus.
In general, moving the lens closer and farther from the camera body can help to adjust focus if the subject moves further away or towards the camera.
It is great to focus while having live-view on, so you can clearly see how the plane of focus changes and also click when the focus is right where you want it. Live-view can expose the sensor easily to external elements, so be careful and try as much to not use this when freelensing.
Again, this technique takes a lot of practice and eventually, you will know how the plane of focus changes with the tilts and shifts and you will get a better understanding of how certain effects can be easily achieved.
The Process Of Freelensing
Here are the steps that you need to follow for freelensing:
- It is highly advisable to be in an area that is dust free and doesn’t have breezy or windy conditions when you are photographing.
- Set the camera on manual mode.
- Set the white balance depending on the light in the scene.
- Since there will not be any contact between the lens and the camera once the lens is removed, it is important to set the exposure before detaching the lens.
- Since you will be also shooting still subjects, it is advisable to put the camera on a tripod as this will give you more flexibility to tilt and focus using the lens.
- Set the focus ring to infinity or set focus on a distant object.
- Set the aperture to the desired value. Since you will be using a lens with manual aperture ring, it will remain at this value when detached. There are other techniques that we do not recommend.
- If a wider aperture makes the image too soft, use a slightly narrow aperture.
- Set a lower iso value and depending on the aperture and iso values, set the shutter speed. It is good to have it greater than (1/(2 x focal length)) since you are dealing with a detached lens in one hand and camera on the other.
- Also, once the lens is removed, more light will be hitting the sensor and so it is recommended to slightly underexpose, so the exposure setting can be correct when freelensing. You may have to take a few test shots to get the exposure right.
- Check the settings for the shutter button. Some cameras may not allow the shutter to be released when the lens is removed. Turn this feature on if required.
- When you are ready to create photographs by freelensing, turn off the camera, remove the lens from the camera if it is already attached (do not do freelensing if you feel uncomfortable).
- If you are using a different brand of camera and lens, set the aperture and focus by manually rotating the rings on the lens. Remove the lens and camera body caps and keep them close to each other to adjust exposure.
- Now, turn on the camera. Hold the lens close to the camera body and use your hand around the lens like a hood so you can prevent dust from entering the camera body. This will also help with reducing the amount of light leaks that can sometimes dominate and ruin the picture.
- Move the lens around slightly by tilting and shifting. This way the plane of focus is thrown out of the normal and you can see some really creative and beautiful effects. With each movement and tilt, the effects vary and if there are light leaks, those effects vary as well.
- When you move the lens slightly away from the camera, you can also see some magnification.
- Take a few photos at different lens positions. The beauty is, no two images are the same and it is quite exciting to see the results.
- Your earlier images may not look too good, but keep practicing. The more you practise, the more you get better at it.
Effects That Can Be Achieved Through Freelensing
With freelensing, the creative effects that you can achieve are limitless. Here are some interesting effects that can be achieved through freelensing:
1. Light Leaks
Since there is space between the lens and the camera, you are likely to come across light leaks in the frame. If this is something desirable, work with it, but if you want to eliminate light leaks, then you will need to find a spot where light does not directly hit the camera. This can help reduce the effect, but you will still have slight light leak effects that can bring a beautiful look to the frame.
Make sure that it does not obscure the main subject which is important. Light leaks and flares appear on the side where you tilt the lens.
Where it is unavoidable, learn to use light leaks to your advantage. When shooting on live view, rotate or tilt the lens and position yourself in such a way that the effect is minimal. You can have your hand around the lens, between the lens and the camera to minimize light leaks.
Move around in the scene and see from which direction the light is causing the leak. Position yourself so that the light leaks in from a corner creatively so you can incorporate it into your image. Backlit images can create a beautiful and dreamy effect when freelensing.
2. Dreamy Backgrounds:
Freelensing technique will help you create dreamy backgrounds because of the tilt in the plane of focus. This along with some light leaks can lead to beautiful backgrounds.
3. Lens Flares
In freelensing, you may have more interesting flares than you normally would. Similar to light leaks, make sure the flares are in control and do not ruin the main subject. Tilting the lens towards the light can help with interesting flares and try to keep these to one side to make the image interesting.
4. Plane Of Focus And Distortion
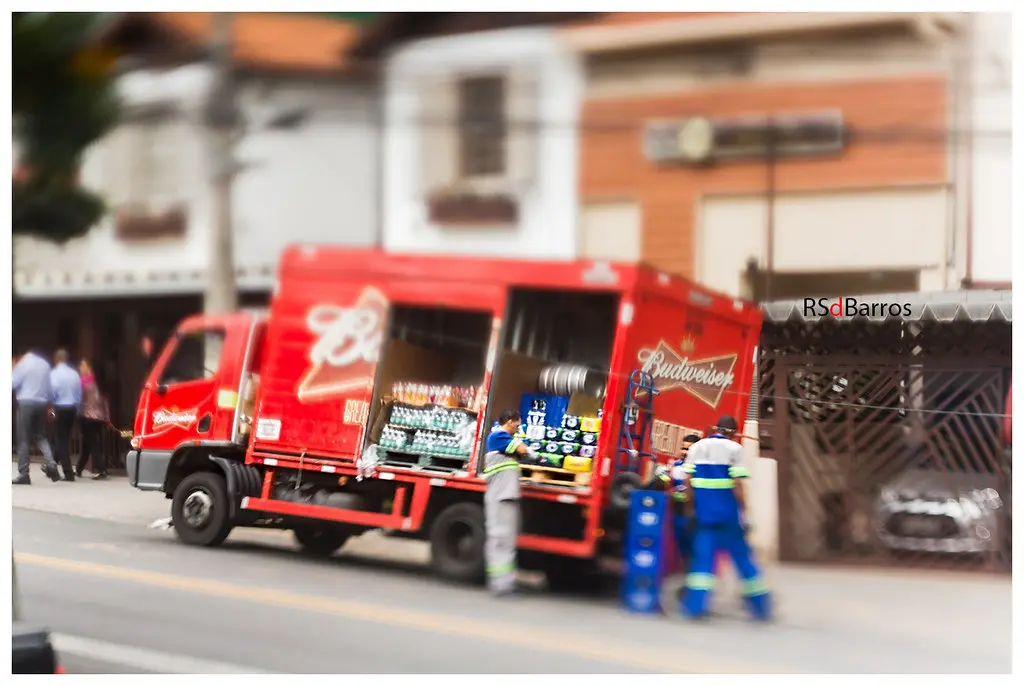
Since you will be tilting the lens in front of the camera, the plane of focus will be tilted and this will give rise to some sort of distortion and weirdly focused areas that can look interesting in the resulting image.
5. Magnification
Moving the lens away from the camera can lead to the magnification of elements in the scene – similar to zooming in. This along with the shift in focus plane can help achieve interesting effects but be careful not to move the lens too far away. Try to stay within a centimeter.
6. Reverse Lens Macro
You can even reverse the lens to photograph macro subjects using this technique. This is a method to photograph some extreme macro, but it is advisable to use a reverse macro ring and a tripod for better macro images.
Best Subjects For Freelensing
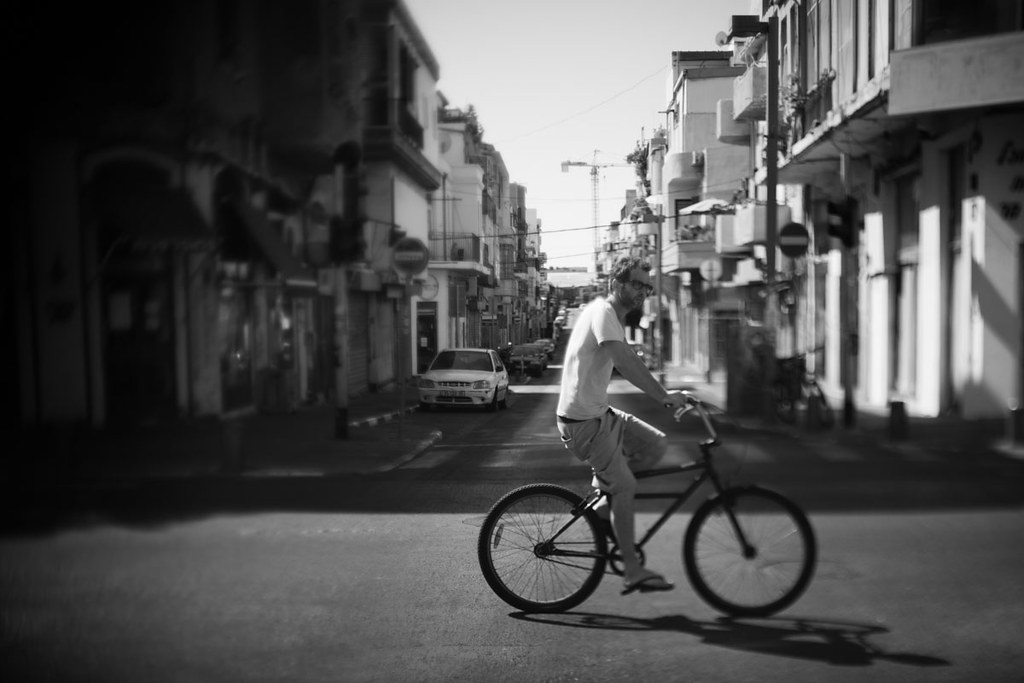
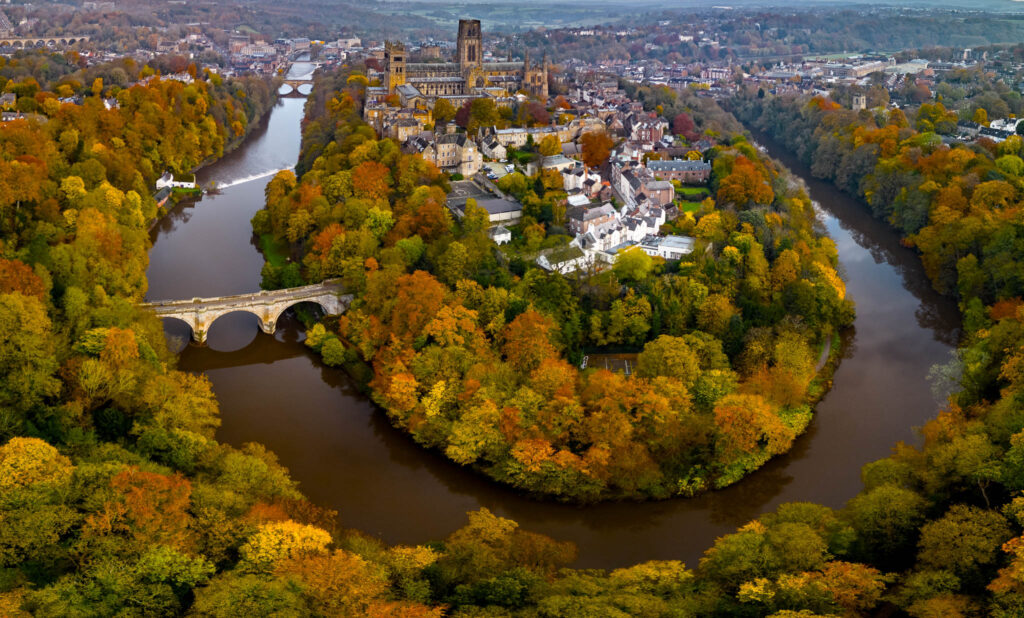
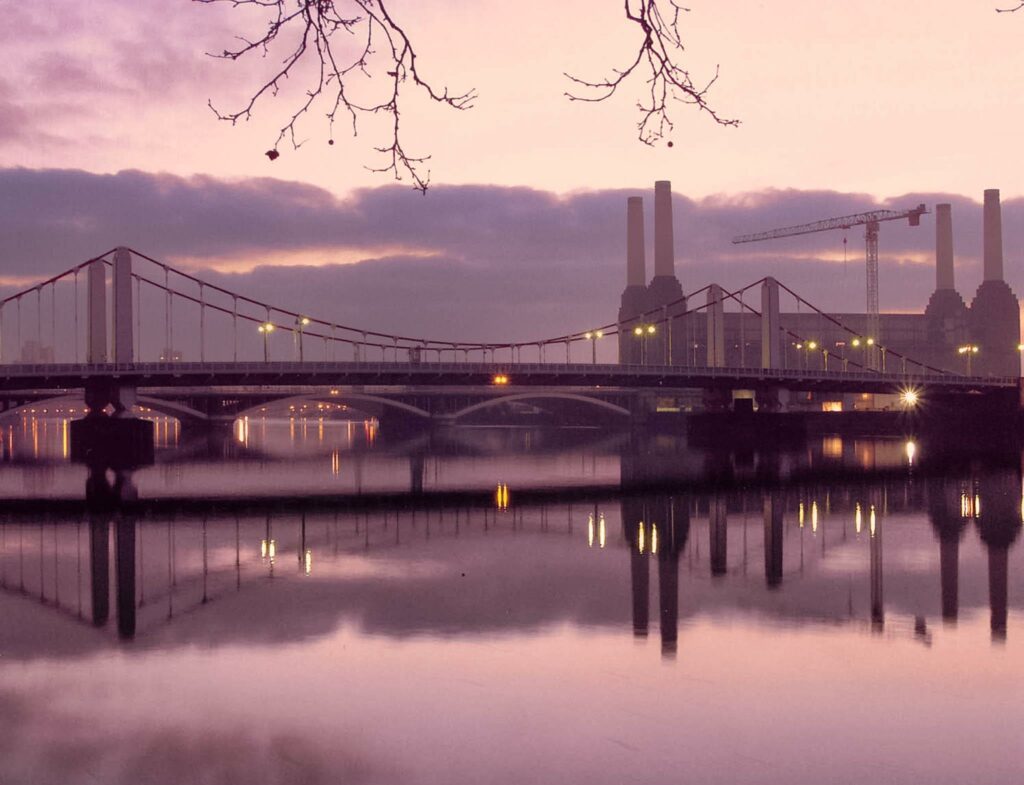
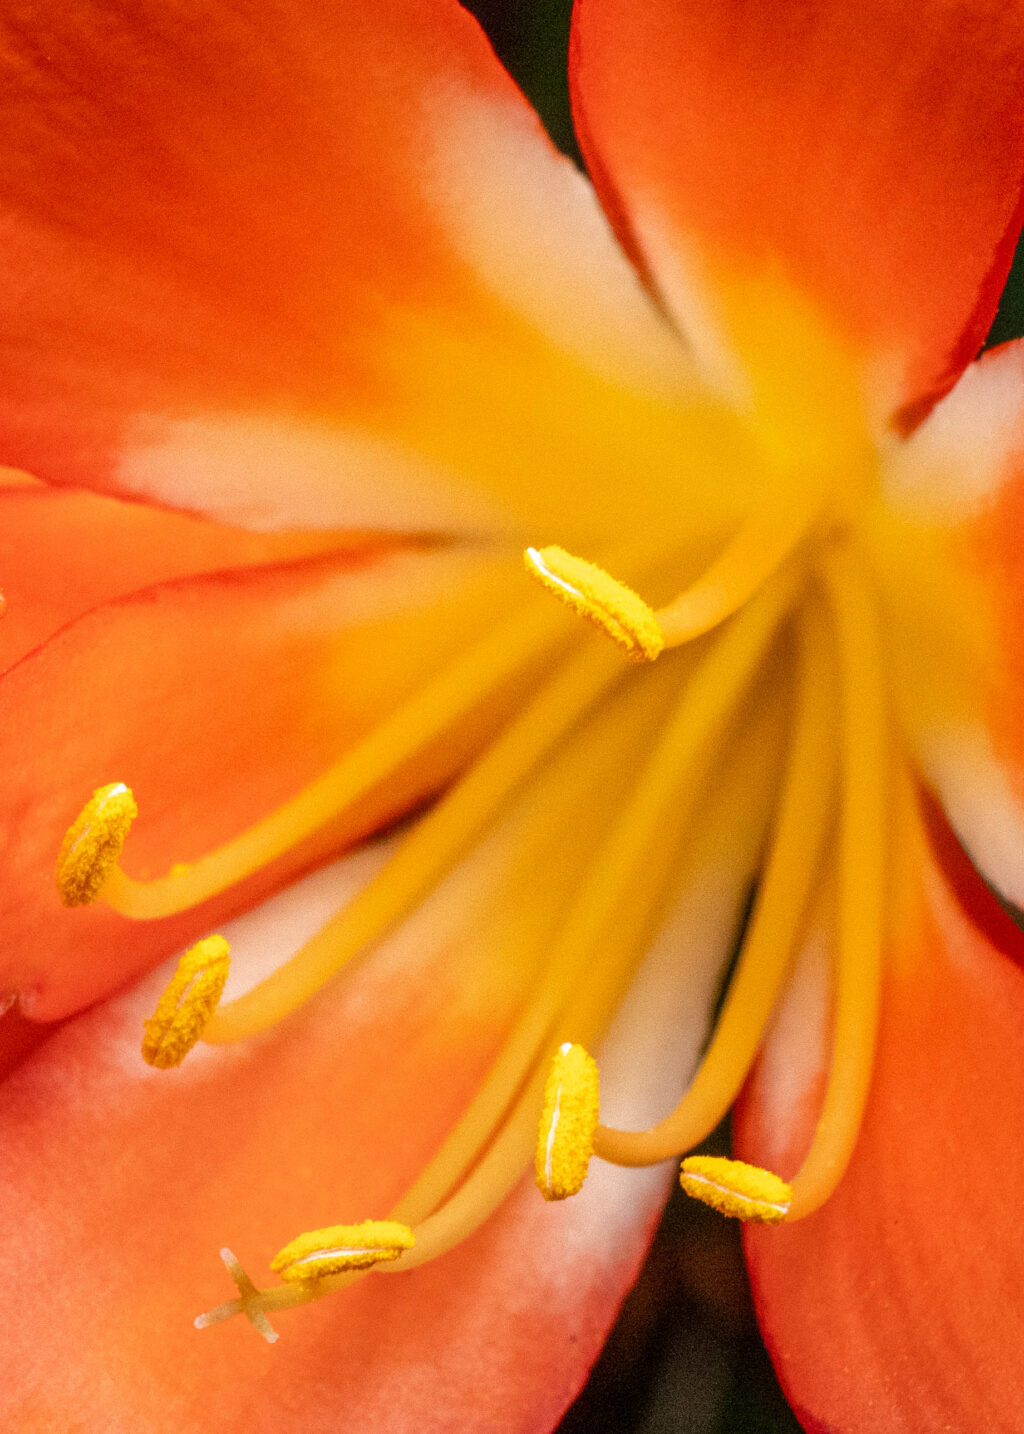
All subjects are good for freelensing. Some of the most interesting are portraits, macro, flowers, streets, other nature photography, etc., that can look dreamy with the freelensing technique. Even landscapes and architectural subjects can be shot using the freelensing technique to get a dreamy mood.
Safety Measures During Freelensing
Freelensing is not something that we would recommend but it is something that you can practice if you feel ok doing it. It can produce some pretty cool effects in the image but can be detrimental to your photography gear if you are not very careful.
Here are some safety measures that you need to take when freelensing:
- Try to hold your hand like a cup around the lens and avoid gap between lens and camera to eliminate dust issues. Also see if you can protect the back elements of the lens and the lens mount by covering with plastic film.
- Practice freelensing in a controlled environment where there is no dust or dirt, for example in a studio. This will help you learn the trick with focusing and the effects created with each move.
- If there are DIY covers to cover the area between the lens and the camera, by all means use it. See if you can make one yourself.
- Use prime lenses as much as possible as zoom lenses are more prone to be damaged due to dust and dirt.
- Remove the lens only when you are ready to take photos. This way you can prevent lens falling down and dust entering the camera when not in use.
- There is a chance for dust accumulating on the back elements and parts of the lens making it terribly difficult to clean. So handle the lens carefully and make sure you use a blower to remove the dust particles after each shoot.
- One of the most critical issues will be dust entering the camera and settling in the parts and the sensor of your camera. Make sure you find locations that are free from dust or dust is very minimal for freelensing. Avoid places like beaches, deserts, dirt tracks, abandoned places, etc.
- If you are someone who does freelensing often, take your camera to a professional sensor cleaning service to keep your sensor clean.
- Once you have finished shooting, attach the lens on to the camera body straightaway and if you used an incompatible lens, put the cap on the camera body and lens.
- Do a thorough cleaning of the lens and camera body using a blower as soon as you get indoors into a dust-free environment. Do not attempt to clean the sensor unless you are professionally qualified to do that.
- Use the neck strap in your camera for safety purposes.
Conclusion
Freelensing is a very creative technique that can help to create unpredictably beautiful results by just tilting and shifting the lens in front of the camera. This is also a great project to undertake if you are going through a photographer’s block. Just make sure you take all the care and precautions necessary to create brilliant photographs using the freelensing technique.
Have you tried freelensing? What are some tips, techniques, or tricks that you follow to keep the gear safe and for creative photographs? Share with us in the comments section below!


1 Comment
I would like a free lens.
Lensbaby is a good option, also I worry less about sensor contamination. But if I did not have the money for a lensbaby or an old extra camera that I did not care about the sensor. I would try this. After I purchase 2 lensbabies, I found out most of what is done with them can be recreated in photoshop. What can’t be recreated is that you have to think more about your subject, composition, and making sure you have things right. This is quite a bit different to be able to just take a snapshot and everything is done correctly by the camera. It forces you to consider your composition. I think this is good and something we have lost with the advent of mirrorless cameras which show you exactly what you are going to get.