If you are like me and love to photograph animals, you can start with capturing animal photos in a zoo before getting out to their natural habitat. So if you have a trip planned to the zoo, these zoo photography tips
Anyone who is interested in wildlife photography would not miss the chance of a wildlife safari, but there are times when a safari is not a possibility due to a number of constraints (I'm looking at your money, time, and opportunity!). For anyone in a situation like this, here are some awesome zoo photography tips to get you up close and personal with the animals.
Of course, until you get a chance for a wildlife expedition, it is really good to visit the nearby zoo to get some images of the birds and animals – it won't replace photographing animals out there in the wild However, it can be a good way to practice photographing wild animals.
But here is what everyone needs to know about zoo photography…making images of wildlife in a zoo comes with its own limitations as most of the animals are caged or kept in enclosures that may be surrounded by glass or fencing.
So, here is a comprehensive list of zoo photography tips that you need to know before your next photography trip to the zoo.
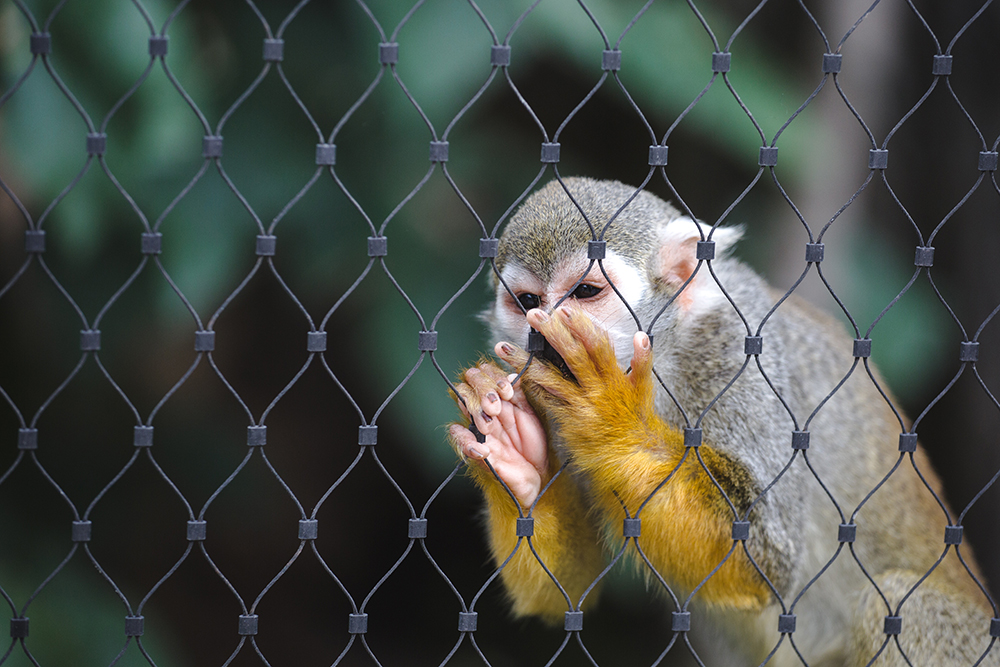
So how was your first visit to the zoo? Did you return with great images? Were you happy with them? If you weren't, not to worry – we have some amazing zoo photography tips here for you so that you can come home with some brilliant images the next time you visit the zoo!
Here Are The Zoo Photography Tips Everyone Needs To Know:
1. Blending Out The Fence:
Of all the zoo photography tips, this is one of the most important and one of the most difficult factors to overcome when photographing in a zoo. Most of the animals are kept within fences – especially birds, monkeys and other small animals. Even the bigger animals in larger enclosures are usually fenced in.
Photographing through a fence can be quite tricky especially if the fence is thick. Moreover, if the animal is close to the fence there is nothing that can be done to avoid the fence or blend the fence.
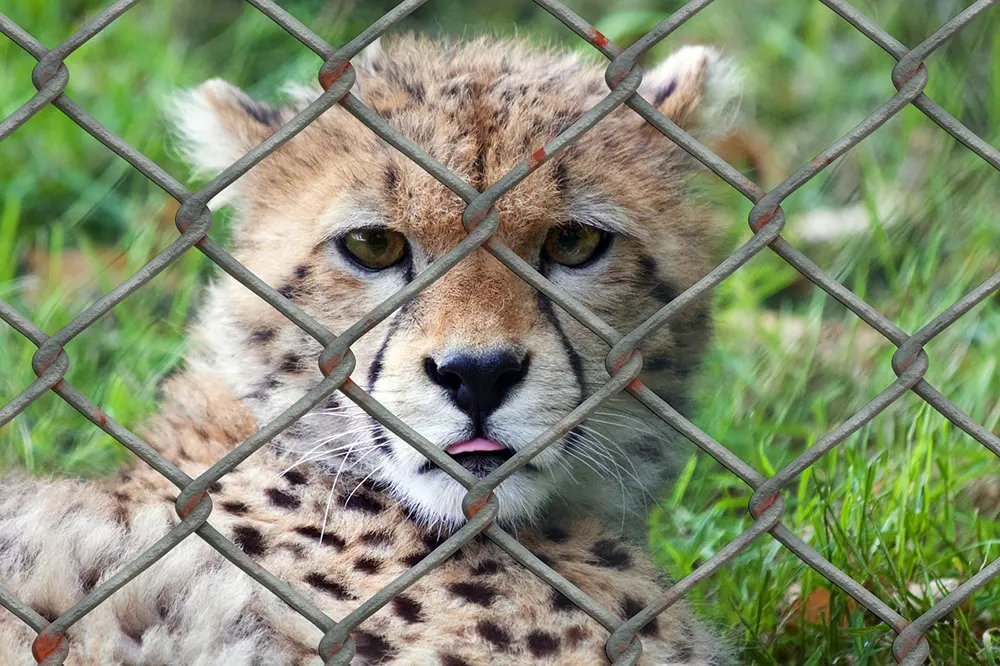
If you need a better image of animals or birds in a wired or fenced enclosure, you will need to use certain tricks to get a neat shot – although remembering that it is not always possible.
Here are the 5 key zoo photography tips for blending out the fence:
- Get very close to the fence – put your lens very close to the fence and use manual focus so that the camera does not focus on the fence (lenses can struggle with where to focus as the fence is in between, distracting the focus system). This way the fence can be made to “disappear” in the image
- Wider fences are easier to deal with as you can shoot through the gaps.
- Shooting at the widest aperture available preferably f2.8 will help you to blend out the fence in the foreground. The same applies to distracting backgrounds behind the animal, like habitat enclosures, feeding buckets, etc. and any fences in the background.
- Also, using a combination of longer focal length and wide apertures can help eliminate any distractions. That is, zoom in from a distance where possible or get as close with shorter focal lengths to get blurry foregrounds and backgrounds.
- In cases where you still have parts of the fences showing in the image and you really need to save the image, you will have to get the assistance of the cloning tool in your post-processing app.
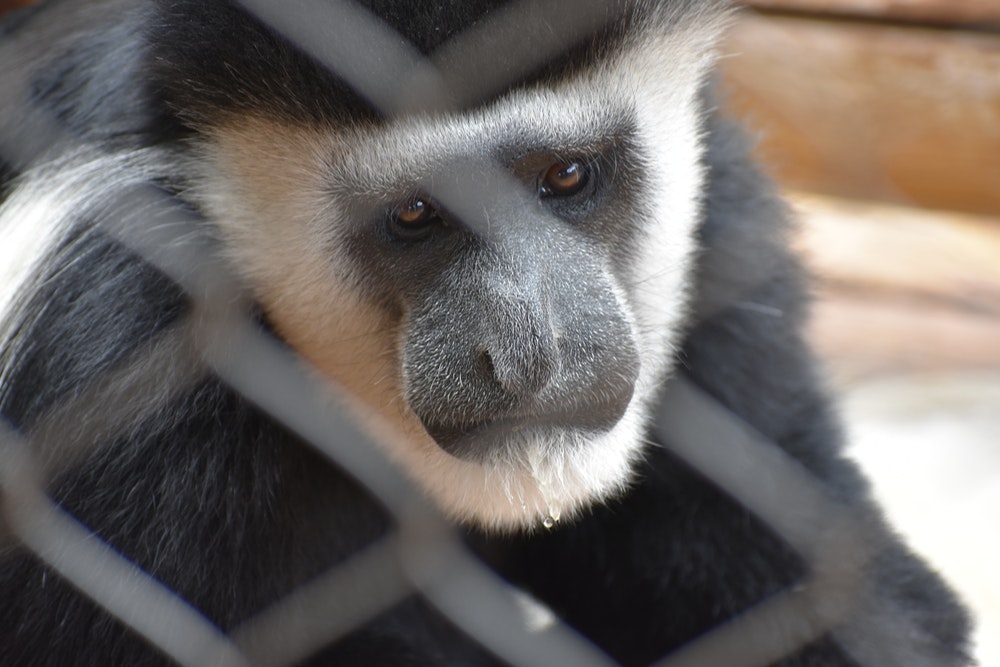
2. Photographing Through The Glass:
Photographing through glass is the trickiest when it comes to zoo photographs because here you are dealing with reflections, oily smudges, and scratches on the glass. Some glass enclosures even have a colour cast in them that needs to be carefully dealt with during post-processing.
How Do You Avoid These Unwanted Reflections?
First of all find an area of the glass that has fewer specks and scratches and wipe the glass clean in that area, if possible, to remove oily or dirty smudges.
Use a lens hood or any black cloth around the front part of the lens to minimise glare – your lens needs to be against the glass. If there is any glare, tilt the lens slightly at an angle where the glare is eliminated or at least minimal and then shoot. You may need to pump up the ISO a bit (between 400 to 1000) here and switch to manual focus if focusing becomes a struggle!
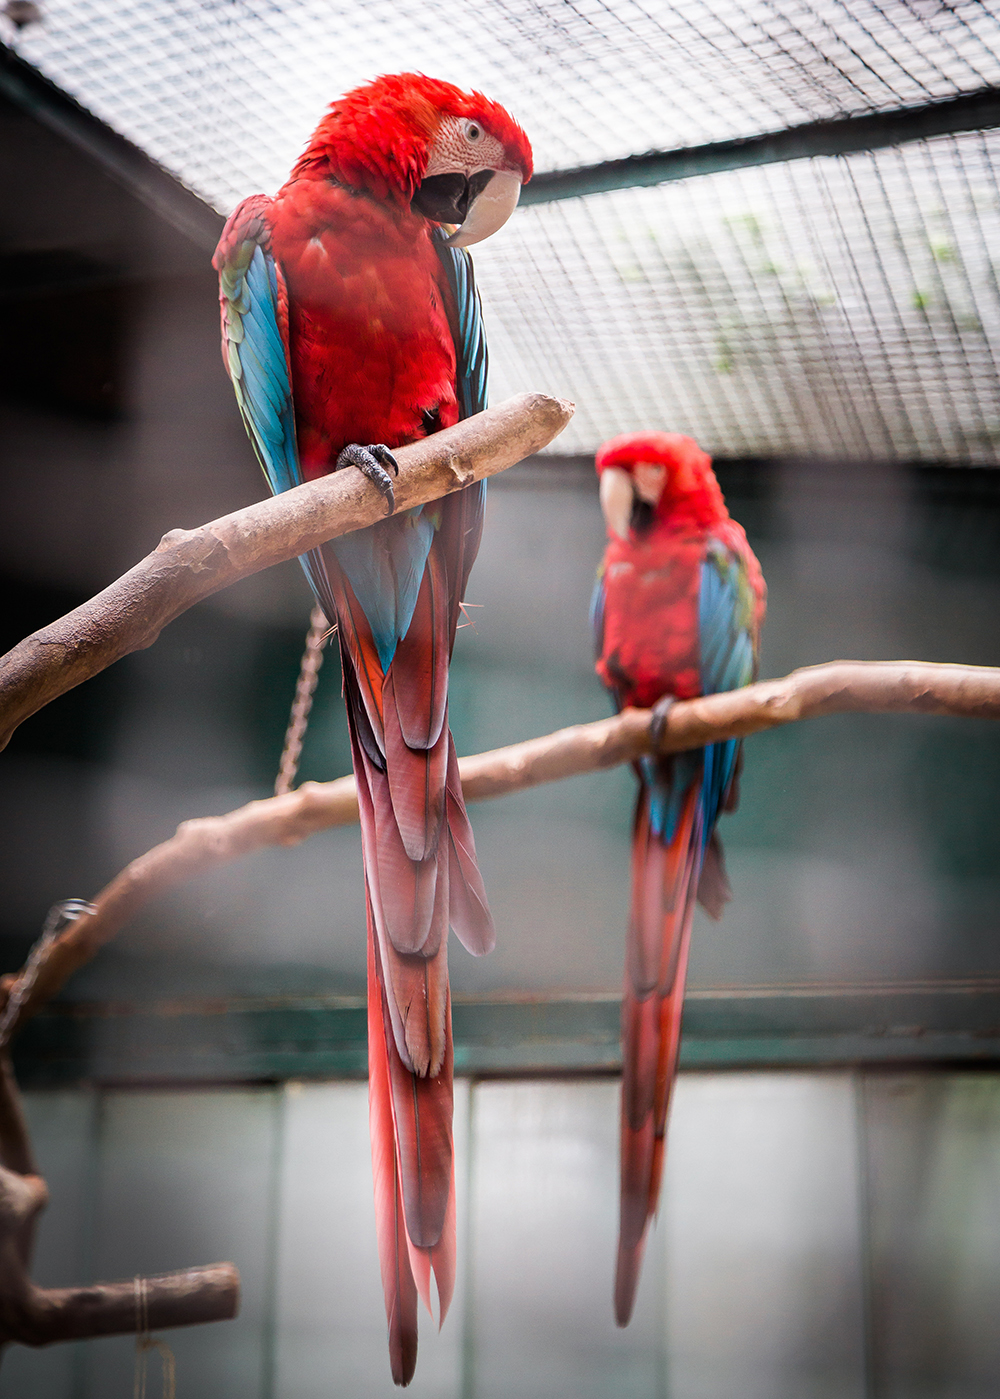
3. Wait For The Action To Happen:
Photographing wildlife, in general, requires a lot of patience, observation skills and to be ready to shoot the action when it happens. So one of our zoo photography tips worth learning is understanding the behaviour of different types of animals before your visit to the zoo so you know what to expect at certain moments.
Feeding time is another a good time to be around as you can get some photographs where the animals portray their natural behaviour. This can also yield some funny moments.
Revisit the zoo a few times so you get to know the animals better and chances are, with each visit you get better images.
4. When To Visit:
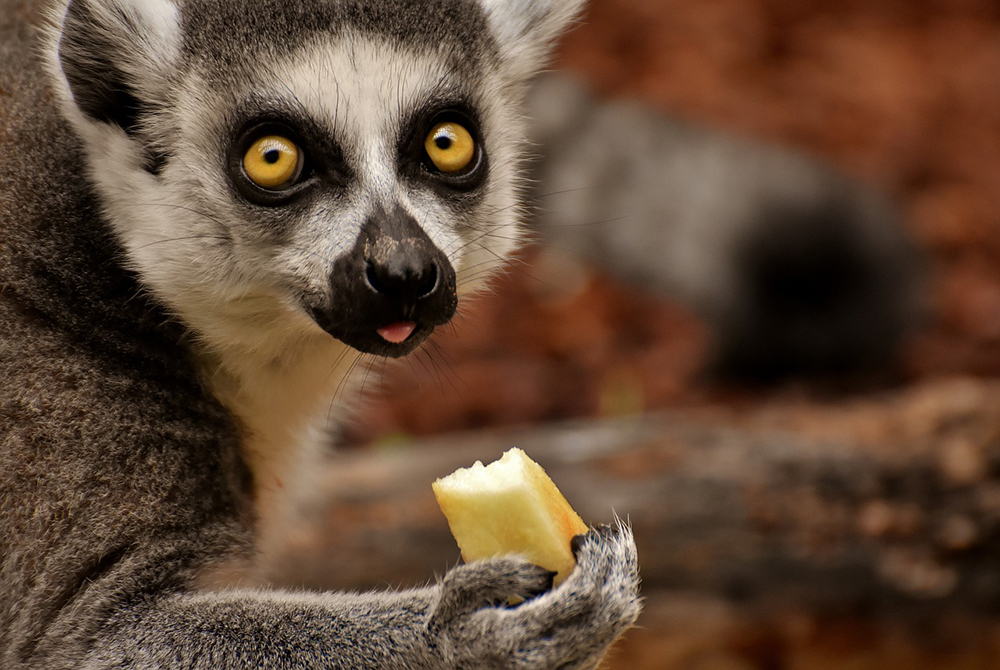
The best time of the day would be early in the morning when the zoo opens because at this time, the crowds are less and the animals are out active and the light will be great too! Later during the day, the animals are tired and sleeping in areas where they can be away from the noise and other disturbances mostly caused by the visiting humans.
Sometimes animals are quite active just before sunset (the golden hour) and this is a time when you can get some great shots utilising the beautiful golden light.
What If All Else Fails And You Get Caught With The Crowd?
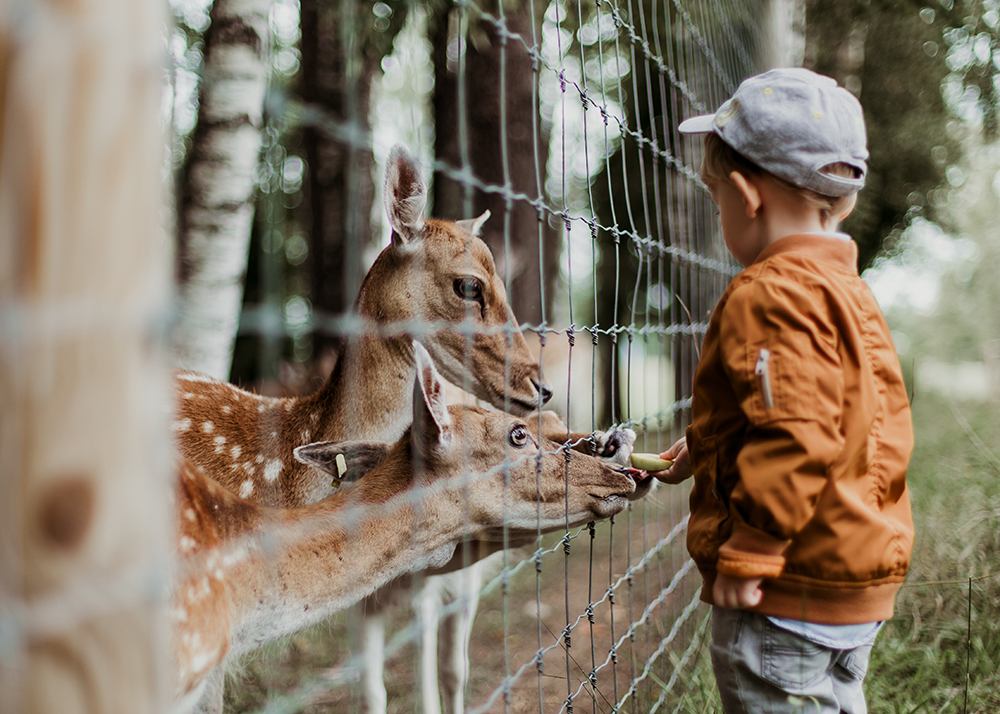
So, zoo photography tips 101 – make the best use of the situation! You can get some really good candids where you can show human-animal interactions. With children in the frame, it can be quite interesting if there are areas where children are allowed to feed the animals. You can also capture human reactions while having both the humans and the animals in the frame.
Also, most of the time you will notice that humans are excited to see these animals and some really enjoy being there observing what the animals do. Humans too can react humorously to animal behaviour. Stand back and photograph these moments as these can bring a smile to anybody’s face.
5. Don't Forget To Bring A Tripod Or A Monopod
Depending on how long you will be spending at the zoo (some may spend a whole day) you may need the help of a tripod or at least a monopod to give some rest to your hands occasionally while carrying heavy lenses around. But bear in mind, some zoos may not allow the use of tripods or monopods and you will need to check this with the zoo before your visit. Try alternatives to tripods – more information in this article on how to stabilise your camera without a tripod.
So now that you have an idea of what to expect and how to deal with certain issues that you will come across in a zoo, let us look at the gear and settings that you will need to create brilliant zoo photographs.
Gear Required For Zoo Photography:
- You will need a camera that lets you shoot in manual mode so you have better control over exposure and other settings.
- Most of the animals are in enclosures far away from where humans are allowed to be – so a zoom lens is a must if you are visiting the zoo.
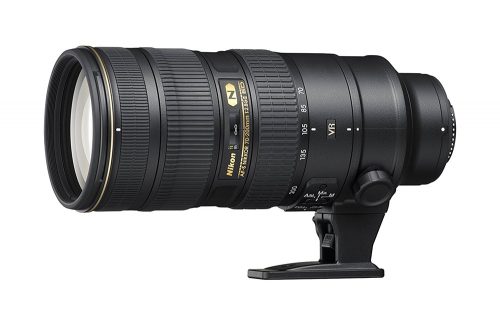
- The best lens would be the 70-200mm f2.8, for the brilliant images it produces, faster focusing and the reasonable zoom that it provides, but not everyone will own one as it is quite expensive.
- An alternative to the above lens would be the 70-300mm lens, where you may sacrifice a bit on the aperture value. Get the one with image stabilisation which is very important when dealing with longer focal lengths.
- If you want to extend focal lengths, make use of extension tubes
- In situations where the animals are really close and you need a wider lens, the 50mm f1.8 is the go to lens for those situations.
- You can carry a macro lens if you have one, so you can photograph details on animals and birds like textures, patterns, lines, and plumage colours. You can also photograph other tiny animals and insects that you come across during your visit.
- Lens hoods can be your friend in a zoo, as you will be dealing with tricky lighting conditions most of the time; for example, shooting into the sun or shooting through the glass.
Settings For Zoo Photography:
- Shoot in manual mode
- In general, use the widest aperture, lowest iso and fastest shutter speed to capture any action without having blurry patches.
- Use manual focus when shooting through fences to avoid the lens’ focusing system from getting confused as to where to focus.
- If using autofocus, use single point autofocus and focus on the animal’s eyes. This should help with getting the focus right on a particular point in the frame.
- Faster shutter speeds are a must as animals can be moving around or even if they are resting, they can move their head or other parts of their body like ears and tail that can cause blurry areas in the image. My advice would be to have the shutter speed higher than 1/500s for a zoom lens and greater than 1/150s for a 50mm prime lens.
- Have iso values as low as possible (pump it up when the light is very low and you need to get the shot) and remember to always shoot raw (something that we repeat in all articles!)
- Do not use the flash for any reason because animals can get frightened and you can disturb them from what they are doing. Moreover, shooting in natural light conditions yields better results.
- When actions happen, make use of the continuous shooting mode on your camera, so you do not miss out on important frames or actions.
- If you are a beginner and struggling with manual modes, make use of the aperture priority mode where you set the aperture values and a limit on the shutter speed (how low it can go) and have the ISO set accordingly.
More Zoo Photography Tips:
- As with photographing kids and pets, when shooting wildlife, wherever possible, try to get down to the eye level of the animals so you can photograph them in their world. You may have to lay flat on the grass to get that shot. Although you may look silly doing it, you’d have grabbed an amazing shot!
- Most of the times animals are in enclosures looking down, which may not be the best perspective to shoot. Take advantage of what you have and create impactful images.
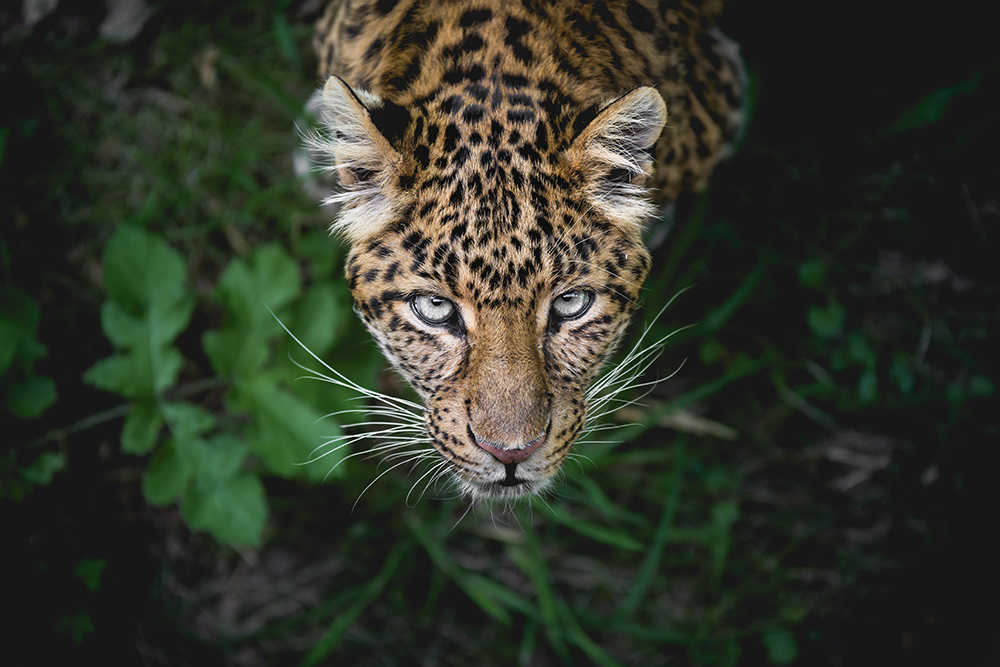
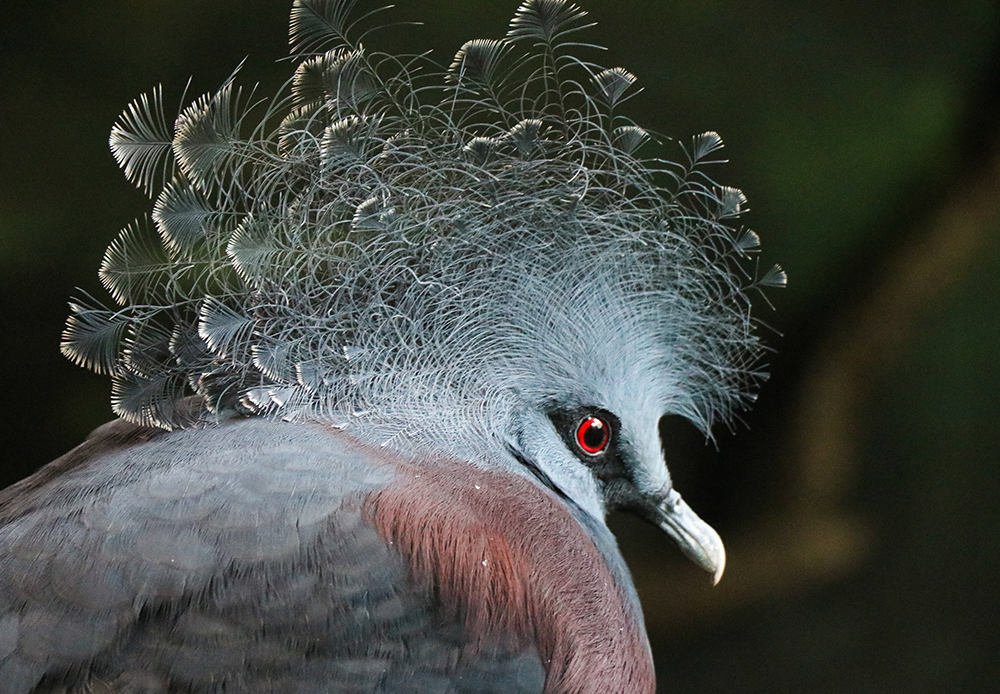
- Have the eyes in focus. Photographing wild animals is nothing less than photographing portraits of humans. So it is always the eyes that need to be in sharp focus.
- One of our zoo photography tips is to Get “up, close and personal” where possible for some compelling portraits. Close portraits of animals can be really intriguing or impactful and can also make way for any distractions to disappear. It also defines the features of the animal so well!
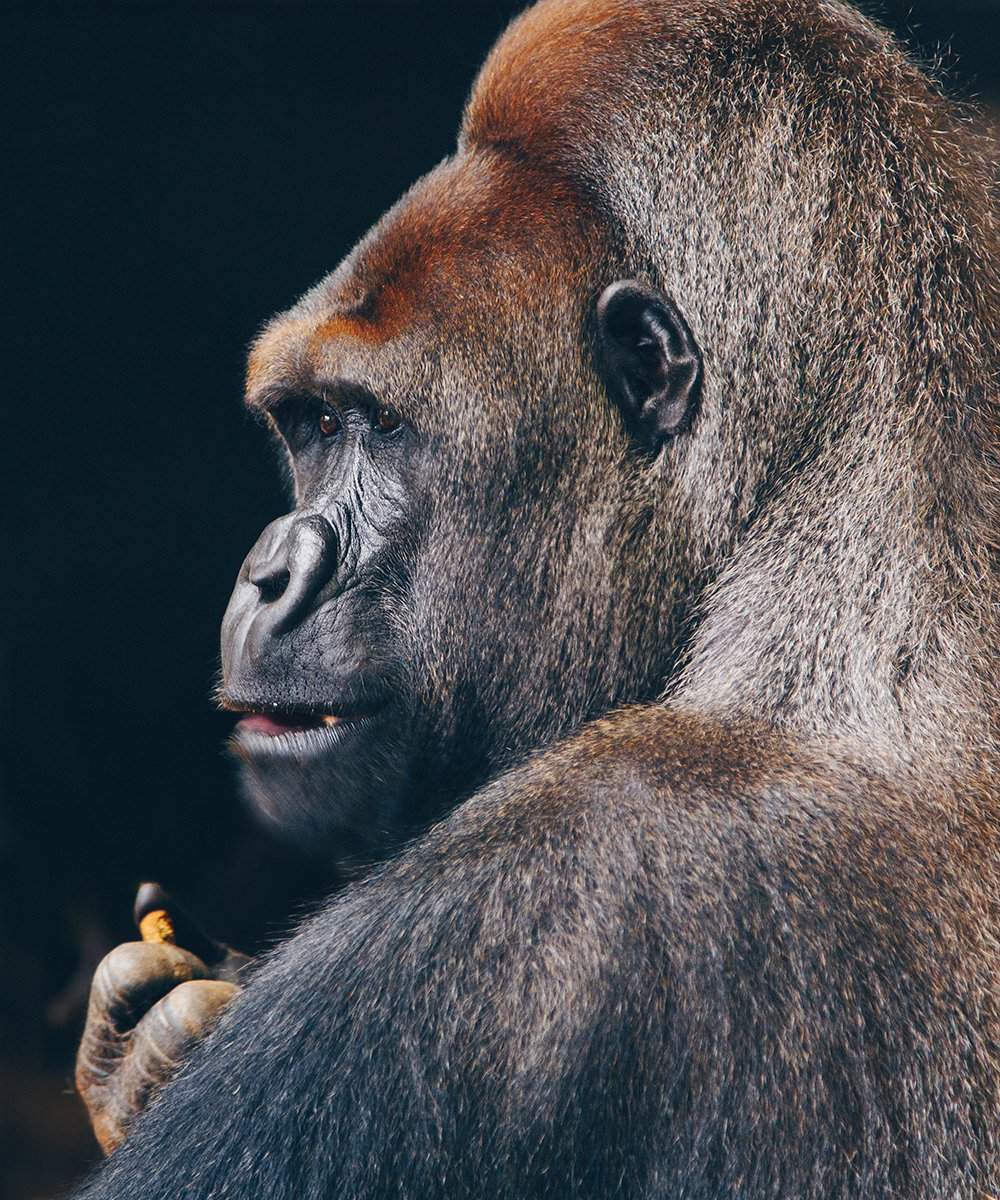
- Fill the frame – Do anything you possibly can to make sure your image does not look like a zoo photograph (like a snapshot), fill the frame with features of the animal.
- You can try panning shots if you see monkeys swinging in branches or you see any other animal that is constantly moving very fast, for example, foxes. Make use of the focus tracking feature in your camera for these shots.
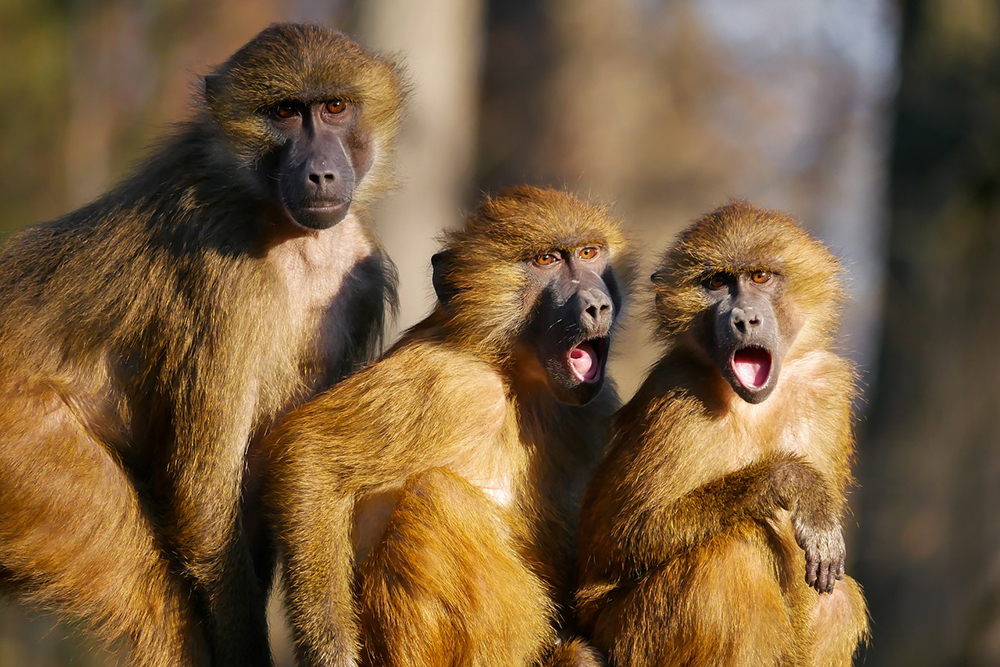
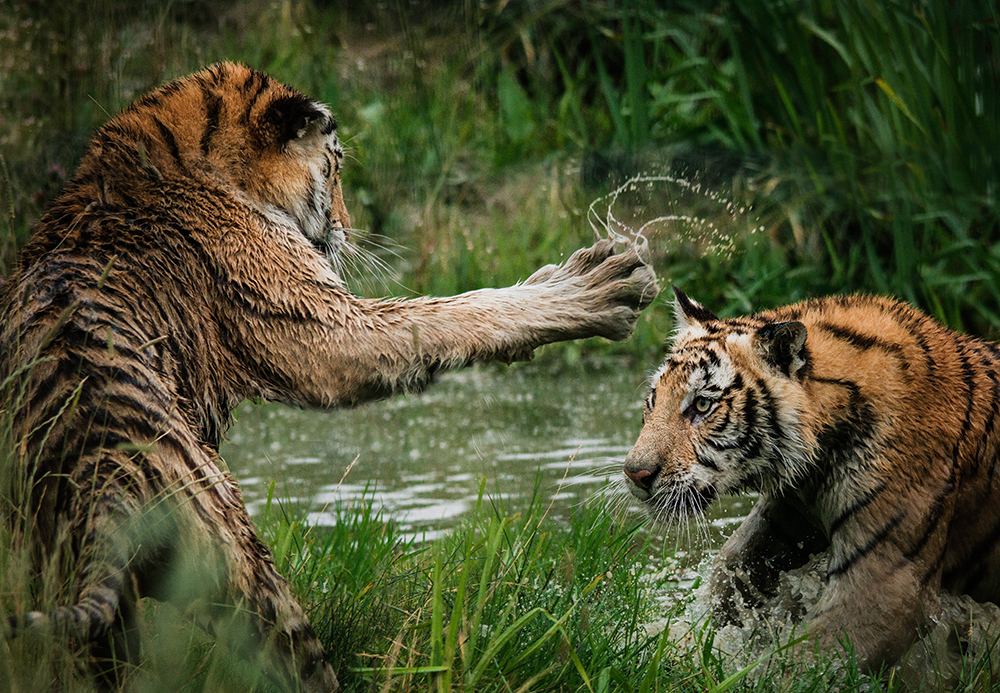
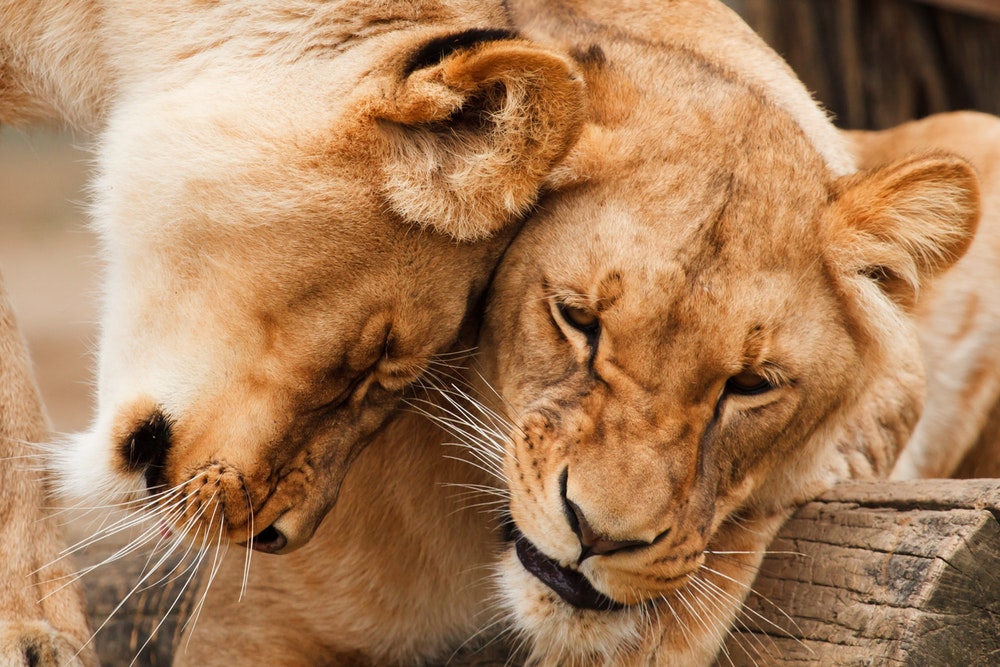
- Capture the interactions between animals. It could be an interaction between animals and their babies or their friends or partners or the babies playing.
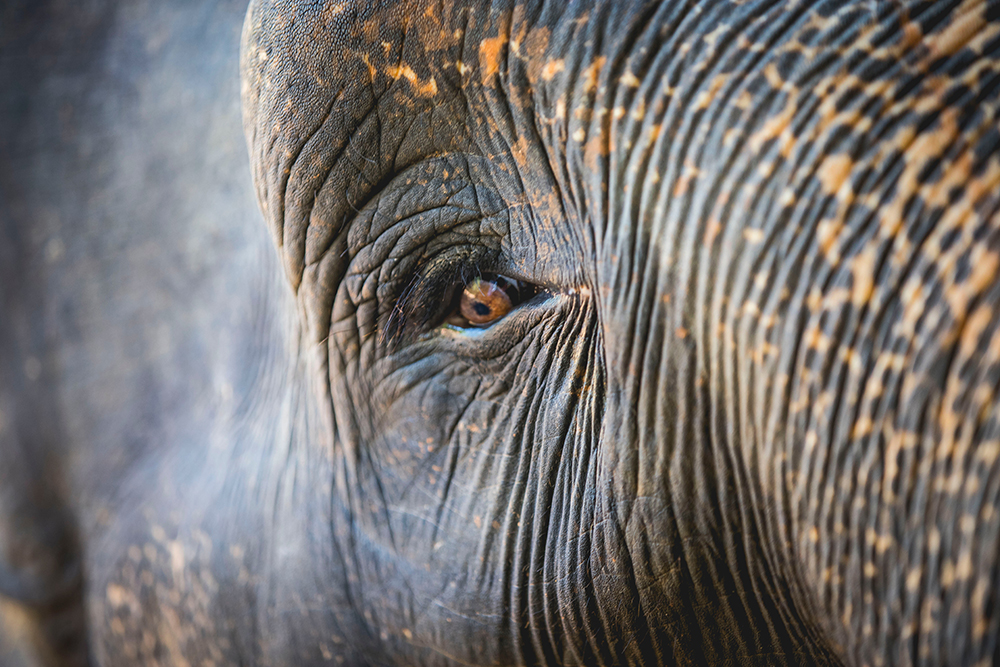
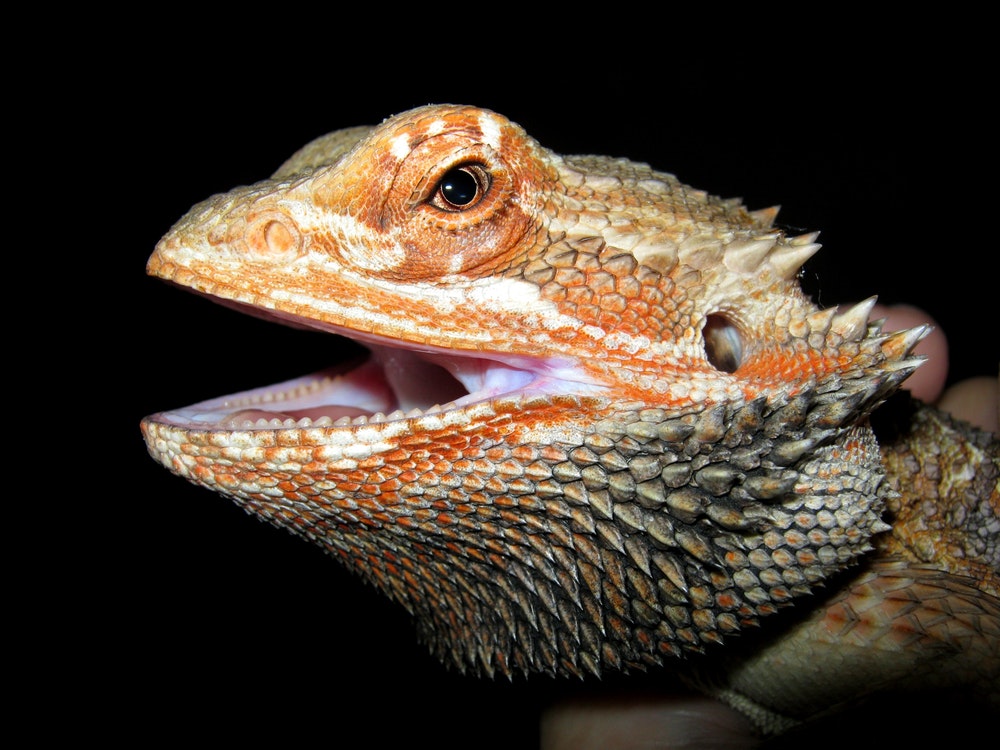
- Here are some cool zoo photography tips and tricks to think about…How about not focusing on the animals or their portraits only. Give attention to minute details of animals that define their features like textures on the skin, patterns on the fur, their paws or just the eyes, etc. so you get some abstract images of the animals – something different from the usual frames.

Image 1 by Photo by david clarke on Unsplash and Image 2 by Steffiheufelder
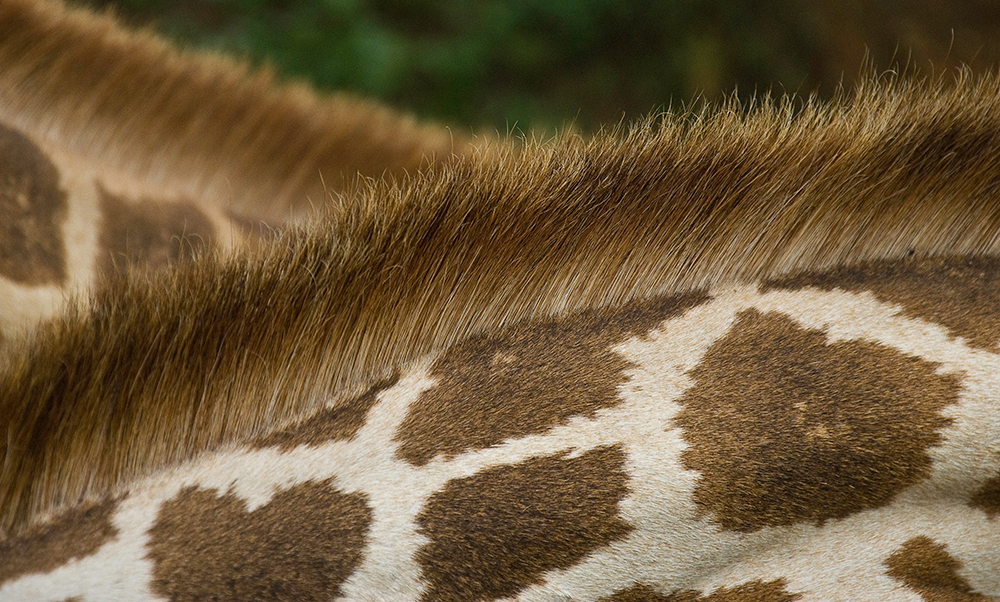
Photo by Mike Tinnion on Unsplash
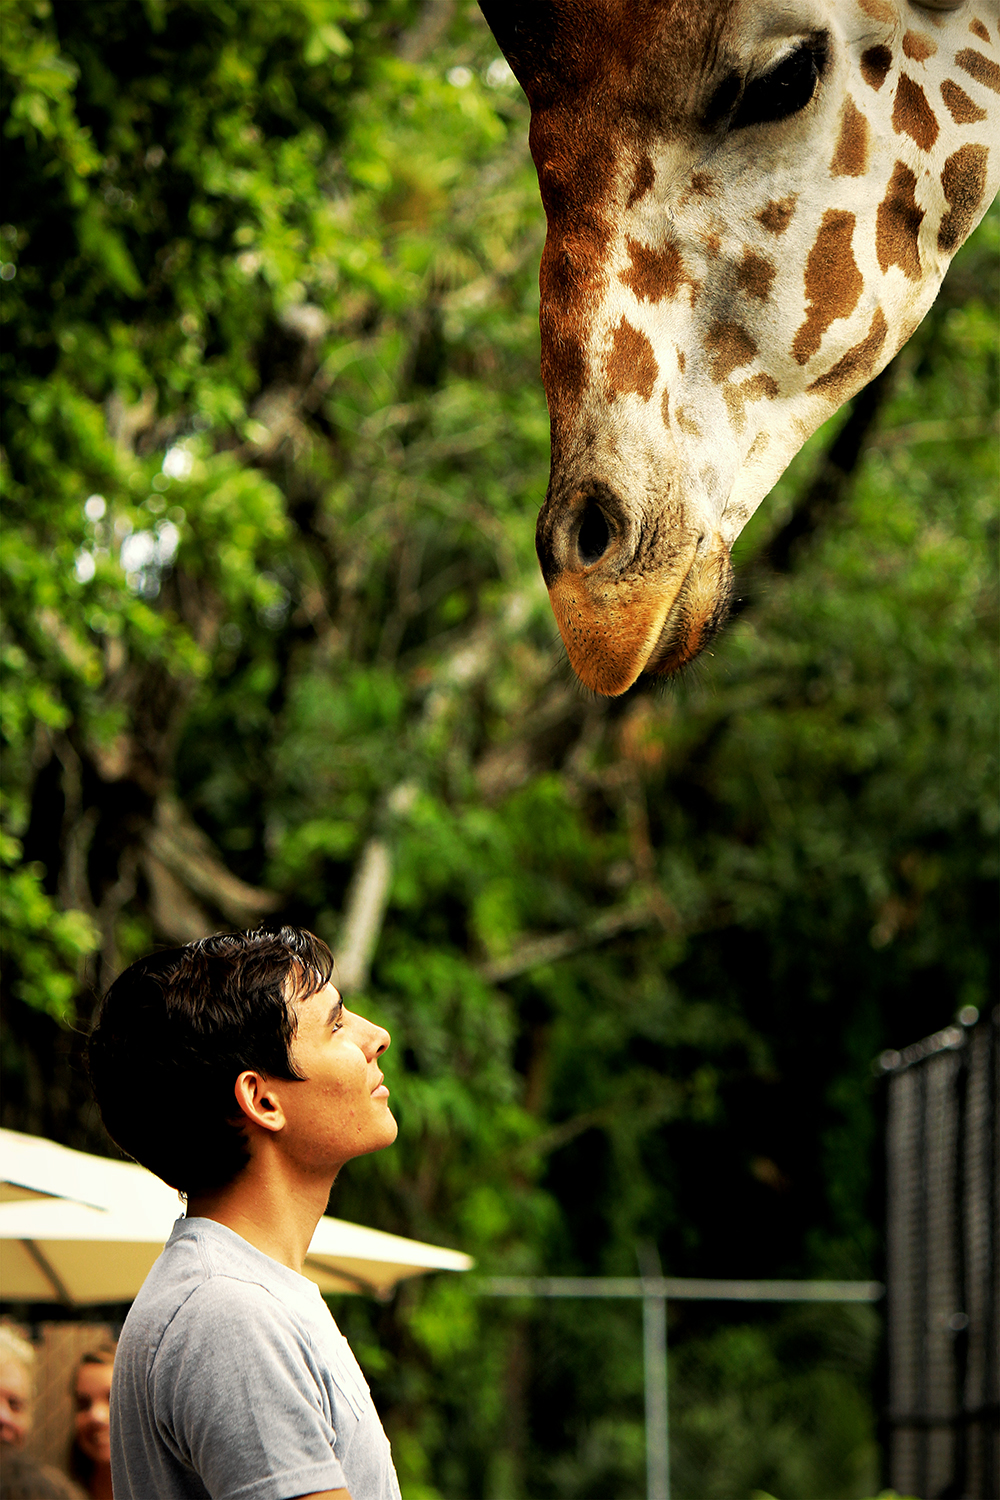
- Try different perspectives especially when you shoot taller animals like giraffes, llamas, camels, etc.
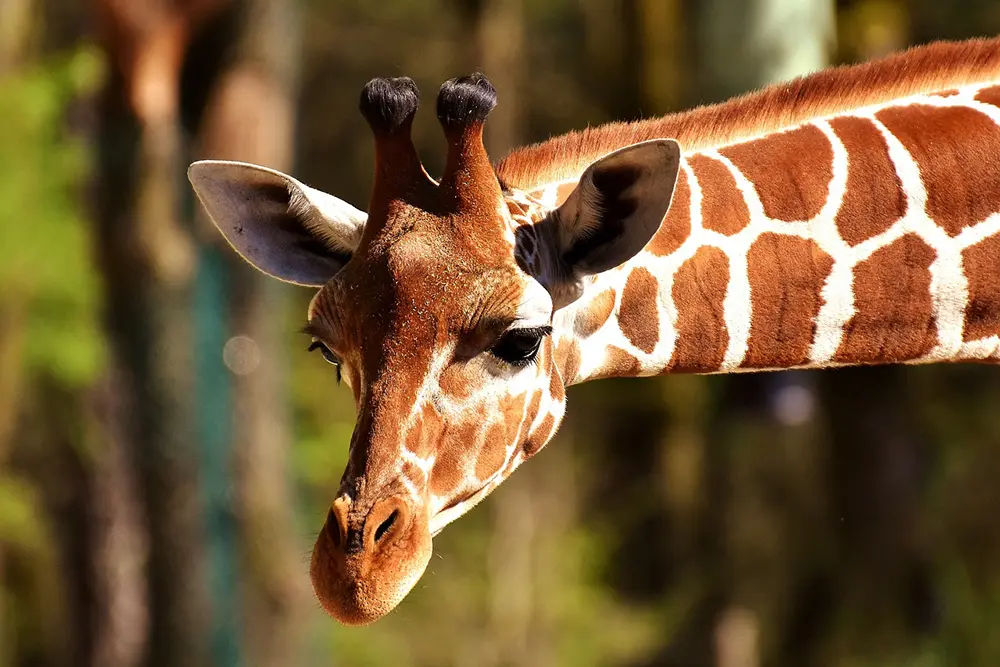
Image by Alexas_Fotos
- Observe animals. They are very interesting to watch and the features or behaviour they display can be very adorable. Watch them for a while and capture the expressions or actions that draw you towards them.
- Take as many pictures as possible because, with animals, each shot can portray a different characteristic of your subject.
- Do not hesitate to crop because, with zoo images, you may want to leave out the uninteresting areas and focus on just your subject.
- Never cross the fences or any restricted areas to get closer views of animals or to avoid fences in the frame. This is for your and the animals’ safety.
- Look around in nature around. You'll be surprised to find a lot more animals free up in the wild that include birds, reptiles, and insects.
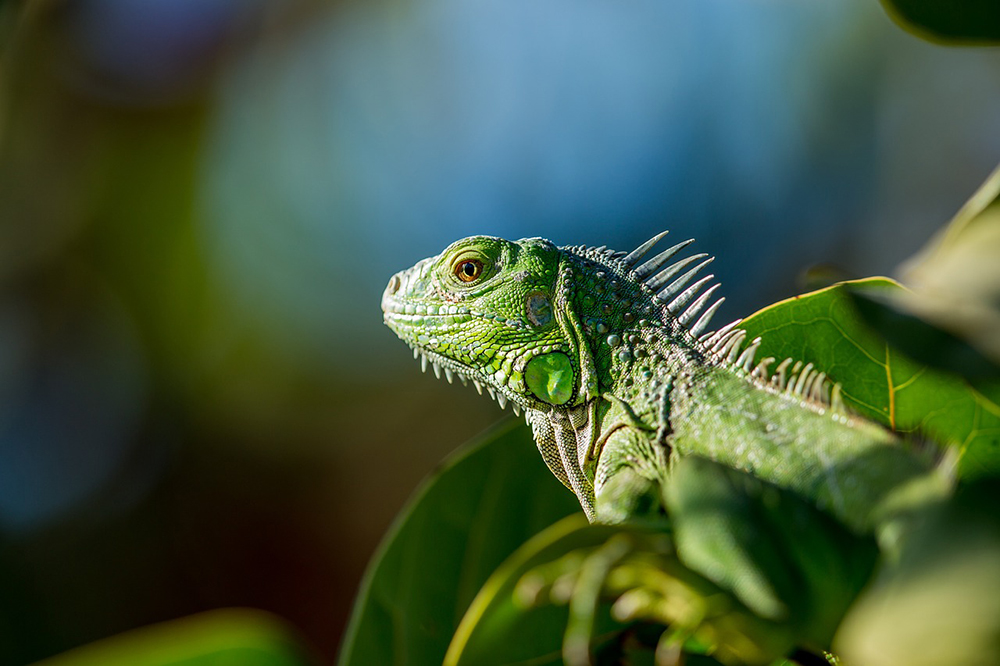
Image by Free-Photos
- Do not rush up so you can cover everything. Take your time to observe a few animals and photograph them.
- If you patiently wait and observe animals, they may get curious and look back at you so you get to capture an image with eye contact.
- As much as possible, try to photograph animals amongst the foliage so it looks like they are in their natural habitat and does not give the feel of a zoo photograph. The lighting can be tricky, so make sure you have the settings right here.
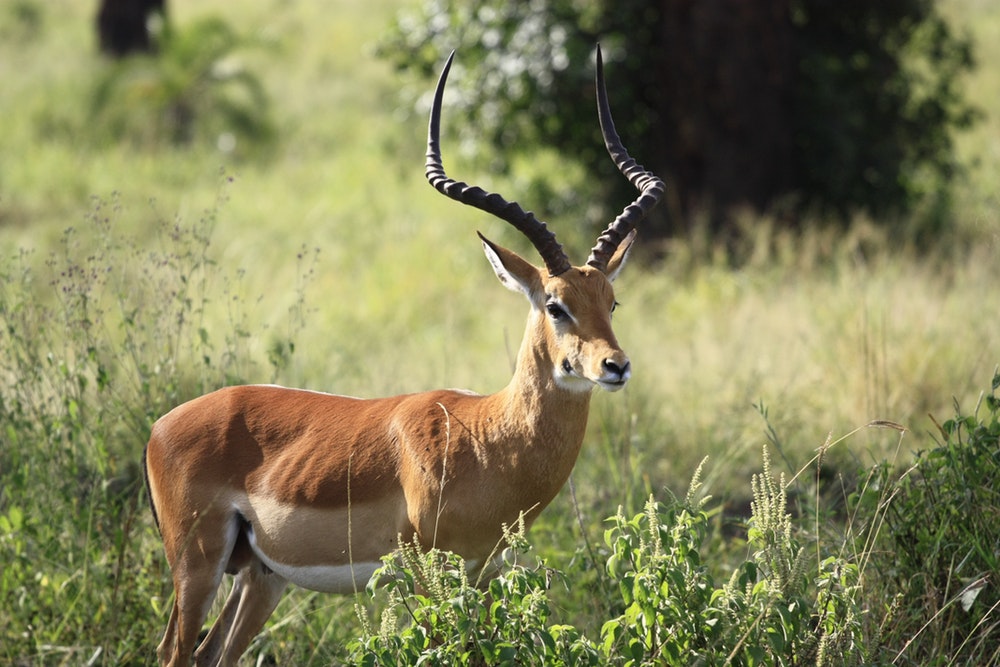
Image by Amy Chung
- Watch out for the direction of light as the shadows from the fencing can make the image look like a proper zoo image although you eliminate the background through some technique. Lighting can be quite difficult to deal with when photographing caged birds and animals, so make use of the available light and the best settings possible to get good shots.
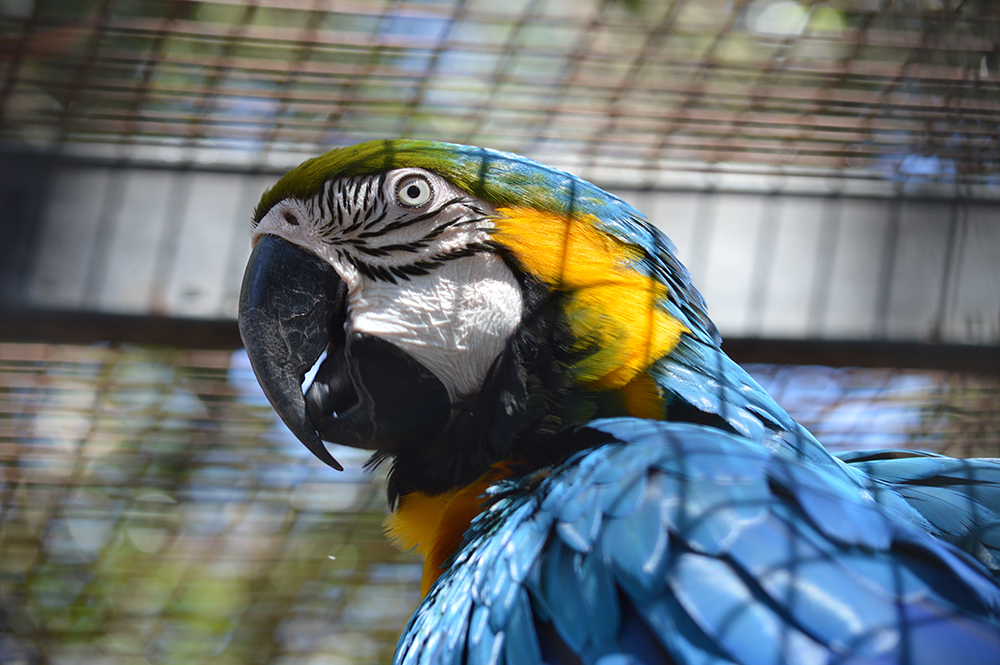
Photo by Jordan McGrath on Unsplash
- Last but not the least of our zoo photography tips and this is a very important thing…practice! Do not shout, tease, wave at, whistle, make funny gestures at animals to get their attention. Animals get annoyed, frustrated, upset or angry just like we humans do. We need to learn to respect them, just like how we would expect others to respect us.
Making brilliant zoo photographs can be quite a challenging task if you do not get the settings right and be patient and practice. You need to go out there to the zoo and keep trying if you are looking to photograph a specific animal in a particular environment and time of the day. Like they say, “Practise makes perfect” and we hope these zoo photography tips help you capture some wonderful images of some amazing animals.
Have you photographed in a zoo before? What were the limitations and how did you overcome them? Please feel free to share any tips you may have for zoo photography in the comments section below.
Further Resources:
- The Three Main Challenges of Zoo Photography (and How to Overcome Them)
- Guest Post: 7 Ways to Shoot great pictures at the Zoo
- Can You Really Make Zoo Photos Look Like Wildlife Shots?
- Zoo photography tips: how to get great pictures of animals
- A Beginner's Guide to Zoo Photography
- 27 Tips for Zoo Photography


6 Comments
Very unique topic of photography. Wonder full information. Thanks you so much for sharing.
Thank you Sheena. Glad that you found it helpful 🙂
Wonderful article, Dahlia!
Thank you so much Kent 🙂
You mentioned lens hoods. If you have a rubber collapsible lens hood, you can put the lens hood directly against the glass. That completely eliminates reflections from your side of the glass. You can even use a detached flash with that setup. The flash would sometimes be especially helpful in an aquarium setting.
Hi Tom, thank you for the tip. Will be helpful to many 🙂