Photographer tell stories through their cameras by capturing the world around them. Not all photographers capture stories with the same intention – some are hobbyists, while some are professionals and the reason why a photojournalist or a wedding photographer captures images, differ from what street photographers or other photographers like landscape or portrait photographers capture images. The process however remains the same – all photographers work with light, use effective compositional guidelines and other elements in the frame for a compelling result.
If you are someone who is new to photography, you may have taken up this craft as a hobby or in faith to become a professional photographer, but in the beginning the buttons and controls in a camera may feel quite intimidating.
I'm not going to overwhelm you here because this article is for those who just want to understand some important fundamentals about photography, what it is and how it's all put together.
Let's Get Some Basic Photography Tips Down
So, Where Do You Even Begin?
Let's Look at Some Basic Photography Tips for Beginners:
1. Camera Basics
Before starting out on photography, you will need to know the basic camera features in order to be able to use it for taking better pictures. Here are some camera basics that all beginner photographers need to know before starting to shoot.
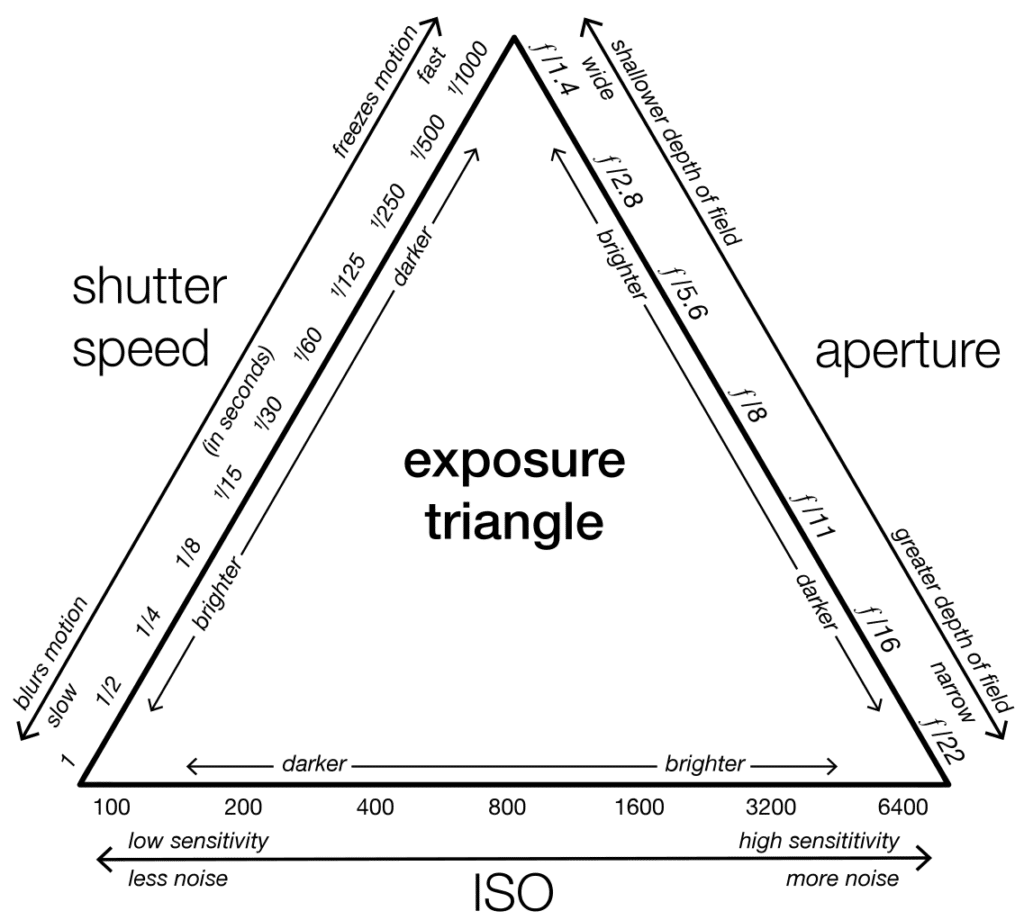
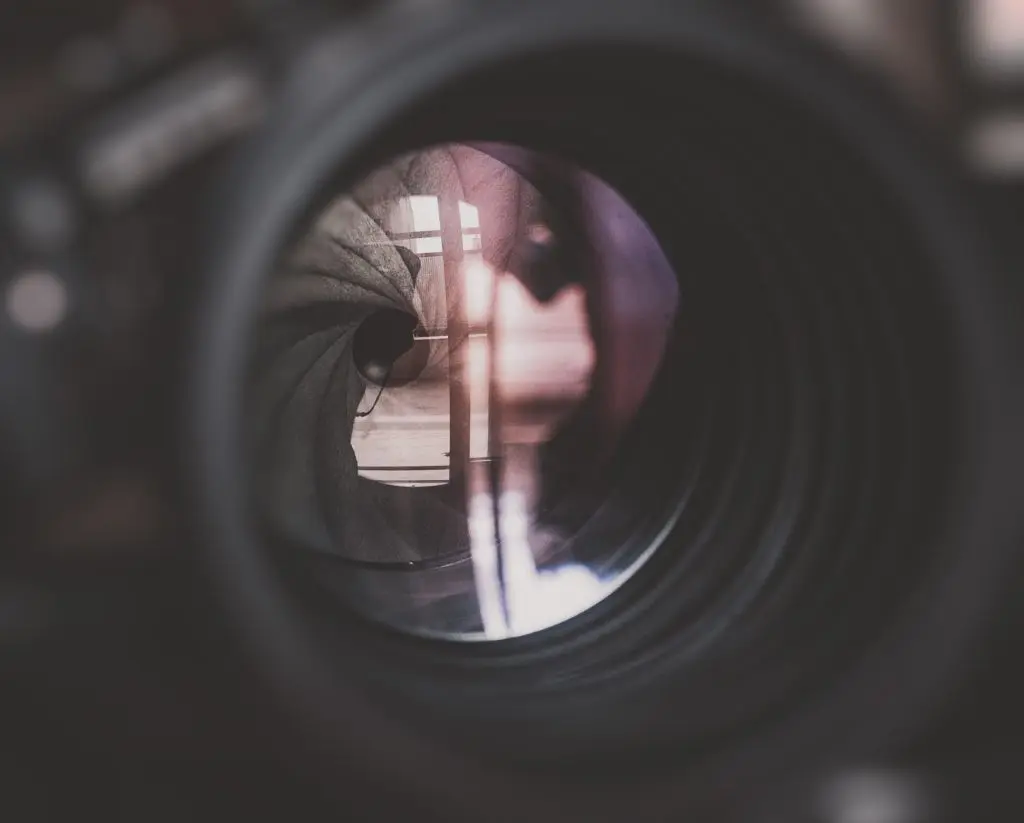
1. Aperture: Aperture is the lens diaphragm or opening that lets in light into the camera and controls the depth of field. The amount of light entering the camera is controlled by adjusting the size or opening of the aperture. Wider the aperture, the more light entering the camera and shallower the depth of field. Narrower the aperture, the less the amount of light entering the camera and deeper is the depth of field. Learn more about aperture in detail here.
2. Shutter Speed: Shutter speed it the amount of time the shutter remains open to let light fall on the camera's sensor. The faster the shutter speed, the shorter the exposure and lesser the amount of light allowed. Slower shutter speeds let in more light, but can cause blurry images. Learn how to creatively use shutter speed for creative images in this article here.
3. ISO: ISO is the sensitivity of your camera's sensor to light. Higher the ISO higher the sensitivity to light, lower the iso value, lower the sensitivity to light. High ISO values can introduce noise in your images and so it is important to choose your iso values wisely. Learn more about ISO here.
4. Exposure: Exposure depends on how much light enters your camera and reaches your sensor. Exposure decides how bright or dark your image appears and exposure can be controlled by adjusting the aperture, shutter speed and iso. More information on controlling exposure can be found here by reading about the exposure triangle, rule of equivalent exposure and the law of reciprocity.
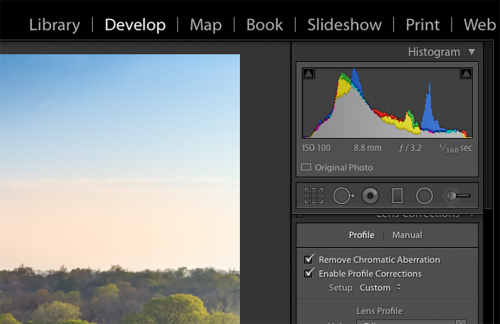
5. Histogram: A histogram is a representation of the tonal values in your image. It helps to get the correct exposure on your images. To learn and understand more about the histogram, take a look at how to read the histogram, how to get perfect exposure using histograms and how you can push the histogram beyond its limits.
6. Focus: Focusing means getting a sharp image recorded in your camera's sensor. In order to focus, you can use either auto or manual focus. Once you get a grip on autofocus, it is best to master manual focus as well as a lot of types of photography do require manual focus. Learn more about the camera's autofocus system here.
7. Zoom: In order to zoom into a scene, you need a zoom lens or you will need to manually walk towards your subject. The zoom functionality is available only in zoom lenses and what it does is make the subject or scene appear closer that its actual distance.
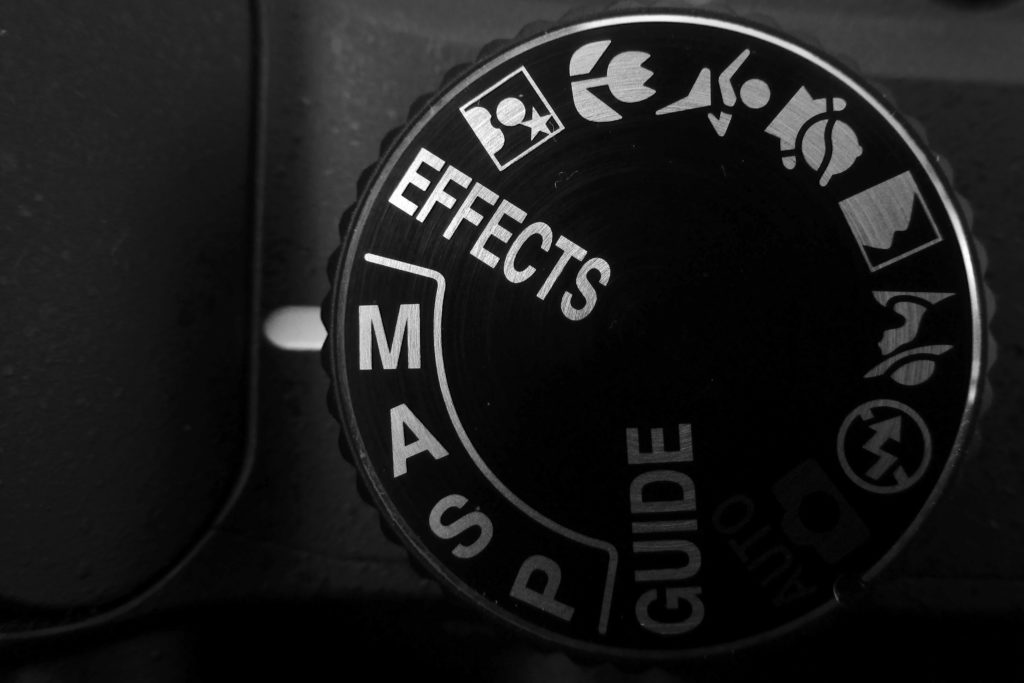
8. Camera Shooting Modes: The camera's mode dial has various preset options and shooting modes. Depending on the scenario that you are shooting, it is best to choose the correct shooting mode. Learn more about the various preset options and the camera's mode settings.
9. Metering Modes: As you progress in your photography, metering modes are also one of the most important factors that you need to be aware of to get the exposure right under various lighting situations. Learn more about metering modes here.
10. Raw vs Jpeg: Depending on what format you shoot you will have to have memory cards in store for your shoot. Raw files are pretty huge compared to jpegs but the beauty of raw files is that it is uncompressed and loaded with so much detail that you can flexibly work with the file and pull out/recover as much details possible when post processing. Read more about it here.
2. Composition
Composition is the part of photography that you can learn without a camera. However since almost everybody on this planet has access to a camera or smartphone, it's a good place to start for us here.
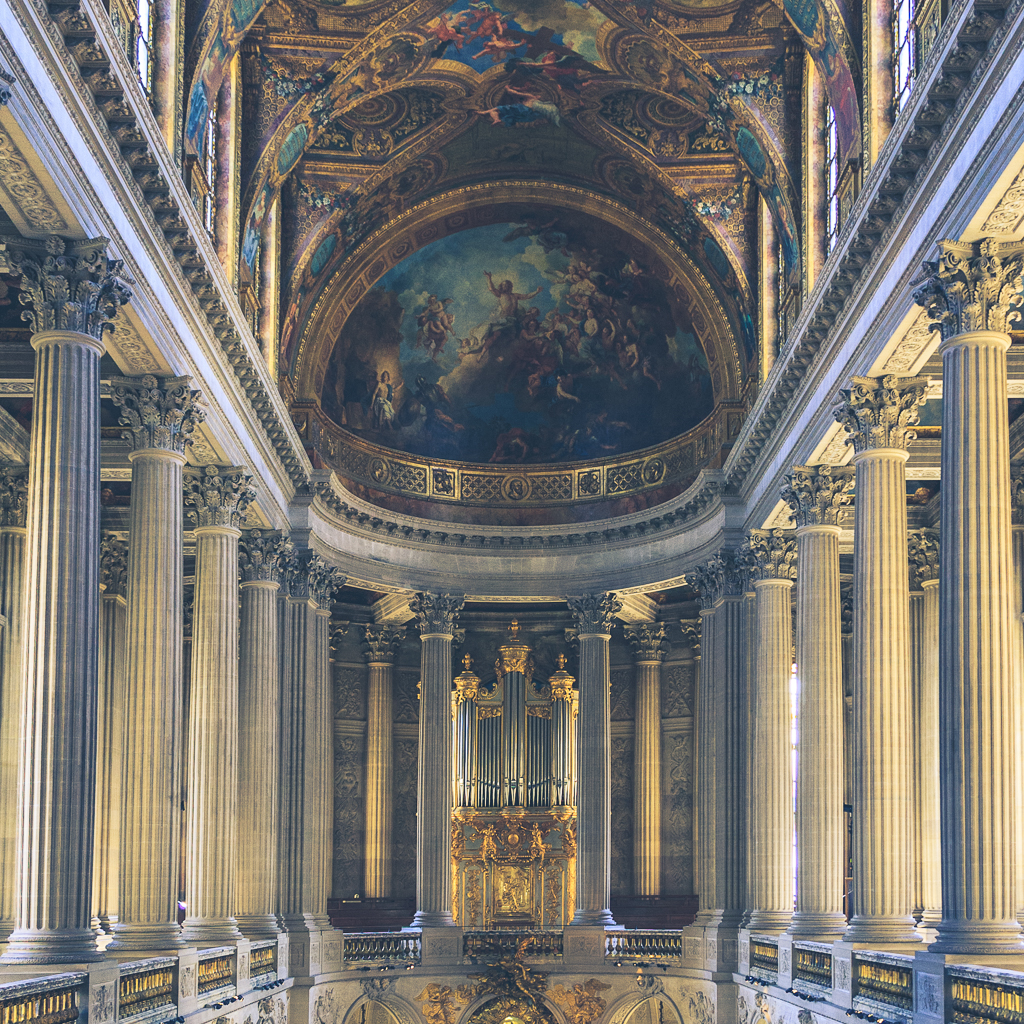
Correct composition is responsible for the placement of the subject (or point of interest) and proper placement of other elements in such a way that they will guide and aid the viewer into perceiving the photograph properly.
There are several rules for composition which you’ll need to learn. Of course, art doesn’t require rules, but you need to know them in order to know how to break them.
Some of the basic composition rules that you can start with are:
1. The Rule of Thirds
Simple as the name itself. You separate the image into thirds, both horizontally and vertically. The intersecting points are the points of interest. If you are shooting portraiture, you would be placing the eyes along one of the points of intersection, preferably the top ones.
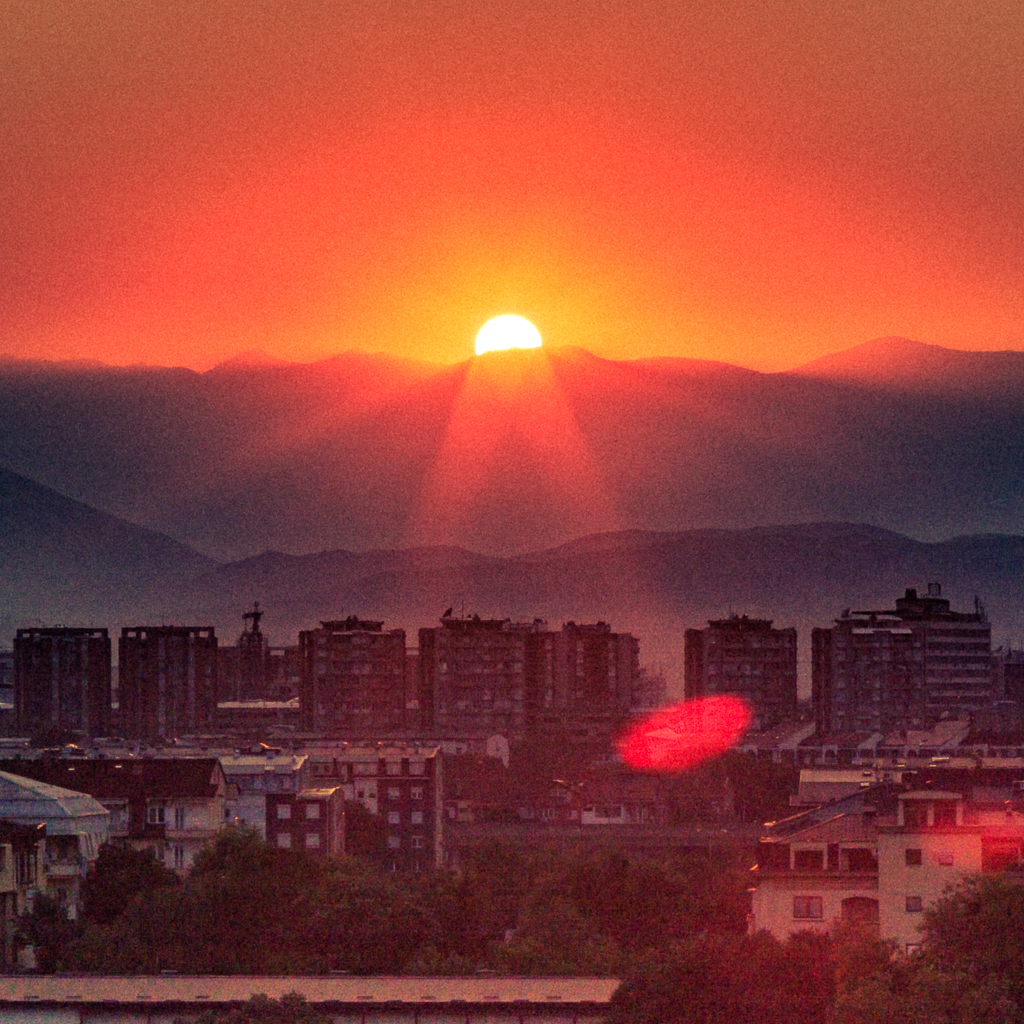
However, if you're shooting landscapes, you would separate sky/earth with the thirds, and place the point of interest (imagine a sunset, in this case, the sun) at one of the points of interest.
Also, even smartphones can show you the grid as an overlay, to make it easy for you until you get used to the framing – of course, this can be activated on DSLRs and Mirrorless systems.
2. Symmetry Within Your Composition
If you don’t fancy the rule of thirds for certain composition, you’d probably want to do it symmetrically. However, symmetrical composition is quite tricky.
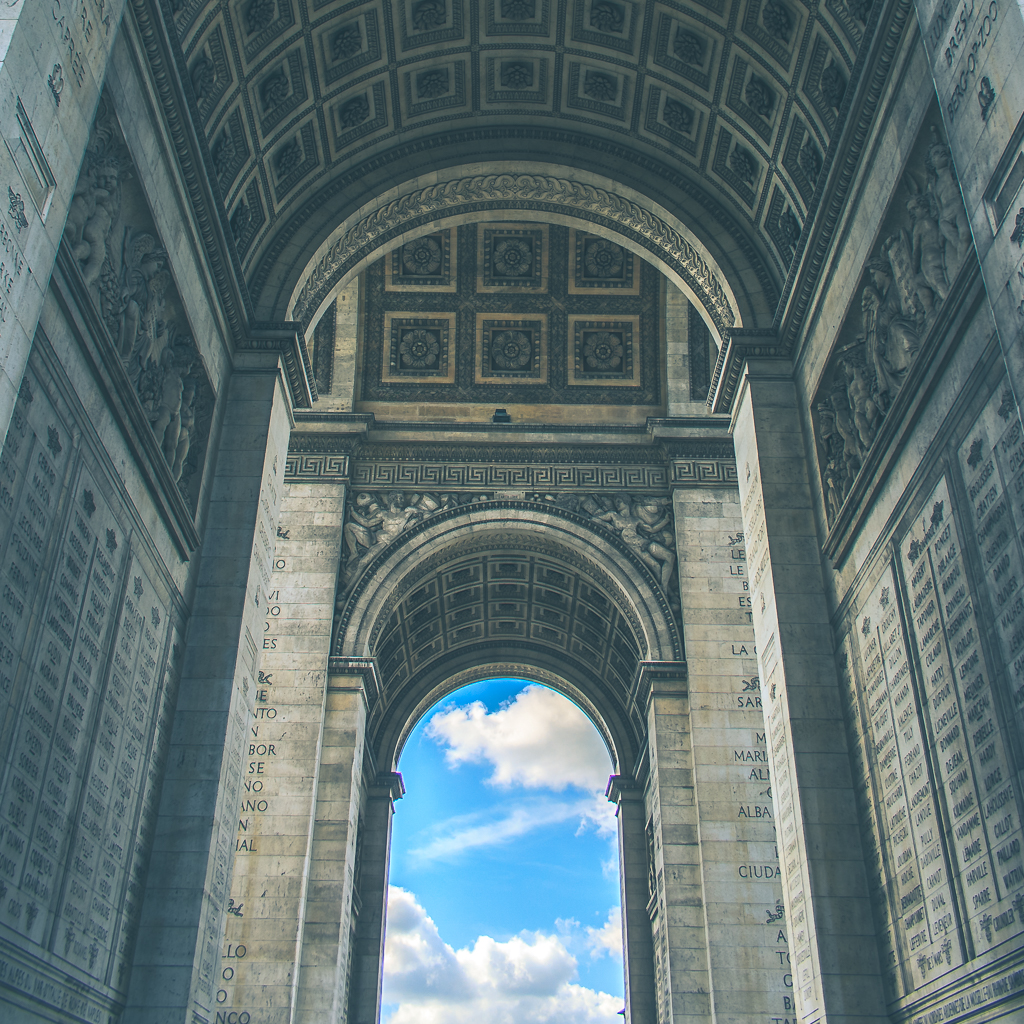
Firstly, you'll have to place the subject in the center, the light must guide the eye towards the center, and all the lines must be straight and symmetrical. It takes both a lot of attention to detail and getting used to having everything straight and parallel in your frame.
You can use the rule of thirds guidelines to align the image properly and symmetrically – so both techniques go hand in hand nicely.
3. Guiding (or Leading) Lines
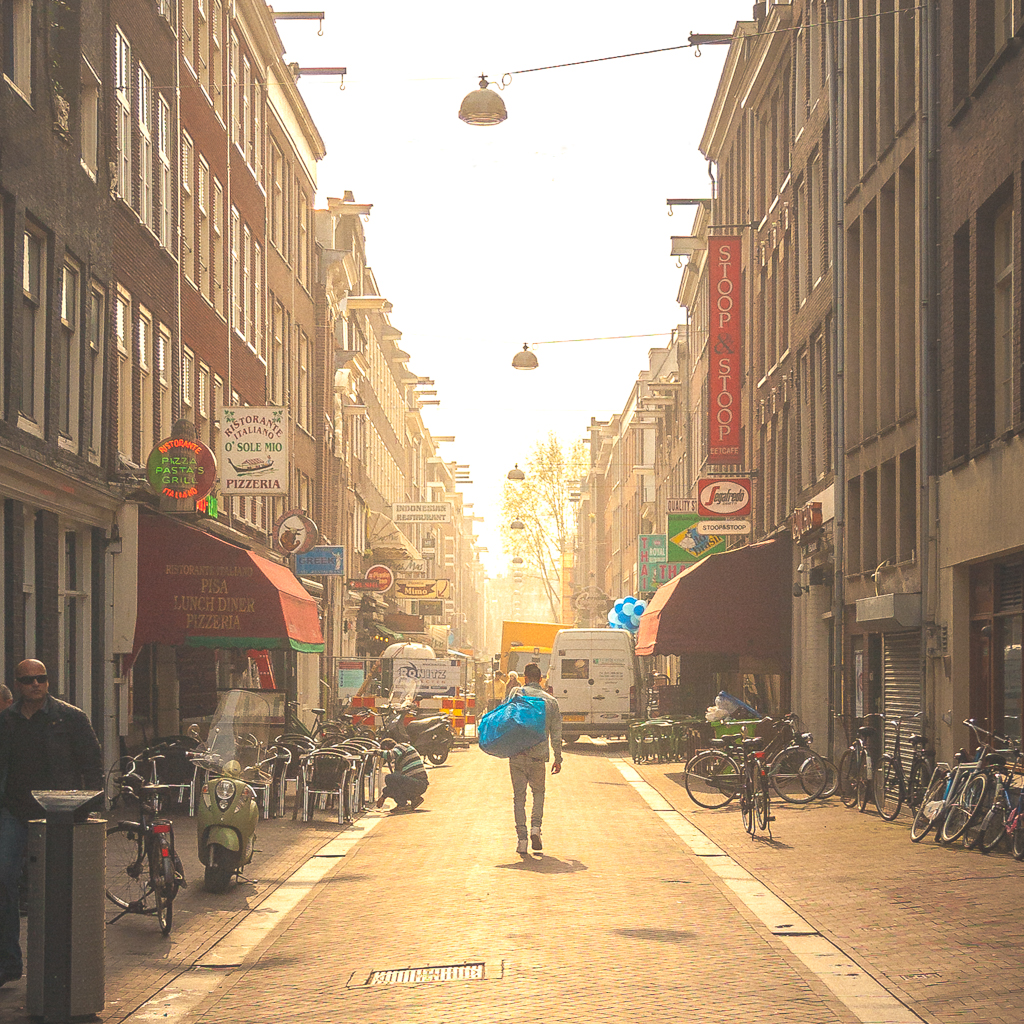
This rule can be used in conjunction with the rule of thirds or the symmetrical approach. The goal is to have lines (either real or simulated with light and trickery) to guide the eye toward the point of interest in the photograph.
This applies to both portraiture and landscape (to choose two contrasting photography interests).
However, in portraiture, it should be subtle, while in landscape it can be quite direct. Of course, you can break the rule, but you need to be careful about it. The lines should act as a guide, not to remove attention away from the point of interest.
3. Selective Focus
This depends largely on what type of camera you're using, as although it is harder to achieve with a smartphone, you can still try it out by focusing closer (i.e. performing a macro shot with your smartphone).
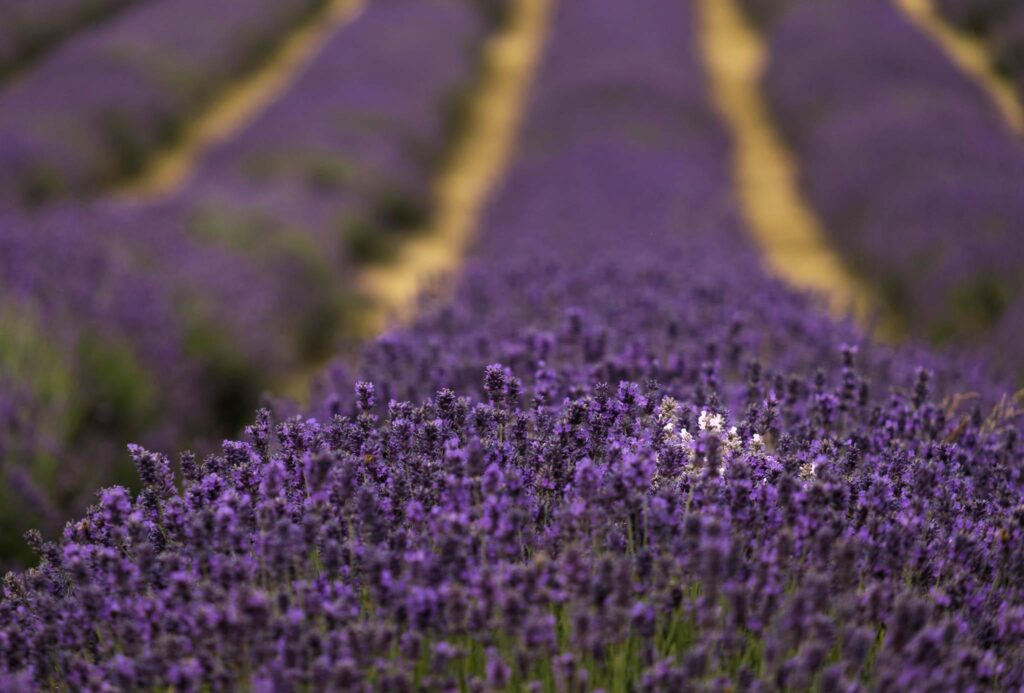
On the other hand, with a DSLR you can achieve this quite easily. Selective focus will create blur in the background and foreground of the picture, thus shifting the attention of the viewer on the element in focus.
The out-of-focus elements on the other hand, should be decorative and pleasing, but not distracting. If this is the case, you might have to reconsider where you are framing your subject (if we're talking portraiture).
4. The Light
Light is the crucial factor in photography. Photography itself is essentially capturing light, therefore, no light = no photo. However, the quality and position of light is absolutely imperative too.
The end goal of using light is to add depth to the image, to make it pleasing to the eye and bring out your intended elements.
5. Shooting Angle
Often when you're photographing portraits, you’d want the light to be slightly angular and avoid having it top down. This is the primary reason why photographers avoid portraiture at noon.
The sun is high up and creates shadows that aren’t flattering. The same applies for landscapes, there is no depth in the image when it is evenly lit with harsh shadows, essentially making it messy.
The easiest light setup for portraiture is the “Rembrandt” type of light. It is easy since it requires only one light source, it doesn’t require too much softening in the light source itself, and it can be easily achieved. The results are often always pleasing.
6. Diffusion
Light creates shadows, that's how we perceive depth.
However, on a picture, which is 2-dimensional, (rather than the 3-dimensional vision we have), you need some more trickery to be able to induce depth.
Harsh light often stimulates the 2D look more, making the image look more like a drawing rather than a photograph – if that makes sense?
With harsh light, the shadows lack tonal changes, thus making it look like something out of a comic book. Which of course, isn’t a bad thing. However, softer light creates depth and makes portraits look more natural and pleasing.

7. Color Temperature
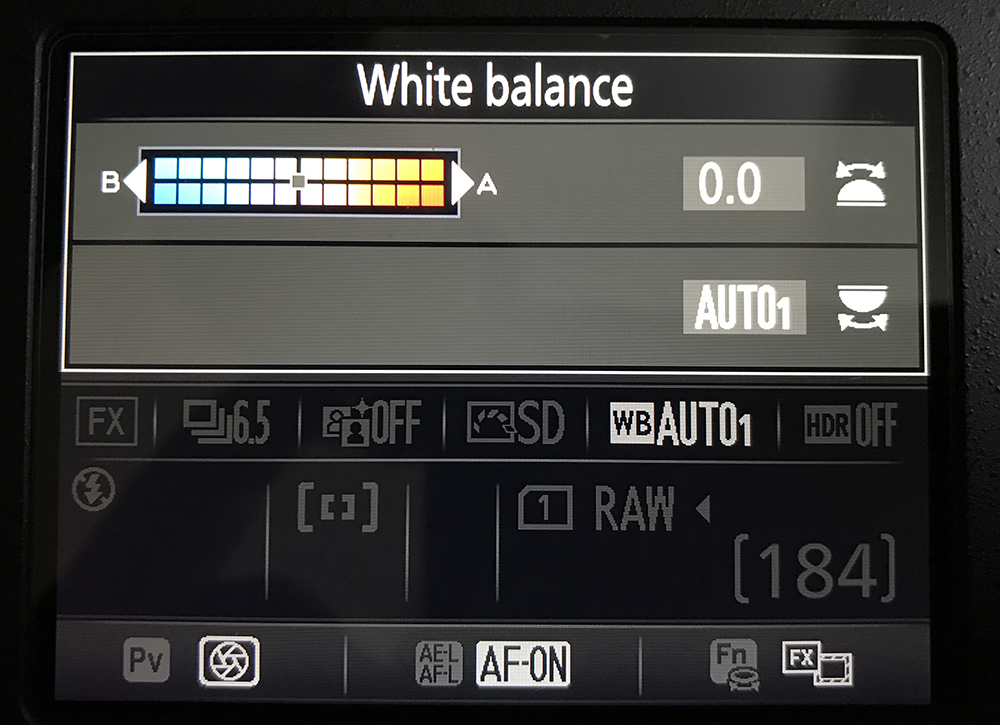
As you might have noticed by now, not all light is created equal. Thus different light sources have different color temperatures, and if you don’t use the proper white balance the image can be too blue, too orange, or get pulled towards green and magenta.
Check out the link above for a more in-depth tutorial about this.
8. Use The Tripod When Necessary
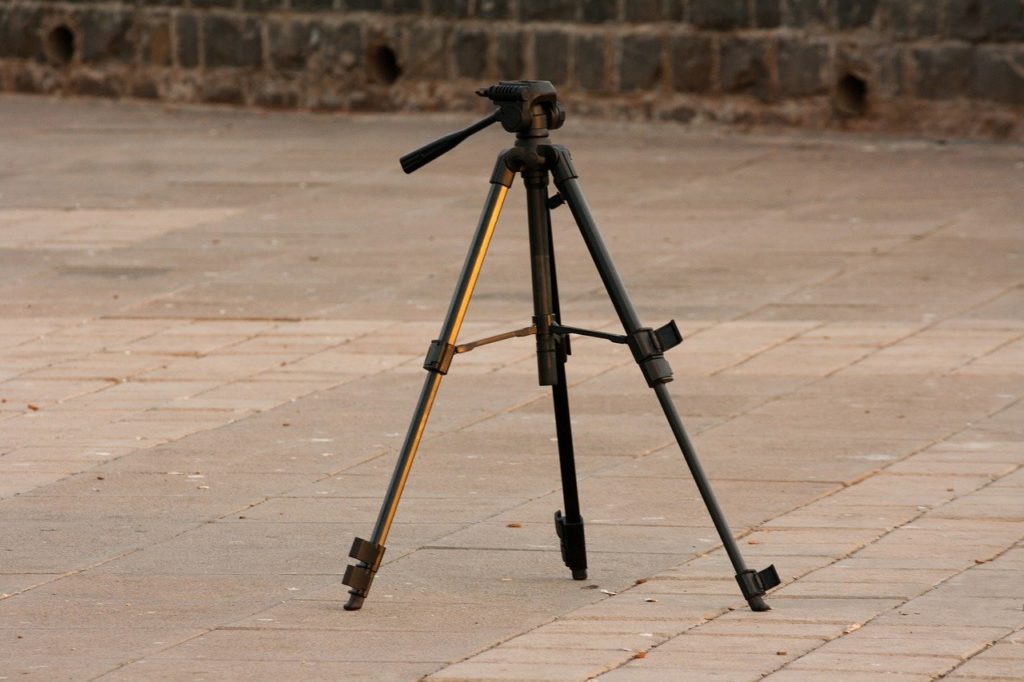
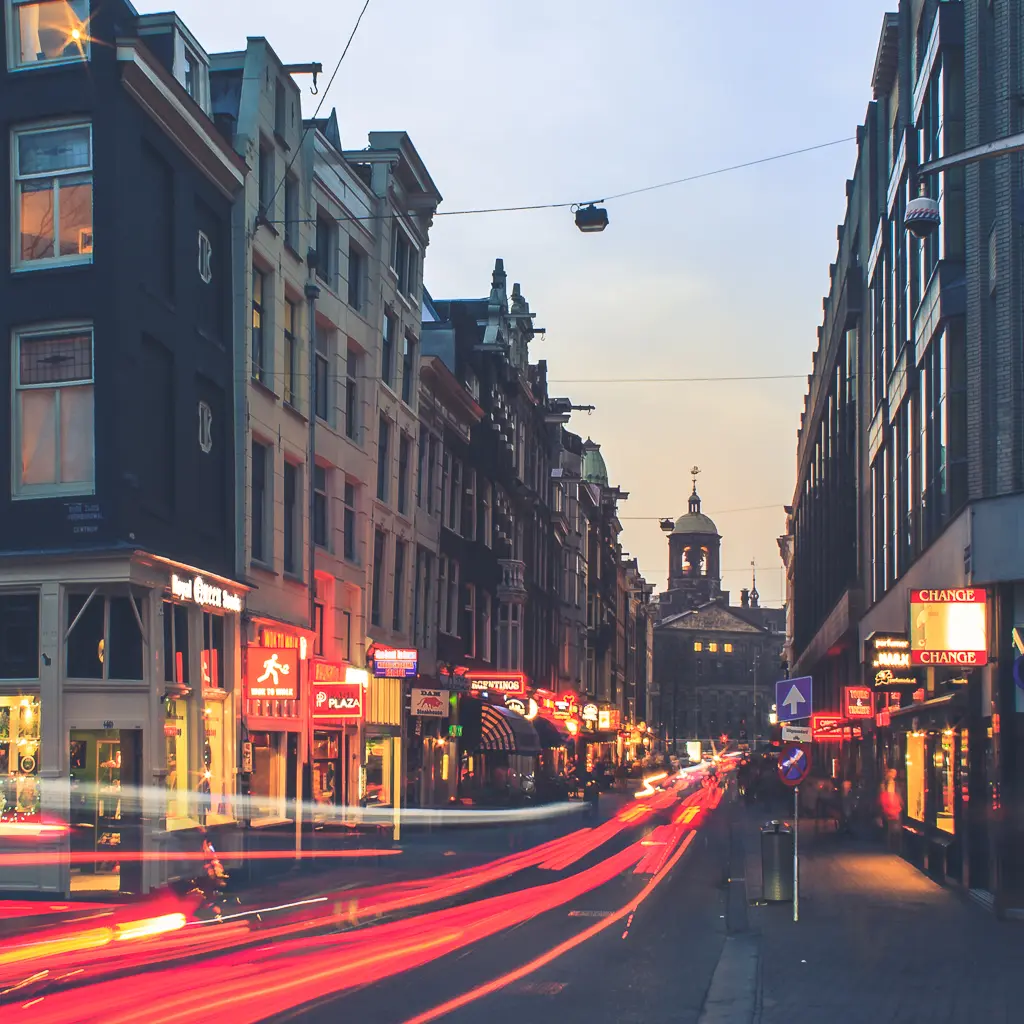
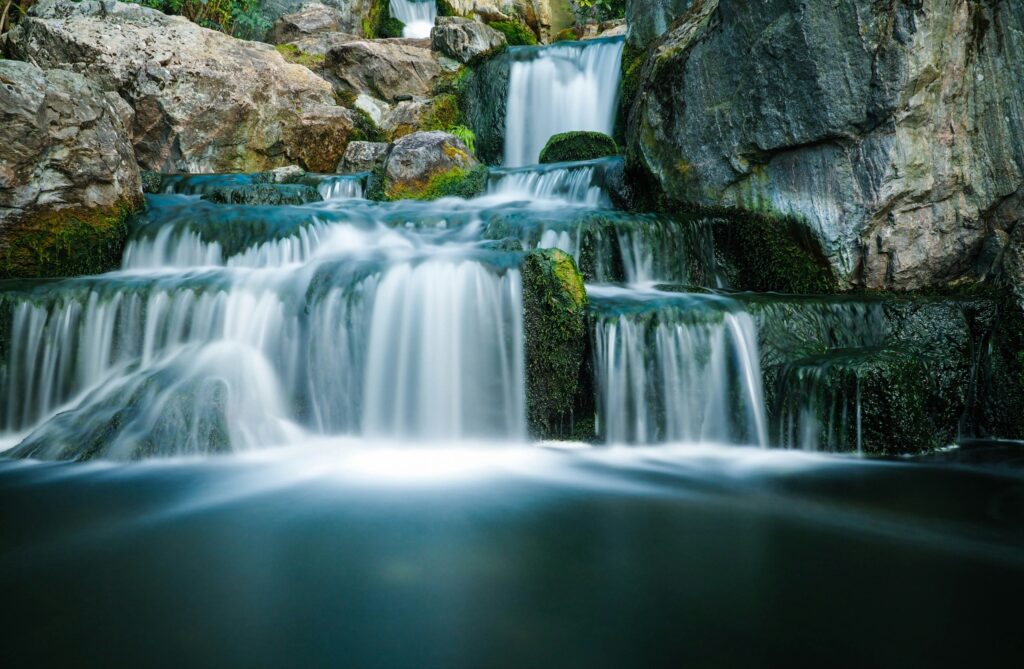
Not all lighting conditions or types of photography allow for hand holding the camera. There are times when you want to use a slow shutter speed that is slower than what you are capable of hand holding. For example, long exposure images of water features and clouds, night sky photography, some macros, etc. With tripods, you can shoot exposures of several seconds to minutes and create sharp images. Make sure to turn off image stabilisation when using the tripod.
9. How To Photograph?
- Read your camera's manual as this is very important to learn and understand the various features, buttons, menu systems in your camera
- Learn to location scout before the actual shoot for landscape and night sky photography. It is also good to do the same for outdoor portraits, architecture photography, etc.
- Once you find a good spot, look around for the best light and frame your scene. Make sure you look for the direction and intensity of light and compose your image following the compositional guidelines.
- Try different settings, like aperture, shutter speed (for long exposure shots), perspectives, focal lengths and other combinations.
- Do not rush and take your time to compose and shoot.
Some Important Tips To Keep In Mind Always:
- As a beginner, it is good to practise photography almost everyday if possible.
- Start with the camera and lens that you have.
- Do not try to take in too much – just learn the basic settings and start photographing.
- Learn and understand how light works
- Watch out for blown highlights and dark shadows. It is good to learn to read the histogram.
- Look for beautiful backgrounds.
- Walk around a location for new perspectives. Do not stay in a place all through the shoot.
- Always have fully charged spare batteries and spare memory cards.
- It is best to shoot during the golden hour or on an overcast day.
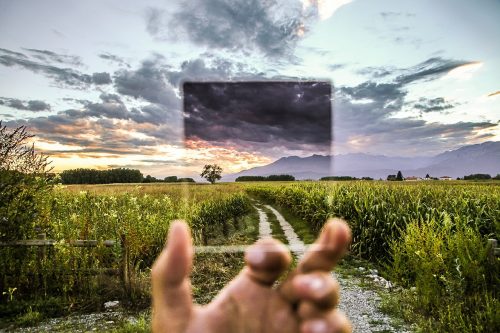
- If you are using CPL or ND filters, go for good quality glass and not cheaper ones.
- Learn basic post processing and backup your photos after every shoot.
- Clean your camera when necessary.
- Join photography forums to learn and share knowledge. It is also a good way to get feedback on your work.
- Most importantly, have fun!
Summary
Whatever your camera, the basic principles of photography apply. Don’t get discouraged if you don’t own a DSLR or mirrorless camera either, conversely, don’t get too confident in the “smartphone is as good as DSLR” idea.
In photography quality is everything, and you increase the quality of a photograph with improvement in all aspects, starting from light and composition, to sharpness and dynamic range.
And believe me, if you get started into photography, and you really start loving it, your smartphone will likely become just a secondary tool as a photographer.
Basic Photography Tips For Beginners – Top Takeaways
- By now you've probably been photographing everywhere and at any time you can. This is great! In between shooting consider brushing up on some fundamentals like the Exposure Triangle, ISO and the Rule of Thirds.
- Check out one of the links below about gear before rushing online to grab a camera you perhaps need to know more about.
- These 9 tips are not exhaustive but certainly will help you on your way, try and apply a new one each time your head out with your camera – this could be doing Street Photography, Landscapes or Group Portraits of your family.
Further Resources
- How to Use Depth Of Field For Better Compositions by Dzvonko Petrovski
- Essential Photography Gear For Beginners by Dzvonko Petrovski
- Understanding Lens Focal Length: A Beginners Guide by Jason Row
Further Learning
Understanding how to create better B&W images could well be the next step for you? Luckily for you, we have a fantastic course here by none other than Lightstalking contributor and professional photographer Kent DuFault.



1 Comment
These are some great tips for someone starting out!