We more often look at photographs and can see that the cameras record more details than what our eyes are able to see. Besides, cameras can also record certain optical effects and illusions which can be quite tricky to deal with. Some of these effects can ruin an image or decrease the quality of the image. One such effect is the moiré pattern that can be quite annoying in some images. In this article, we will take a look at what moiré is, how they are caused and how they can be dealt with in photography.

What Is Moiré?
Moiré patterns or fringes are interference patterns when a fine pattern with very slight gaps like lines, dots, concentric circles, curves, etc., are overlaid on another fine pattern that may have similar characteristics, patterns, or even different patterns. Basically, this appears when you combine two fine patterns and in photography, it is a combination of a manmade or natural fine pattern, with the fine pattern on the camera’s image sensor to create a third pattern called moiré. Moiré appears as a rainbow or curved pattern or lines.
Moiré patterns can happen in many situations, but our focus here will be on moiré in photography where the object being photographed has a pattern that does not match with patterns on the sensor or is difficult to be resolved by the sensor.
Some examples of situations where you can observe moiré are:
- When taking photos of something on your laptop, computer screen, or TV screen, you may have come across a rainbow-colored pattern that can be quite difficult to avoid.
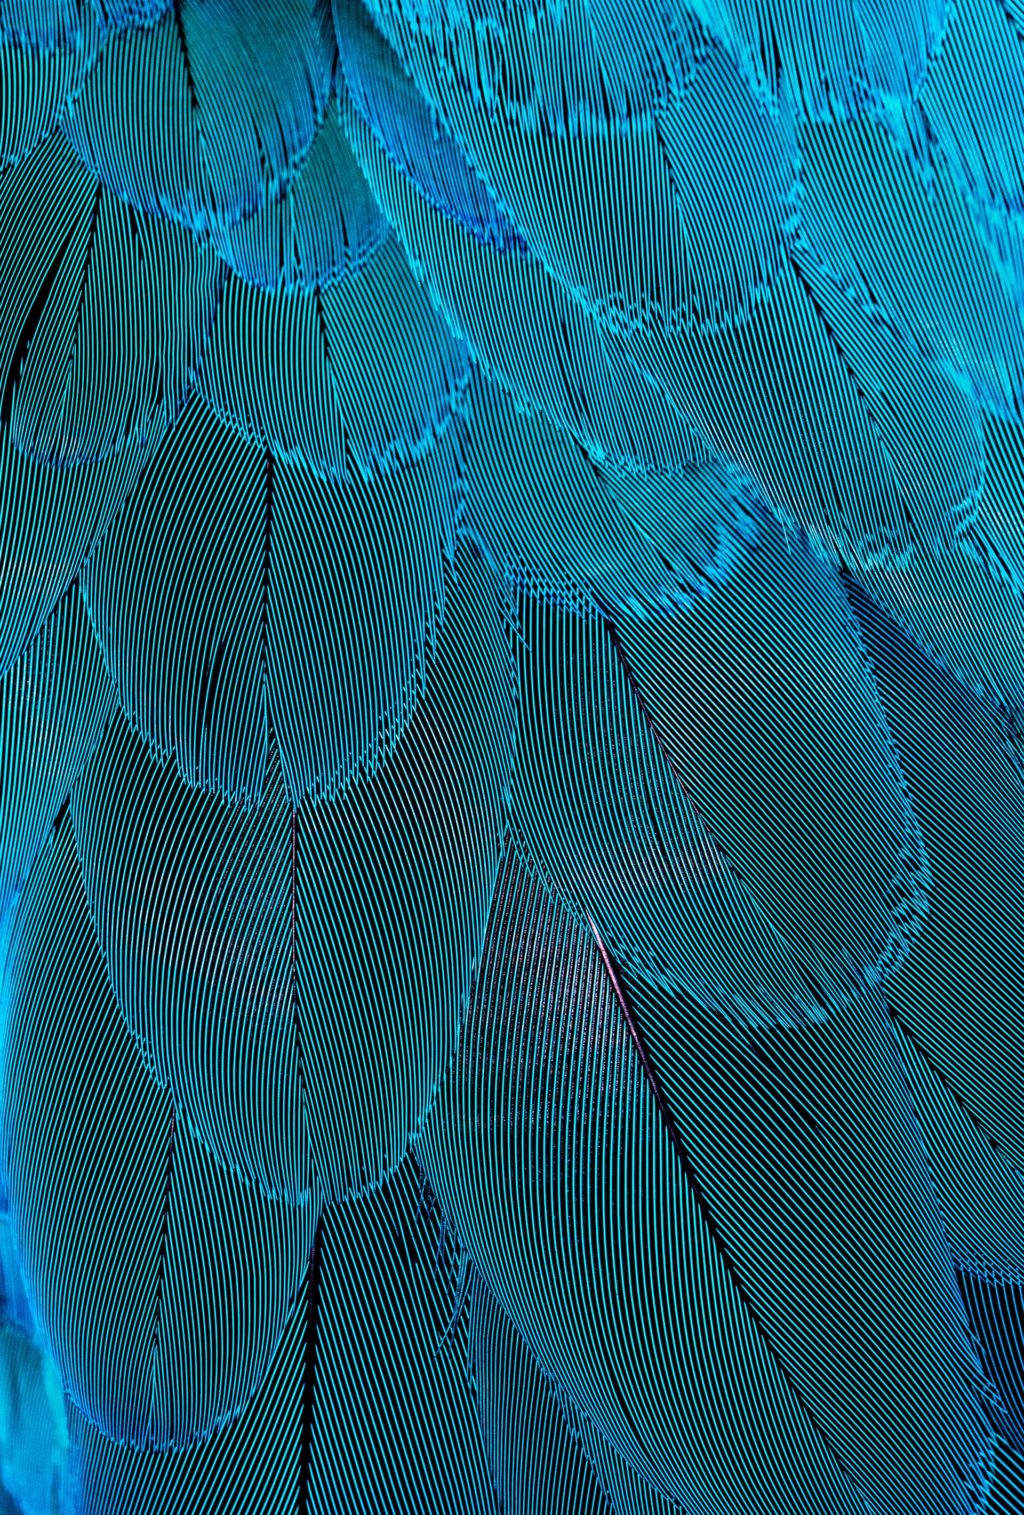
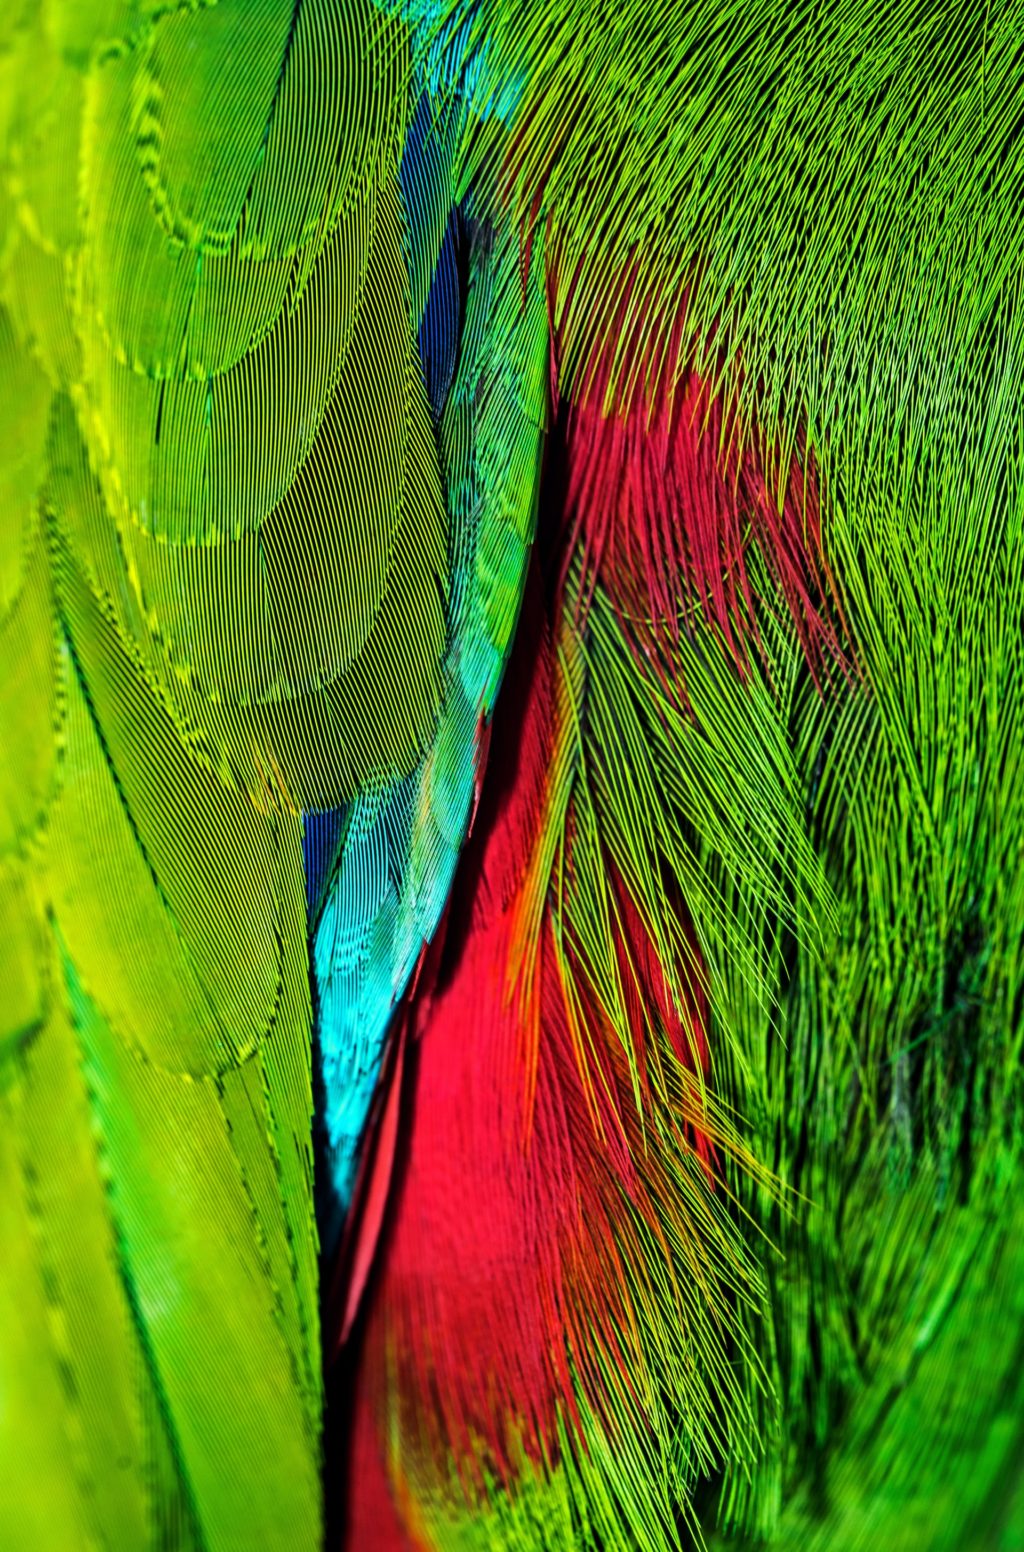
- It also happens when you photograph very fine patterns like lines, dots, circles, mostly in fabrics, closely arranged lines in architecture, bird feathers, etc., and this is a result of the sensor not being able to resolve it well.

The word “moiré” is usually pronounced as ˈmwɑːreɪ.
What Causes Moiré?
Before we look at what causes moiré, let us look at what the term “aliasing” means.
“According to the dictionary, aliasing is the misidentification of a signal frequency, introducing distortion or error or the distortion of a reproduced image so that curved or inclined lines appear inappropriately jagged, caused by the mapping of a number of points to the same pixel.”
In photography terms, when the frequency of the repetitive patterns is quite high, the sensor struggles to separate the frequencies of these patterns and blends them which creates the moiré pattern.
What happens is, the photographed pattern is overlaid on the sensor’s pattern and since these patterns do not match, when they overlap, a third pattern is created called moiré. This pattern is a false one and is not a representation of the original pattern that was photographed.
Moiré patterns appear when you photograph something that has a very detailed pattern that does not match with the pattern on the camera’s sensor. It also occurs when the similar overlaid patterns are slightly rotated by an angle, when there is a slight displacement in patterns or when the patterns are different.
The resolution also has an effect on moiré patterns. For example, when high-resolution elements are displayed at a lower resolution or when you scale down a picture for display, moiré patterns become evident. This is because of the interference between the fine patterns in the image and the patterns of the display. Similarly, the higher the sensor resolution, the lower the chances of moiré because more information is captured in high-resolution sensors.

The moiré process can be explained with the help of the illustrations below.

When you look at the above illustrations, you can see that overlapping of one pattern over another creates moiré. The pattern depends on the type of pattern being photographed and how close or far away the lines or patterns get repeated.
Moiré also happens when you scale down a picture for display. This is because of the interference between the fine patterns in the image and the patterns of the display.
What Are Some Objects That Show Moiré Patterns?
Moiré is evident when photographing anything that has a lot of tiny details or fine patterns.
- If you are a portrait photographer, you then need to keep an eye on the shirts, suits, and other outfits that your model is wearing. Woven textile and fine details in hair can cause moiré.
- If you are a lifestyle photographer or shoot indoor architecture, then you need to keep an eye on blinds, curtains, other lace curtain materials for moiré patterns.
- Taking photos of the laptop, computer screens, TVs, etc., create moiré.
- If you are an architectural photographer, the moiré effect is created when photographing buildings with fine designs, lines, roofs, brick walls, perforated metal, repetitive details, etc.

- If you are a product photographer, some products with fine details may produce moiré.
- If you are a nature photographer, birds’ feathers sometimes create moiré patterns.
Line Moiré And Shape Moiré
Moiré patterns can be created because of repetitive lines and shapes. Depending on this, there are two types of moiré patterns:
Line Moiré
When two patterns that are superimposed have straight or curved lines, the resulting moiré pattern is called line moiré. For example, when you shoot fabric that has fine lines that are closer to each other, for example, woven fabric, or architectural structures that have fine lines, then the resulting moiré pattern is called line moiré.

Shape Moiré
Shape moiré may also be called band moiré and demonstrates moiré magnification. Sequences of complex shapes or symbols, that are very close to each other can form a pattern, that often gets magnified. The resulting moiré is called shape moiré.
Optical Low Pass Filter Or Anti-Aliasing Filter And Moiré
Camera manufacturers have been working on moiré issues for a long time by introducing filters in front of the image sensor to reduce the moiré patterns. These filters reduce the amount of detail in the scene thereby reducing the moiré effect in images. What these filters actually do is, slightly blur the lines in between repetitive patterns thereby reducing or eliminating the moiré pattern.
An optical low pass filter (OLPF) or Anti-Aliasing filter (AAF) is a filter that is placed in front of the image sensor in the camera and it helps with reducing or eliminating interference patterns that may ruin the images. It is kind of a blur filter and hence reduces or eliminates interference patterns by softening the image.
The image sensor on a camera is not able to resolve every tiny detail and hence will struggle with resolving repetitive patterns or any pattern of high frequency. This will result in weird color bands or stripes in the images called moiré patterns. This moiré pattern is reduced with the help of the above-mentioned filters where they smoothen or soften the moiré pattern making it nearly impossible to see in the final image and hence the name anti-aliasing.
“Anti-aliasing is smoothing out jagged edges when high-resolution elements are displayed at a lower resolution.“
With recent updates and improvements in camera sensors, high-resolution cameras have started to see less of the moiré pattern without the filter because of the increase in pixel pitch or density in high-resolution cameras. Removing the filter also helped photographers to record more or fine details from the scene they were photographing.
Photographers who come across situations where they have to photograph fine patterns will have to deal with moiré in a different way to overcome the problem. It could be reduced or eliminated by trying a few tricks or when post-processing, which can be sometimes time-consuming and even annoying.

False Colour And Moiré
False color can be introduced in images with or without moiré. When shooting patterned fabric with fine detail, or laptop, TV screens, color moiré is created and this color is false. This moiré effect creates yellow, green, magenta, purple tints or colors, which look almost like a rainbow or a ripple of colors.

These colors are part of the moiré effect and can be reduced using one of the following techniques or when post-processing.
How Do You Know You Are Going To Have Problems With Moiré Patterns?
Very rarely moiré patterns are visible to the eyes, but there are times when you know you will have to deal with it. For example, a shirt or fabric that someone is wearing or an architectural structure that you will be photographing that has fine lines or repetitive shapes.
If you are worried that there may be a pattern that could create moiré in the image you will be photographing, it is good to analyze the image at first. Take a test shot and review the image at 100% or more on the camera LCD screen and look for distortions, funny colors, etc., because a thumbnail may not reveal moiré patterns in the image. This should give you an idea of moiré patterns being recorded in your images. If you are able to view on a computer screen, you will straightaway be able to see the patterns if they were captured.
If you notice moiré, then you may sometimes be able to deal with the problem in camera up to a certain degree. You will need to do one or more of the following discussed in the next section.
How Can You Avoid Moiré In Camera?
It can be quite challenging to avoid or reduce moiré in photographs but there are certain techniques that you can try to reduce or get rid of moiré in photography.
Use A Camera With An Anti-Aliasing Filter
An antialiasing filter is designed to blur details a little bit thereby reducing or eliminating moiré patterns in photographs. Older cameras were more likely to show moiré patterns and as a result, they came with antialiasing filters that helped to reduce moiré in images.
Newer cameras have better sensors that support a greater range of frequencies and hence you see moiré patterns showing up rarely in photos. Some cameras still come with the filter so you don’t have to worry about moiré ruining the images.

Use A Screw-On Anti-Aliasing Filter
If you are able to get hold of a screw-on anti-aliasing filter for the lens that you are using (which is quite difficult), make use of it, if your camera lacks an AA filter. At the moment, we are not sure if these filters are commercially available in the market. Here is an article that is about 5 years old, but goes into details of a prototype AA filter for DSLR. If you know of any filters in the market, please let us know in the comments section below.
Change The Outfit
If the problem is with the fabric that your subject is wearing, especially when it is a portrait shoot, you can advise earlier about the choice of fabrics or you can request to see if your subject will be able to change the outfit for the photoshoot.

This cannot be a solution all the time especially when the subject has to have that outfit mandatorily or if it is another situation where the subject's outfit cannot be changed. If it is an architectural image, or another image in nature like bird feathers, etc., then you will need to try one of the following techniques.
Change Distance Between Camera And The Subject
Try to move towards or away from your subject to see if that helps to get rid of the moiré effect. Usually, moving closer helps because the patterns become more visible. This may sometimes reduce or get rid of moiré.
Adjust The Camera Angle Or Angle Of View
Try shooting from various angles by changing the angle of the camera with respect to the subject, like a higher or lower perspective or by moving on either side of your subject to see if that will help to get rid of the moiré effect – remember, this may change your composition. You can also slightly rotate the camera to see if that helps. Changing the angle of the camera will change the way the image falls on the sensor of your camera and may help remove moiré.
Changing The Camera Settings
When the above techniques do not help, you can try changing your camera settings to see if that will help reduce or get rid of moiré. Try one of the following or both.
1. Change Aperture Values
Controlling the aperture value is another way in which you can try to get rid of moiré. This is not a very advisable thing to do for all genres of photography, but if none of the other techniques work, then you can try this to see if it helps.
If you are shooting at a wide-open aperture value, try closing down the aperture to about f/4 to see if the moiré pattern gets reduced. If you still see it, close down to f/5.6, then f/8, f/11, and so on. Take test shots and zoom in at 100% or more to see at what value moiré is minimal.
Note: Sometimes opening up the aperture will blur out some areas and help with reducing moiré.
Closing down the aperture beyond f/11 or f/16 introduces diffraction in lenses and this varies with lenses. While diffraction is not a good thing to have in photographs as it reduces image quality, if diffraction due to closing down aperture will help with eliminating those fine patterns of moiré, then you can try doing it. Also, since the image generally becomes sharper at narrow aperture values, the camera will be less confused and moiré reduces.

2. Change Focal Length
This is similar to moving closer or further away from your subject. If you are using a zoom lens, try zooming in and out to see if moiré disappears at a certain focal length. If you have a few lenses, and you have the flexibility to use them for that particular shoot, you can try a few lenses with different focal lengths to see if one of those helps.

3. Adjust Shutter Speed
Slowing down the shutter speed may not always be a solution especially when you are shooting subjects that require a particular shutter speed for sharp images. But when you are shooting architecture or product photography, you can try a slower shutter speed to see if moiré can be reduced or eliminated.
4. Adjust Focus
Adjusting focus should be the last course of action because it is not always possible to get a perfect image by not focusing where we want the focus to be. By adjusting the focus slightly away from the area where you see the moiré pattern you may be able to reduce or sometimes even eliminate moiré.
For example, if there is something in the frame that creates moiré, but it is not the main subject, you can blur it off and eliminate moiré that way. For portrait photography, you can slightly blur out the outfit that creates moiré by shooting at wide-open aperture values.
How To Remove Moiré in Photos?
There are times when your camera does not have an anti-aliasing filter and you have tried all of the above methods to eliminate or avoid moiré from your images, but you still come across it. In these situations, you will need to try and see if you can rectify this problem using an application or software while post-production.
Removing moiré using post-processing applications is quite difficult and sometimes impossible. However, you can sometimes reduce its effect if it is too bad or if the moiré pattern is mild, then you may be able to make it unnoticeable. Make sure you shoot raw if you think that you are going to encounter moiré issues in your photographs.
Nikon cameras come with Nikon Capture NX2 software, that provides users with a way to correct moiré in images. Other camera manufacturers may also have similar softwares to use along with their raw captures.
Besides the above, Adobe applications come with options to remove the moiré effect and it can usually be done in a few steps in Lightroom and Camera Raw. If there is a serious moiré issue, then it will require the use of Photoshop and this process can be quite difficult and time-consuming. You may also lose details in your images during this process.
Here is how you can reduce moiré using Lightroom and Photoshop:
Reduce Moiré Using Lightroom
- Open the image that has moiré patterns in Lightroom
- In the Develop module, zoom in on the area that has the moiré pattern so you can easily work on it.
- Select the Adjustment Brush (K).

- Set all the sliders to zero. Choose a value of about 50 for “Moiré” and this slider is just below the “Sharpness” and “Noise” slider.

- Now brush or paint over the area that is affected with moiré patterns.
- You will need to wait for a few seconds for the effect to take place.
- Now if you still see some moiré, increase the value till you see the moiré pattern disappearing.
- You need to be careful when making these adjustments and make sure the brush does not spill into other areas and ruin the image because even a slight spill into areas without moiré or to differently toned areas can cause disastrous effects and ruin the image.
- If there is a spill, use the erase tool to erase areas that do not have the moiré pattern.
This method may not help to remove moiré in images completely and it depends on how strong that effect is in your photos.
Reduce Moiré Using Photoshop
In photoshop, moiré can be removed using more than one method. The method using Adobe Camera Raw is similar to what we did in Lightroom.
In Adobe Camera Raw
- Open your image in Photoshop
- Navigate to Filter -> Camera Raw Filter and this will open up the image in Adobe Camera Raw (since you will shoot raw, raw files open directly in camera raw)

- Select the Adjustment Brush tool (K).

- Set all the sliders to zero. Choose a value of about 50 for “Moiré Reduction”

- Now brush or paint over the area that is affected with moiré patterns and wait for some time to see the moiré pattern reducing.
- If required, increase the value till you see the moiré pattern disappear. You need to carefully make adjustments and make sure the brush does not spill into other areas and ruin the image.
- If there is a spill, use the erase tool to erase areas that do not have the moiré pattern.
The above methods may not be 100% effective, but they may help to slightly reduce the problem and not let the pattern ruin the image.
Similar to the adjustment brush, the graduated filter and radial filter have moiré tool built into them. So in situations where you can use them, use those tools to reduce moiré. Using these tools depends on the amount and type of moiré.
Other Methods Using Photoshop
There are other ways in which moiré can be removed from images using Photoshop. Here are some links that will help.
- Fix Moire Effect Using Photoshop
- Three Ways To Fight Moiré
- How To Remove Moiré Patterns From Photos
Conclusion
Moiré patterns are not something to worry a lot about. The latest cameras have sensors with higher pixel pitch and as a result, are able to resolve fine patterns better than older cameras.
Moiré issues are not common and happen very rarely. So, with some wise observation, techniques and planning, these common moiré patterns can be avoided or removed. Make use of these techniques provided here and don’t let moiré be an obstacle during your photoshoot.
Have you come across moiré issues during your photoshoots? How did you deal with it? Do you know of other better solutions to eliminate moiré in photography or in a video? Share your experience or tips with us in the comment section below.


-2.png)
_08.jpg)