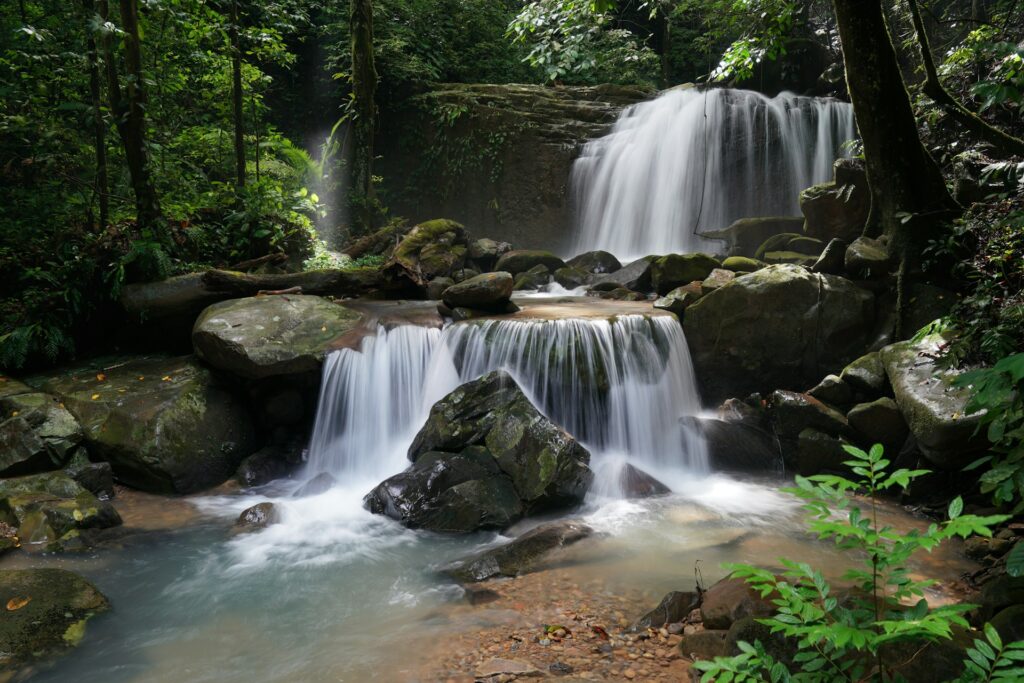
Photography is a creative career or hobby where the photographer keeps learning new things every day, be it the settings, creative controls, compositions, new photography styles and so on. When someone first starts out in photography, they may be confused as to how or where to start. Here are some fundamental concepts beginners should know in photography, so their photography journey becomes less confusing and stressful.
The information here is short with links to our own detailed articles for reference.
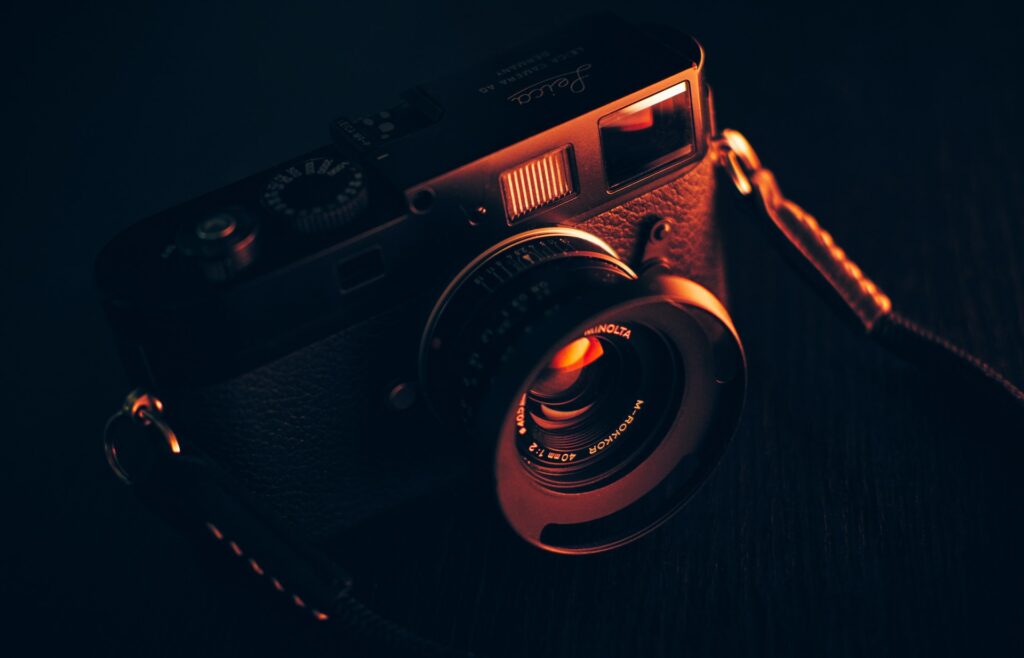
Learn Your Camera – Dials And Other Settings
When you have your first camera in hand, you may get confused with the many dials and buttons along with the huge menu that is set up in the camera. As a new photographer, you should take your time to read the manual in order to understand what each dial, button, and menu are for.
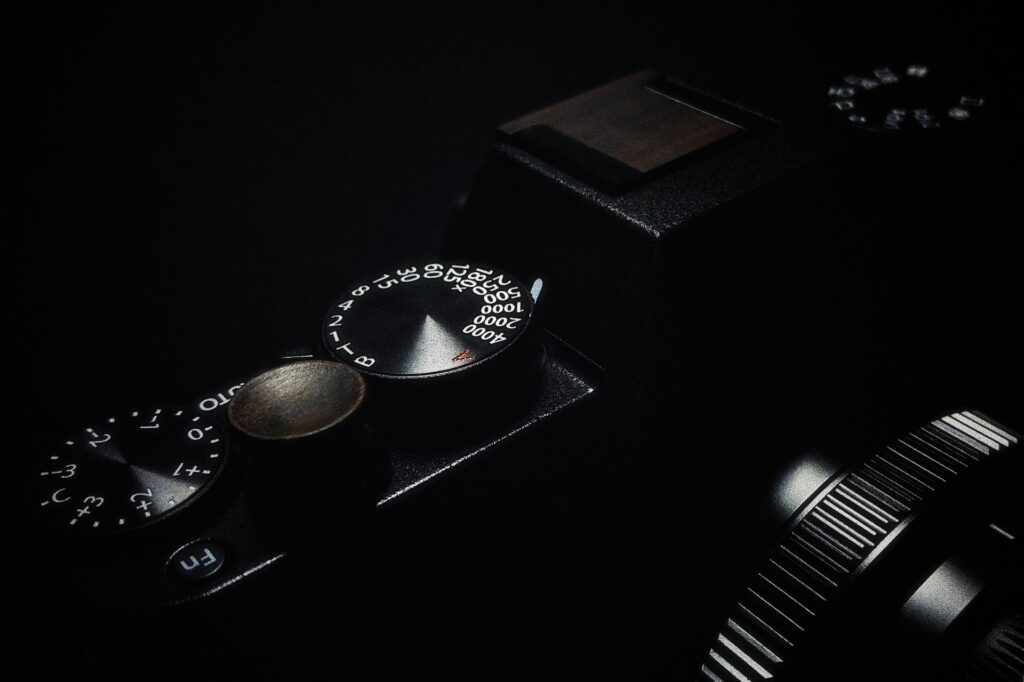
If you are a visual and practical learner, you can do a search for videos relating to your camera make and model, and that will have many videos come up online where experienced photographers will guide you practically through the many settings and dials in the camera. You can have your camera in hand and go through the video, so you can practically work your way through easily.
Remember, it takes continuous practice and use of these buttons, dials, and settings in order to remember them when out in the field.
Note: If you wish to read more about camera buttons and dials – Get To Know Your Camera’s Buttons & Dials With Ease
Understanding Aperture, Shutter Speed, And Iso
The aperture, shutter speed, and iso are the factors that help with exposure, and changing one will require one or both of the other elements to be changed to get back the same exposure under the same conditions. Besides exposure, these three factors also help to change the look of the image in terms of depth of field, freezing or capturing movements, and also with controlling noise in the resulting images.
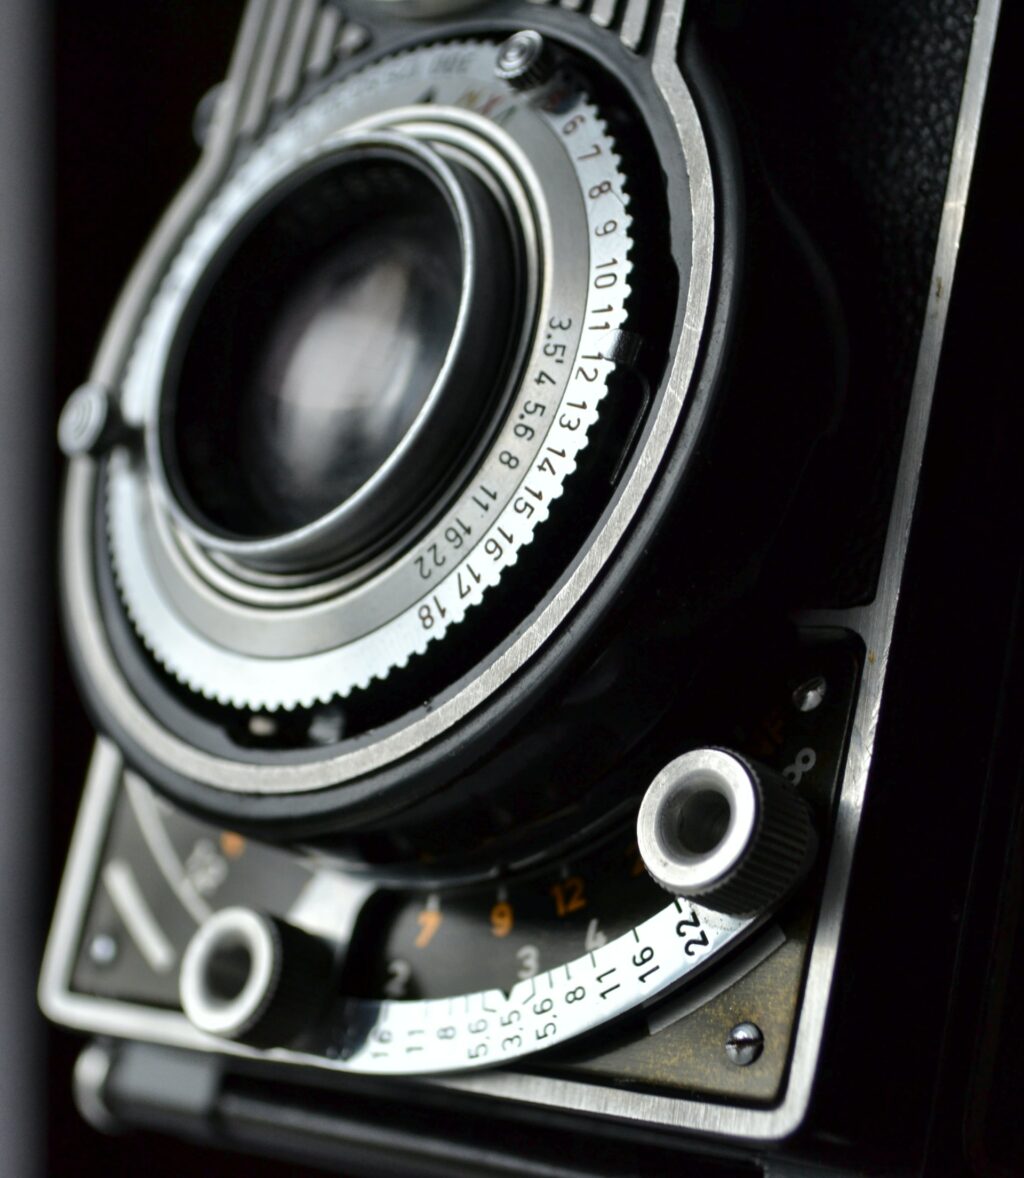
Aperture is the opening in the lens that allows light to enter the camera and fall on the sensor. The wider the aperture, the more light that enters, and in order to limit the amount of light reaching the sensor, you will need to narrow down the aperture.
But wide and narrow apertures also play a huge role in how much depth is in focus in the image. Wider aperture values mean shallow depth of field, which is useful when capturing portraits and other subjects that need to stand out from the background, and narrow apertures mean more depth of field, which is great for landscape and architectural photography where you will need to have all the elements in the frame in focus.
Shutter Speed is how long light is allowed to enter the camera. Slow shutter speeds allow more light to enter the camera, and faster shutter speeds allow less light to enter the camera.
Shutter speed also decides how you capture or freeze movements in a frame. For example, if you want to freeze movements, actions like in sports photography, you will need faster shutter speeds like 1/2000 or 1/4000 of a second. If you wish to capture movements like silky smooth water, clouds, light trails, etc., you must use longer or slower shutter speeds, like 1 to 2 seconds or longer.
Also, in low-light situations like night photography, you will need to have really slow shutter speeds, like 10 to 30 seconds or above, in order to capture the light from faint distant objects in the sky.
ISO is a measure of the light sensitivity of the sensor. The higher the iso, the more noise is recorded, and hence in order to keep the noise levels low, one needs to use low iso values. But noise can also become evident because of other factors like heat, under-exposed images, etc.
There are times when one may need to increase the iso in order to capture images with a particular shutter speed in order to avoid motion blur or in low light situations, for example, astrophotography.
In general, depending on what you’re shooting, you will need to set one value (aperture, shutter speed, or iso) and make adjustments to the other values in order to get the desired exposure. If you wish to go in-depth and understand how these work together for equivalent exposure, here are three articles that will give you a better understanding of equivalent exposure.
- A Guide To Reciprocity In Photography will help you understand the relationship between aperture, shutter speed and how they are inversely related.
- The Rule of Equivalent Exposure (With Quick Quiz) will help you to make the same exposure using different settings for aperture, shutter speed, and iso.
- You can also learn How To Use Exposure For Creative Photography from this article.
Understanding The Exposure Triangle
When capturing an image, the exposure needs to be right based on your visual perception. Once you get an understanding of aperture, shutter speed, and iso, you will know how to adjust these factors in order to get the exposure that you have envisioned.
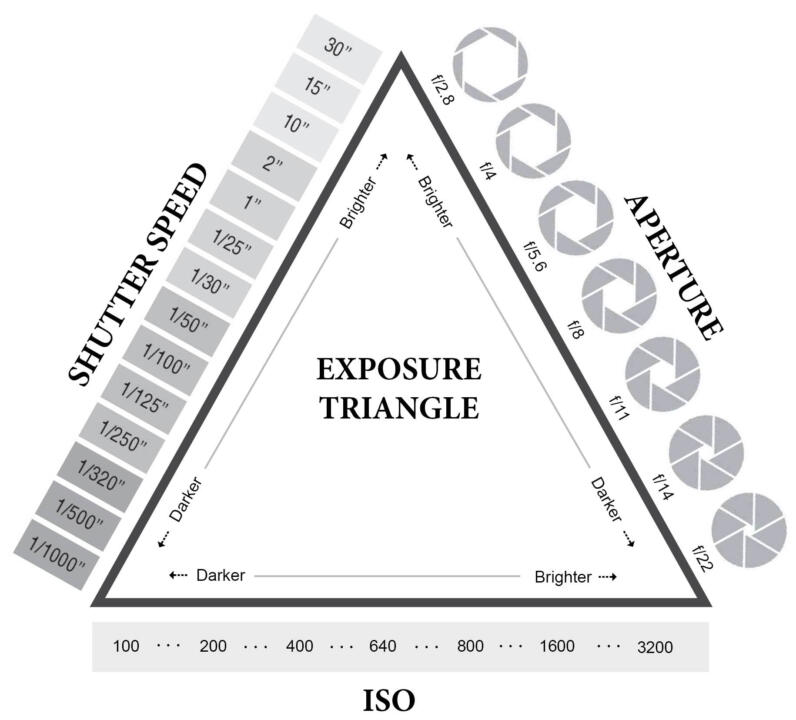
The exposure triangle is the best way to explain the interaction between aperture, shutter speed and iso. If you change any of these elements, one or two of the other needs to be changed to get the desired exposure.
Here is an example:
You have a desired exposure with the aperture, shutter speed, and iso set to a certain value. If you change one or more of the elements, your exposure changes. For example, if you widen the aperture, the image will get overexposed, and if you narrow down the aperture, the image will get underexposed. If the shutter speed is slowed down, the image will get overexposed, and if made faster, the image will be underexposed. Similarly, increasing the iso will overexpose the image, and decreasing it will underexpose it.
In order to maintain a balance in exposure, for example, if the aperture is narrowed, you can slow down the shutter speed or increase the iso, or a combination of both to get the desired exposure. The graphic below will help to understand this better.
Desired exposure varies based on the photographer’s visual appeal, including long exposures. There is no right or wrong exposure in photography, as it is the photographer’s choice of how they want the images to look. Some photographers like it slightly underexposed (dark-themed), whereas other photographers prefer to have slightly overexposed images (light and airy), and some photographers prefer the normal exposure.
However, as a beginner in photography, an image with correct exposure means the perfect amount of brightness in the frame, so there are details in the shadow and highlight areas.
Here are some resources to get in-depth knowledge of the exposure triangle:
- The Exposure Triangle And How It Affects Your Photos
- This is Why Knowing the Exposure Triangle Will Make You a Better Photographer
- Every Photographer Must Get to Grips with the Exposure Triangle by Understanding ISO
- 7 Essential Resources To Help You Understand Exposure
Depth Of Field
Depth of field is determined by the aperture value, focal length, sensor size, distance between the camera and the subject, where the photographer focuses when capturing the image, etc. Different aperture values are used based on what results the photographer is looking to achieve in the final image.
Depth of field is the depth or area in the frame that is acceptably sharp, and for a particular focal length, camera, and focusing distance, depth of field will vary with aperture.
Wider aperture values will help with shallow depth of field, helping the image stand out from the background and foreground, but again, this depends on many factors, like how far the subject is from the camera, how far away the background is from the subject, etc. Wide aperture values are used for portraits and other creative photography that require background blur.
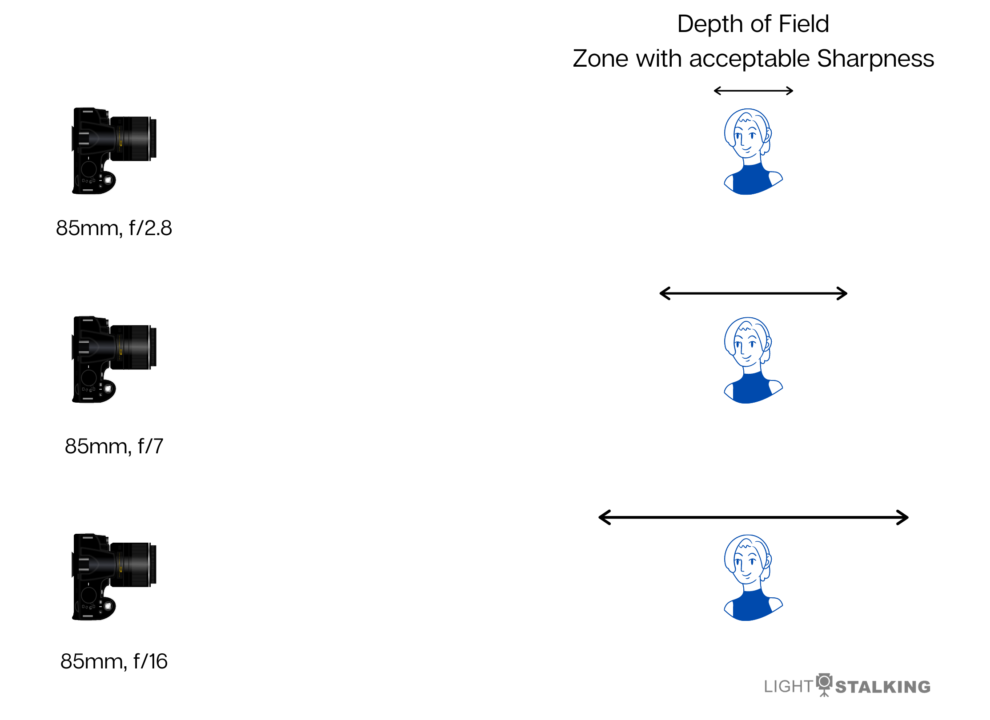
Narrow aperture values mean greater depth of field, but again, the amount of depth and blur in the foreground and background depends on factors like how far away the subject is from the camera and also how far the background is, where you exactly focus, etc. Narrow aperture values are mostly used for landscape and architecture photography, and it is recommended to focus one-third into the scene to get the entire scene in focus. It can also be used to extend the exposure time when capturing long-exposure photos.
Here are more resources to gain in-depth knowledge on depth of field.
Focal Length
The focal length of a lens is the distance between the optical center of the lens and the film plane, which is the image sensor in digital cameras when the lens is focused to infinity. The focal length of the lens is measured in millimeters.
Shorter focal lengths, for example, 14mm, will have a very wide angle or field of view, whereas longer focal lengths, like 200mm, will have a very narrow field of view. Besides, different focal lengths create different kinds of distortions. For capturing faraway subjects, a longer focal length will greatly help, for example, bird photography.
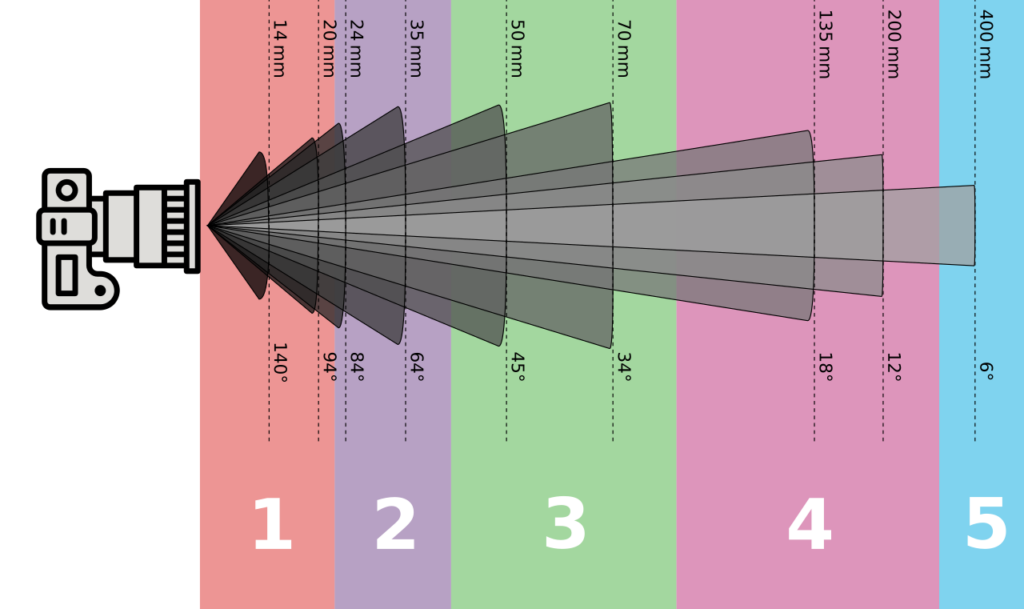
2: wide angle
3: normal
4: short telephoto (70-85mm) / medium telephoto (100-200mm)
5: super telephoto (300-400mm) / ultra telephoto (500-1200mm)
Photo by MikeRun
With cameras of various sensor sizes in the market, beginners must also know about equivalent focal lengths. When lenses are used in crop sensor cameras, the field of view changes. One needs to take into account the crop factor of the camera.
For example, if you are using a 24mm lens on a camera with a crop factor of 1.5, then the field of view will be reduced to 24 mm x 1.5 = 36mm equivalent.
Learn To Use The Histogram
Using the correct metering mode and keeping an eye on the light meter can, most of the time, result in correctly exposed images, but there are times when you come across clipping in images, and sometimes they can be hard to fix. It is a good practice to keep an eye on the histogram, which can be set to show on your screen, and that way, you will be able to have a look at the exposure information on your images.
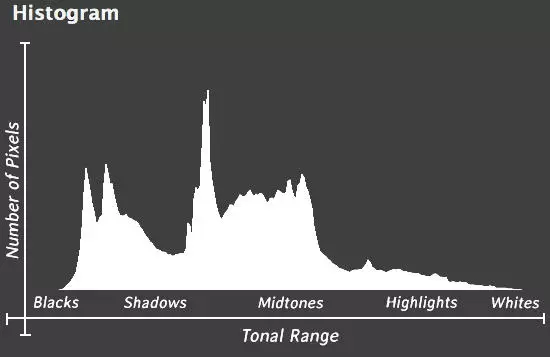
Although the histogram may not always be a perfect representation of the image’s exposure, it can help avoid over and underexposure. The left side is the shadow details, and the right side is the highlight details. The graph on the histogram needs to be in balance with information spread from right to left and not skewed to one side.
For more information on histograms, check out the following resources:
- Bite Size Tips: How to Get the Perfect Exposure with a Histogram
- You Should Be Reading Histograms Like a Pro
- Beyond the Limits of our Histogram: Pushing the Boundaries for Visual Impact
- How To Read Your Histogram And Why It Matters For Landscape Photographers
Understanding White Balance
White balance is a setting in the camera to reproduce true colors. For example, the correct white balance will show true white color, and sometimes this can act as a base using which the true nature of other colors can be measured.
White balance changes when a scene is illuminated with light of different color temperatures. This can create weird color casts that can make the image look awkward and the colors unnatural.
In order to achieve natural colors in the photo, the correct white balance has to be set, but if you shoot raw, you can make adjustments to the white balance perfectly most of the time when post processing. Setting the right white balance will remove unrealistic color casts in the photo, and this means anything that is white in the real scene will also have to appear white in the photograph if the white balance is right.
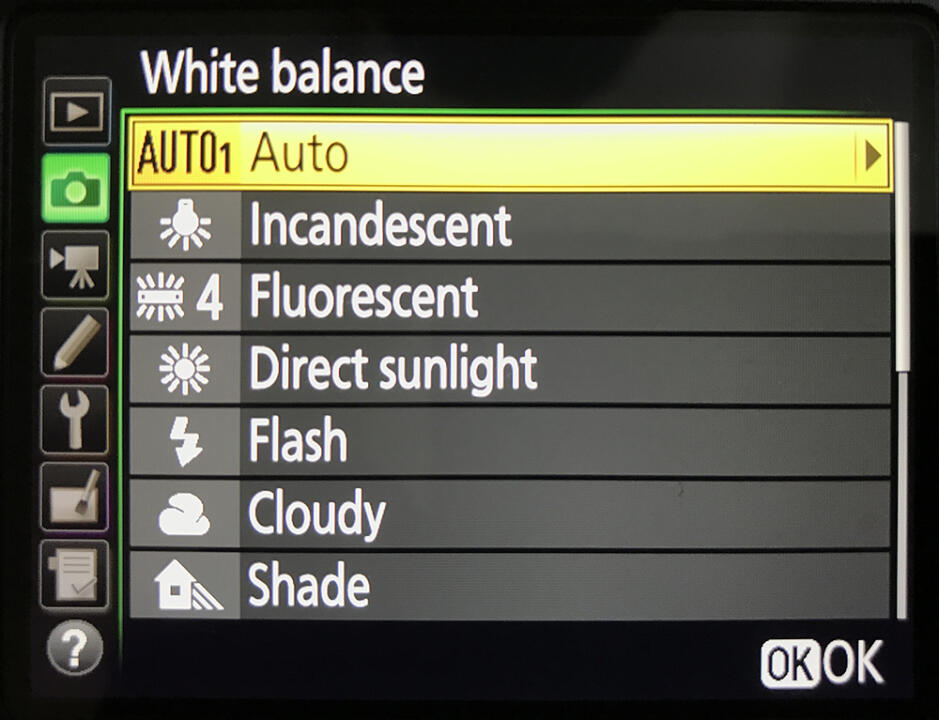
Although white balance can be fixed when post processing, it will be a great time saver if you can get it right in the camera, especially when you have many images to edit. Cameras come with white balance presets that can be used based on the light conditions you are shooting in, and if your camera has the option to set the white balance manually, you can choose that feature. Sometimes if you are confused, auto white balance may work for some light situations.
Read more below.
- How to Set Your White Balance Manually
- How To Adjust White Balance
- How To Create Mood In Your Images Just By Adjusting White Balance
- A Beginner’s Guide to White Balance
Basic Compositional Guidelines
In order to capture compelling and visually appealing shots, beginners need to have an understanding of the compositional guidelines used in photography. Once you have a good understanding of the compositional guidelines, you can break them to capture effective images.
The most basic compositional guideline is the rule of thirds which usually also forms the basis for most compositional guidelines. You need to place the subject or the focal point in the one-third position of the frame in order to make the image look pleasing and balanced.
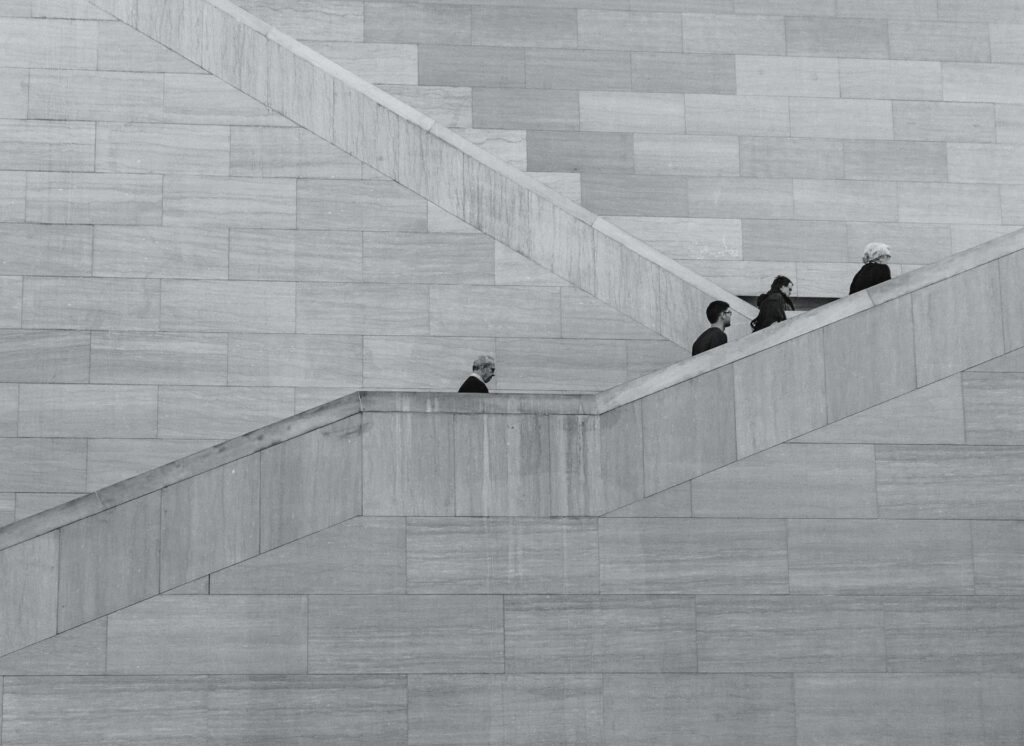
Then there are the leading lines which are a great way to keep the viewer engaged and lead them to the subject or take them through various important elements in the frame. The lines can be straight, curved, etc., based on the scene you are shooting and how you wish to frame your scene.
Other than that, some powerful compositional guidelines that are highly effective are, frame within a frame, rule of odds, golden ratio, minimalism, negative space, using contrasting colors, perspective, juxtaposition, and many more.
Focus Modes And Focus Points
Focus modes in cameras will help you to use a particular mode depending on what you wish to shoot. Your subjects could be still or moving, and depending on your subject, you will have to choose the focus modes.
There are mainly two focus modes in all cameras – Single Autofocus Mode, which will help to focus on still subjects, and continuous autofocus mode to track focus for moving subjects.
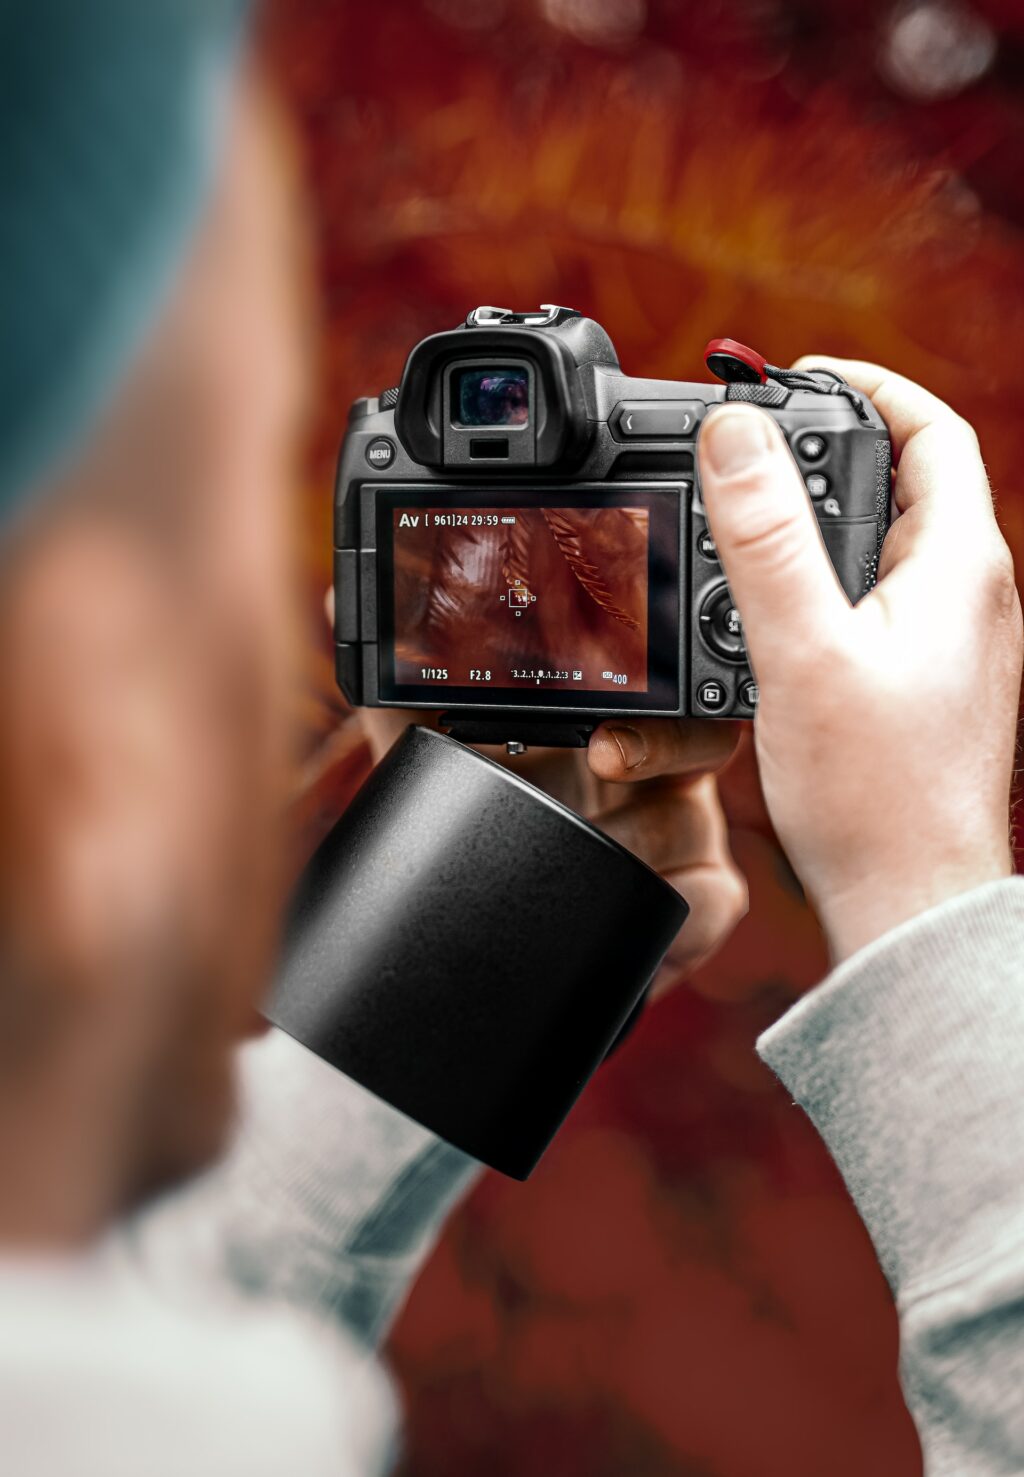
Also, cameras come with single and multiple focus points that can be used based on situations and subjects. Single focus point can be used when photographing a single subject where you want the focus perfectly at one point in the frame, for example, macro and eyes in portraits, wildlife photography, flower photography, etc.
Multiple focus points can be used mostly when there is a moving subject. Using the focus point and the surrounding focus points, the camera tries to keep the subject sharp.
An Autofocus area is a mode where the camera decides which focus points to use in a particular scene. There can be errors in this mode as the camera can get confused and decide to focus on the wrong subject/area.
How And Where To Focus
Focusing can be quite a struggle for beginners in photography, and they may also be quite confused about where to focus, for example, when capturing landscapes, architecture, etc.
Focusing is only adjusting the lens to capture the subject with maximum sharpness. The area or plane where the lens is focused is called the plane of focus, and it is the area with maximum acceptable sharpness in the image.
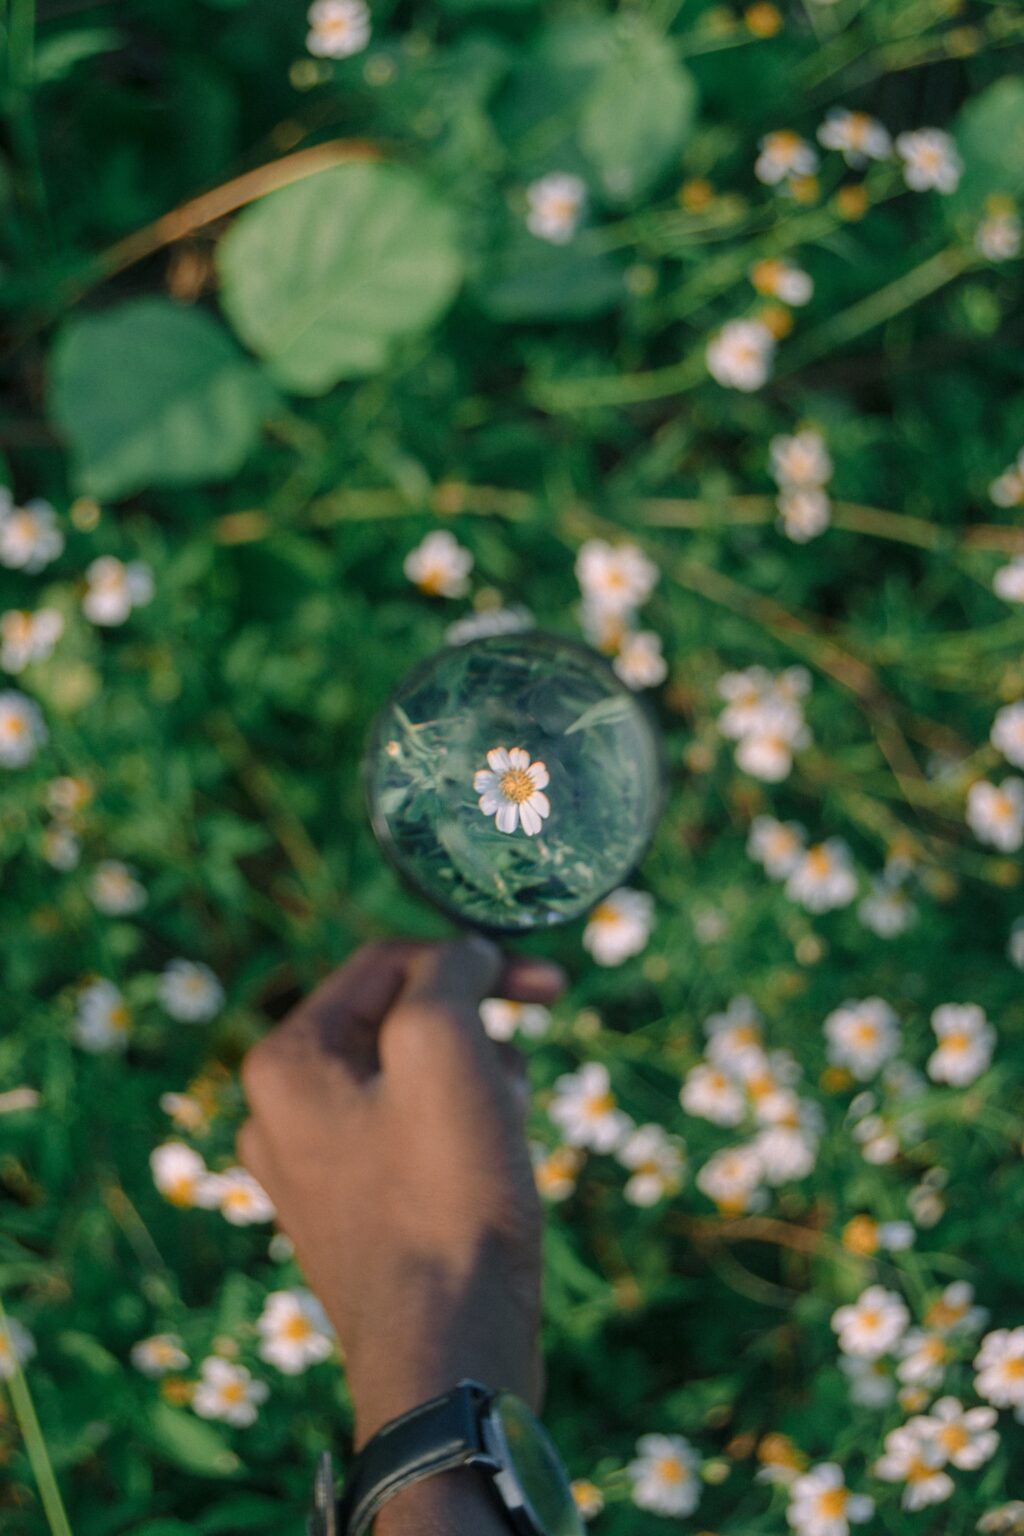
Focusing can be done using autofocus, where the camera uses the internal focusing motor to focus on the point you choose to focus, or manual focus, where the photographer rotates the focus ring till the subject is in sharp focus, and these are used depending on the situation and photographer’s needs. It is beneficial to learn how to use both, but when photographing moving subjects, you should always use autofocus with the tracking feature, and for the night sky, always use manual focus.
When capturing macro, night sky, landscapes, etc., manual focus will work the best, and for wildlife, sports, etc., autofocus will be of great help. When capturing landscapes or any large scenes, to get the entire scene in focus, you will need to focus one-third into the scene or focus at a distance that will help to achieve maximum depth of field. This focusing distance is called hyperfocal distance.
When capturing portraits, wildlife, etc., the focus needs to be perfect on the eyes of the subject. If not, the image will become less effective.
Metering Modes
Metering is a process where your camera reads/evaluates the light in the scene and helps you to set the camera for desired exposure. Based on your camera model, you may have several metering modes in your camera. Some of the most common ones are spot metering, matrix or evaluative metering, and center-weighted metering, etc.

- Center-weighted metering comes in handy when the light hits the scene from the back. The camera evaluates light in the central part of the frame and the surroundings and helps to set the exposure based on that. So for backlit subjects, this will help get the exposure correctly on the subject, but other areas may get overexposed.
- Spot metering works by evaluating light in one spot, where the focus point is set. This will work well when your subject is small or is in a tiny part of the frame. It will also work well for backlit subjects. Spot metering helps to get the exposure right on your subject regardless of the brightness in the surrounding areas.
- Partial metering is almost similar to spot metering but only differs in the area that it reads when metering. Spot metering covers a very tiny area, about 1.5 to 2%, whereas partial metering covers about 6.2% of the area in the frame. Partial metering provides metering just for the subject and usually comes in handy when the subject is backlit.
- Matrix metering is usually the default setting most photographers use because the light in the entire frame is read, and exposure adjustments are made based on that. This mode will work great when there is even light in the scene.
Understanding Light
Light is the basis for photography and the most important factor to understand in order to be a successful photographer. Once you understand light, you will be able to know how to control it and use it in different situations for your photography.
Light can be natural or artificial light, and they have their own characteristics. Even the natural light that is sunlight, can behave differently during different times of the day and weather conditions. Photographers like to use the soft light in the early mornings and late afternoons, but as you gain experience with using light, you will be able to use hard light during midday for creative results.
Direction of light also plays a huge role in the results produced. Some of the most preferred types of lighting are side lighting and backlighting. You can use this kind of light when the sun is low in the horizon.
When there is hard light, but you are looking for soft light, you can make use of diffusers to soften the light. If using artificial light, you can again use a diffuser or bounce light to make it soft.
For more information, read The Ultimate Guide For Mastering Light In Your Photography and How Not Understanding Light Almost Killed Your Photography
Shooting Modes
Most of the cameras come with modes like auto mode, manual mode, aperture priority mode, shutter priority mode and program mode. They can be represented by different alphabets based on the manufacturer.
Some beginners start by shooting in auto mode, but will not have the confidence to get into full manual mode. They can try the aperture or shutter priority mode based on what they are shooting and then slowly move on to manual mode.

Aperture Priority Mode allows the photographer to select the desired aperture value, and based on this, the camera will set the shutter speed and iso values to get the desired exposure. Some cameras also allow the option of not letting the shutter speed lower than a certain value and iso higher than a certain value when in this mode and this is purely to stay in the right shutter speed and iso value range that the photographer desires.
Shutter Priority Mode lets the photographer to select the desired shutter speed and based on this, the camera will choose the aperture and iso values for correct exposure. This mode will be helpful when shooting high speed subjects like sports, wildlife, etc.
Program Mode will give you control over some automatic settings in your camera. You can control the iso value and the camera sets the aperture and shutter speed values for you.
Manual Mode allows the photographer to have full control over all the settings in the camera to get the desired exposure. It is this mode that will allow you to creatively expose your frame including long exposure.
Depending on your needs and photography scenario, you can choose the right mode to shoot. Knowing how to use each mode and what each mode does will help you to decide on the right mode when in location.
Filters
Filters for photography are optical glass filters that are mostly placed or attached to the front of the lens. There are various kinds of filters and each one serves a different purpose. A good understanding of the filters used in photography will help the photographer to make the right choices when purchasing filters and when using them in photography.
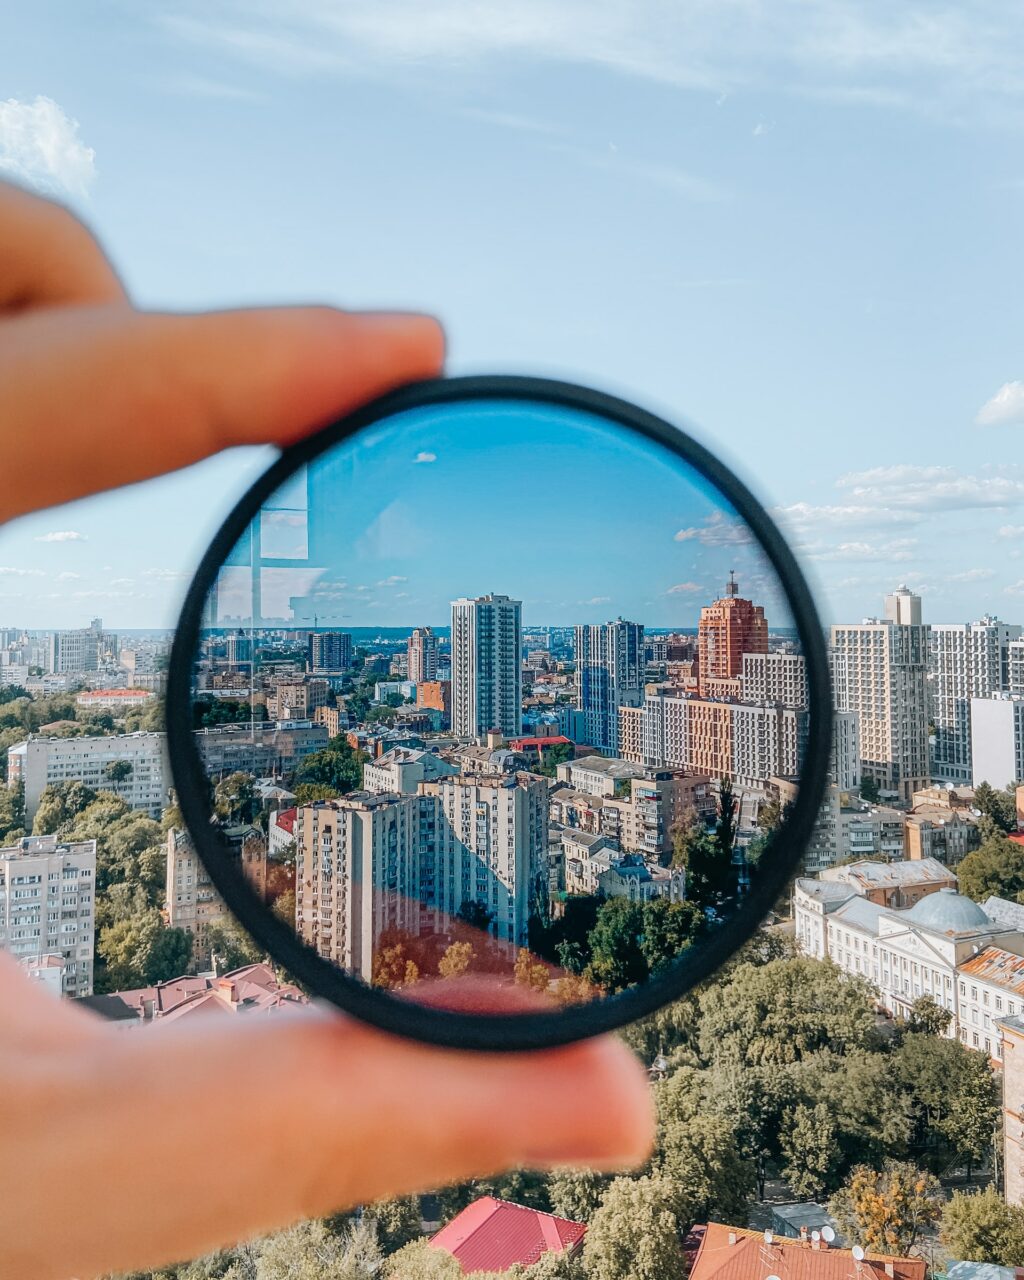
Some of the most common filters used in photography are the ND filters and circular polarising filter.
- ND filters are used to reduce the amount of light entering the camera, so the photographer can lengthen the exposure time for creative photography. There is also the Graduated ND filter that is used to balance exposures in the scene, especially in landscapes.
- The CPL or circular polarising filter is used to avoid or eliminate unwanted reflections from reflective surfaces. It usually also makes the colours look rich in the scene and it needs to be used at 90 degrees to the sunlight for better results.
- Besides the above filters, there are colored filters that are used for black and white photography. They help to bring out the tonal range in an image by controlling the way colours are converted to black and white.
Other filters are the infrared filters for infrared photography, macro filters for macro photography, light pollution filters for night sky photography and solar filters to observe and photograph the sun. Many photographers have a UV filter in front of their lens to safeguard the front elements of the lens from dust and scratches, but it is advisable to remove them when shooting, especially at night and in tricky light conditions to avoid unwanted flares, softness and artifacts.
Resources on filters:
- How To Use Color Filters For Black And White Photography
- Square Filters v Screw-in Filters – What You Need To Know
- A Quick Guide To Understanding ND Filters
- Everything You’ve Ever Wanted to Know About Polarizing Filters
Basic Post-Processing
Every image, how much ever you get the details and exposure right in camera, will work great with a bit of basic post processing. Raw photos will need some post processing to bring out the details and add a pop to the colours and contrast. Also be selective when choosing images to edit.
You do not need an expensive post processing application to edit your images. Even a free software that allows basic adjustments is helpful for a start. You need to shoot in raw so you can bring out all the amazing details and colours out of the file.
As much as possible, get the white balance, composition and exposure right in the camera when shooting. You need to understand over and under exposure in order to get the desired results, but this varies based on the scene shot and the photographer’s visual appeal.
Here are the basic steps that can be followed when post processing your images:
Straighten, Crop and Clean the Images: Get the horizon straight in an image for a clean look. Then crop the image if required to get the composition right if you did not get these right in the camera. Remove unwanted dust specks, or other bits in the image that need cleaning up. Remove them using the clone or spot healing tool.
Adjust Verticals and Horizontals: If you have shot architectural or similar images, you will want to get the perspective right by adjusting the horizontals and verticals. Make use of the transform tools if your application has them to achieve this.
Remove any Distortion and Vignetting: Depending on the lenses used, you may come across distortions and vignetting in your images. These can be corrected using the lens correction panel in your post processing application. If you prefer to not correct this, that’s fine too.
Adjust White Balance: It is always good to get the white balance right when shooting, but if for some reason you did not get it right in camera, then you can manually adjust the temperature and tint to get the white balance right. Some applications come with white balance presets that you can try in the post processing application itself or you can also use the dropper tool to choose a neutral area to set the white balance accurately.
Adjust Exposure and Contrast: If you think that your photo is slightly underexposed or overexposed, you should use the exposure slider to get the correct exposure on the image making sure you do not blow out highlights. Use the contrast slider to help bring out the darker and lighter tones and to make the image pop by showing the difference between light and dark tones.
Work with the Shadows and Highlights: Observe your image to see if there are details lost in the shadows or in the bright areas of the image. To recover shadow details, make use of the shadows slider and to recover details in bright areas, make use of the highlights slider. Keep an eye on the histogram to see if there are any shadow / highlight clippings.
Adjust Vibrance and saturation: If your image lacks the pop in colours that you are looking for, make use of the vibrance slider to bring some pop to the neutral colours in the frame. Use the saturation slider if you want to bring in a colour pop to all the colours in the frame. Use these two sliders in limits as they can leave artifacts if not used correctly.
Use Clarity and Dehaze Tools if Necessary: Increasing the clarity helps to make the subject and other elements stand out. It helps to give a boost to the mid-tones in the image. Also, if your image has too much haziness, make use of the dehaze tool to give it some contrast and make it pop.
Sharpen the Images: Once the above adjustments have been made, if you think that your image lacks sharpness, add some sharpness making sure you do not overdo it.
Remove Noise: Once all the edits have been made, if there is evident noise in the image, you may need to remove it using the noise reduction panel. Zoom in on 100% to see how reducing noise is affecting the image, because you do not want to overdo it and lose details.
Other Things To Keep In Mind:
Hold The Camera Properly – Holding the camera in certain ways is acceptable, but a photographer needs to hold the camera with both hands, so they can avoid camera shake. Use the right hand to hold the camera and the left hand beneath the lens to hold the weight of the camera – lens combination and also if required, to adjust the focal length and focus when using manual focus.
Also hold the camera close to the body, keep your arms/elbows tucked, space your legs and if possible, lean against a support and stand straight for extra stability. This may not always work if you are shooting from ground level or other, but try to stabilise the camera by some means.
Always Check Settings Before A Shoot – Make it a practice to always check if you are using the right settings before a shoot. You may have used very high iso for a night shoot, or set the camera to shoot using narrow aperture, etc. You do not want to complete a shoot with undesirable settings, especially high iso values, and hence always check the basic settings before a photoshoot.
Do Not Always Shoot In Landscape Orientation – Many beginners are always stuck to one orientation when capturing photos, mostly the landscape orientation as it can be quick and easy to do so. Try a frame in both landscape and portrait orientations, even if you are shooting landscapes. Some orientations work well for certain frames.
Switch Off On-Camera Flash – On camera flash when used in the night or in low light situations can produce awkward results in photos. You can always increase the iso to get the desired exposure, but if you are in a situation where you need the shot, have to use a flash and you don’t have an off-camera flash, try bouncing the light, reducing the brightness of flash or using a diffuser on the flash to diffuse the bright light.
Sensor Size And Crop Factor – In digital photography, 35mm sensor is the full frame sensor which is used as the reference sensor size. Anything smaller than that is called a crop sensor and anything bigger is called the medium format. When using cameras with cropped sensors, you need to take the crop factor into account to make few calculations for shutter speed, focal length, etc.
Raw or Jpeg – It is always recommended to shoot raw, so you can capture more details and have more creative control when post processing. Most exposure and white balance issues can be sorted if shot in raw format. Look into the camera menu and settings to set this feature.
Increase ISO When Necessary – It is a fear among most photographers that high iso values will completely ruin an image. But there are times when you may have to capture a shot in low light without capturing motion blur, or capture a very fast moving subject during the day or indoors, etc., and you will have to use high iso values in these situations. Besides, sometimes, a little bit of noise may look good in photos.
Here Are Some Basic Settings To Start With:
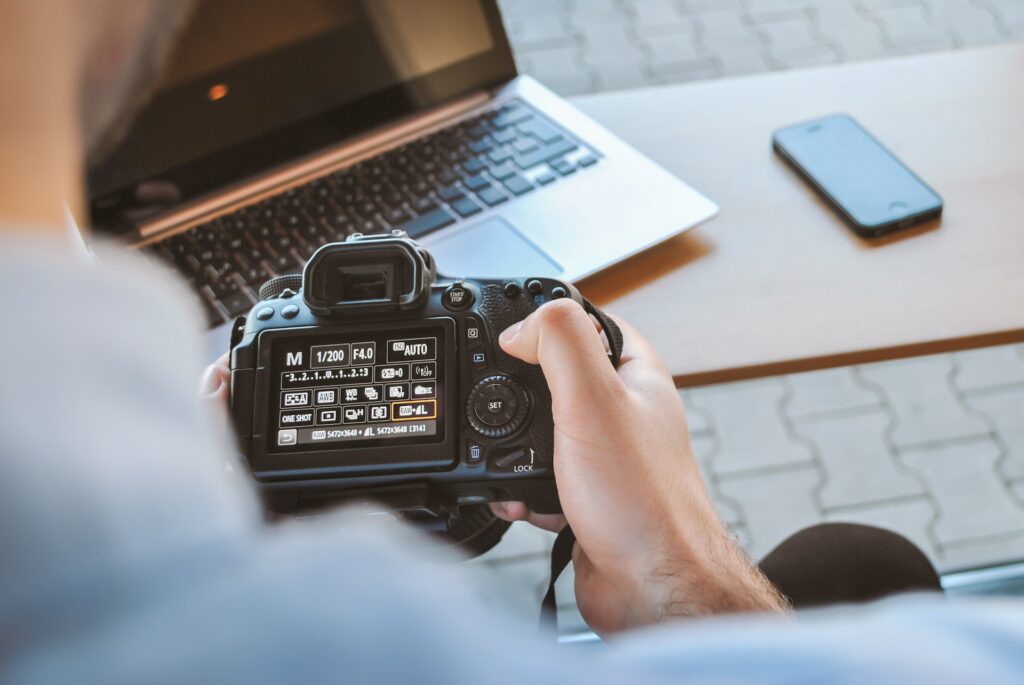
- Shooting Mode – Start With Aperture Priority and gradually learn to use Manual mode
- Shooting File Format – Raw
- Metering Mode – Matrix or Evaluative Metering
- White Balance – Auto, use presets if you are confident
- Focus Mode – Single Area AF for static subjects and Continuous AF for dynamic subjects
- Picture Control / Style – Standard
- Image Stabilisation – on when hand holding and off when on a tripod or other stabilising methods
- Noise Reduction – Off
- Focus Peaking – On
- Aperture – Start with f/5.6, and then gradually work with wider aperture values
- Shutter Speed – faster than 1/focal length, taking into account the crop factor. Varies when shooting for high speed or long exposure shots.
- Iso – based on aperture and shutter speed values, try to keep this as low as possible.
Once you are familiar with the above concepts and are confident enough to use your camera with ease, you can move on to other important concepts like choice of colours, tonal range, exposure compensation, bracketing, compositions, long exposure, etc.
What concepts do you think beginners in photography should know in order to make photography an enjoyable process? Share with us in the comments section below!


